- Help & Advice
- How To Guides
- How To Change Tap
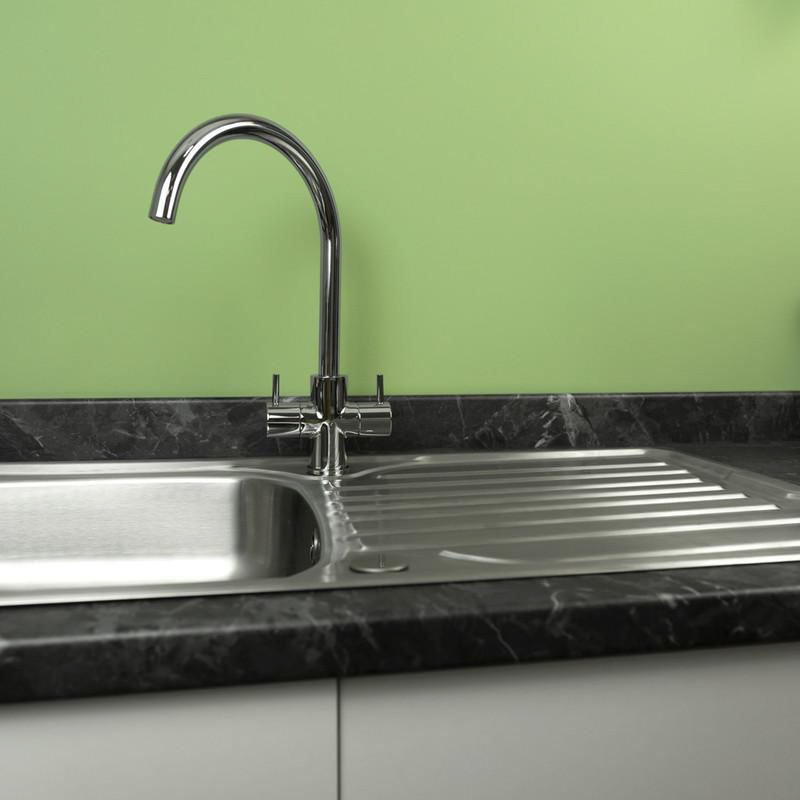
Replacing a tap is a relatively simple job, as long as you have the right tools. Our guide on how to change a tap will walk you through the whole process, making for a quick and easy DIY task.
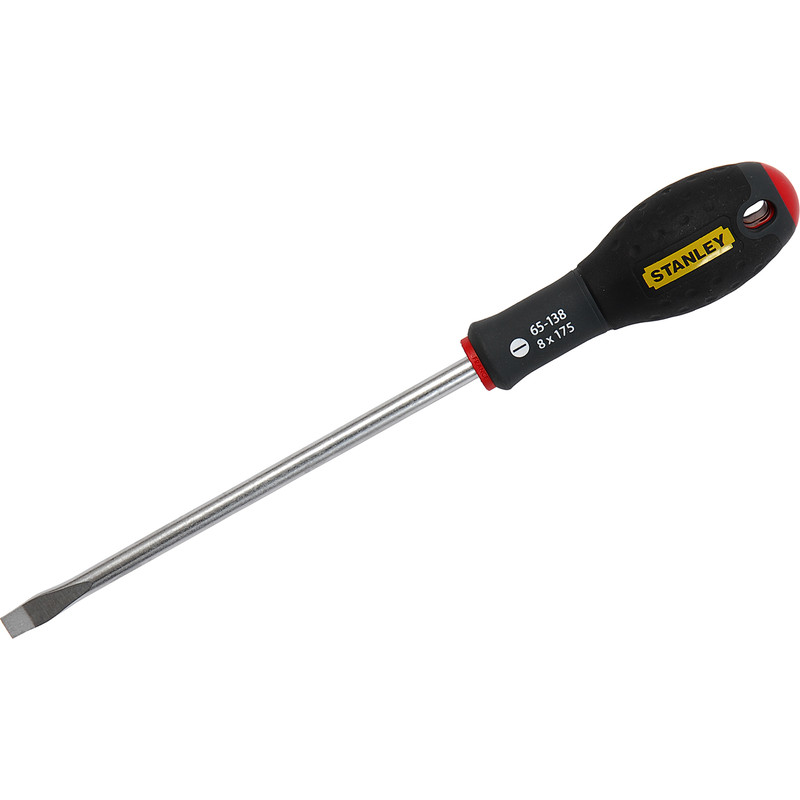
Essential Tools & Equipment
Step 1: Turn Off The Water
-
Before replacing the tap, turn the water supply off – the stopcock is usually under the kitchen sink.
-
Once turned off, drain the taps to remove any residual water from the pipes.
Step 2: Remove The Old Tap
-
Use grips and a spanner to loosen and remove the flexible tap connectors under the sink.
-
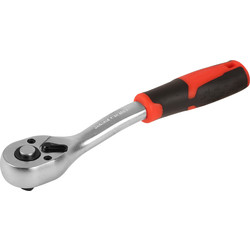
Locate the nut on the threaded rod beneath the tap and unscrew it using a socket tap before lifting away the tap.
Step 3: Install the New Tap
-
Wipe the sink area where the old tap was positioned so it’s nice and clean.
-
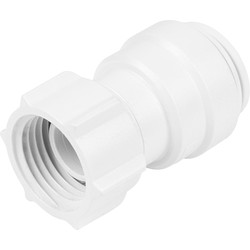
Attach the new flexible tap connectors to the tap, ensuring hot (left) and cold (right) sides are correctly aligned, then tighten by hand.
-
Place the new tap in the sink, threading the connectors through the hole.
-
From underneath, slide the protective sink piece and threaded rod into place, then tighten the nut to secure the tap.
Step 4: Plumbing the Tap
-
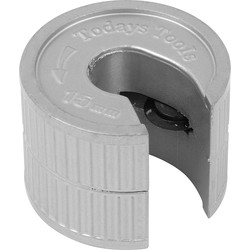
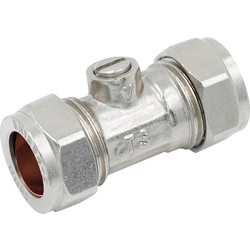
If necessary, cut the pipes and fit couplers or isolation valves to adapt to the new tap connectors.
-
Attach the hot and cold tap connectors to the corresponding pipes, tightening them securely.
Step 5: Final Checks
-
Turn on the isolation valves or stopcock, check for leaks, and test the tap for correct hot and cold water flow.

