- Help & Advice
- How To Guides
- How to Use Expanding Foam
How to Use Expanding Foam
If you’re faced with large gaps or cracks anywhere in your home it’s likely that silicone sealant won’t cut it on the filling front. This is where expanding foam comes in. Because it expands as it cures, it’s the perfect solution for patching up those unwanted cavities, helping to improve insulation and preventing moisture from entering your home, while keeping cold draughts out.
That said, to get the most benefit from it, it’s important to use it correctly. In this guide we’ll provide some easy to follow steps on how to use expanding foam. But before that, it’s important to note that there are different types which determine where it should be used.
The Different Types of Expanding Foams
Expanding foam is a highly versatile material used for sealing, insulating, and filling gaps. However, it comes in several types, each suited to different applications based on how it’s applied along with its fire resistance rating.
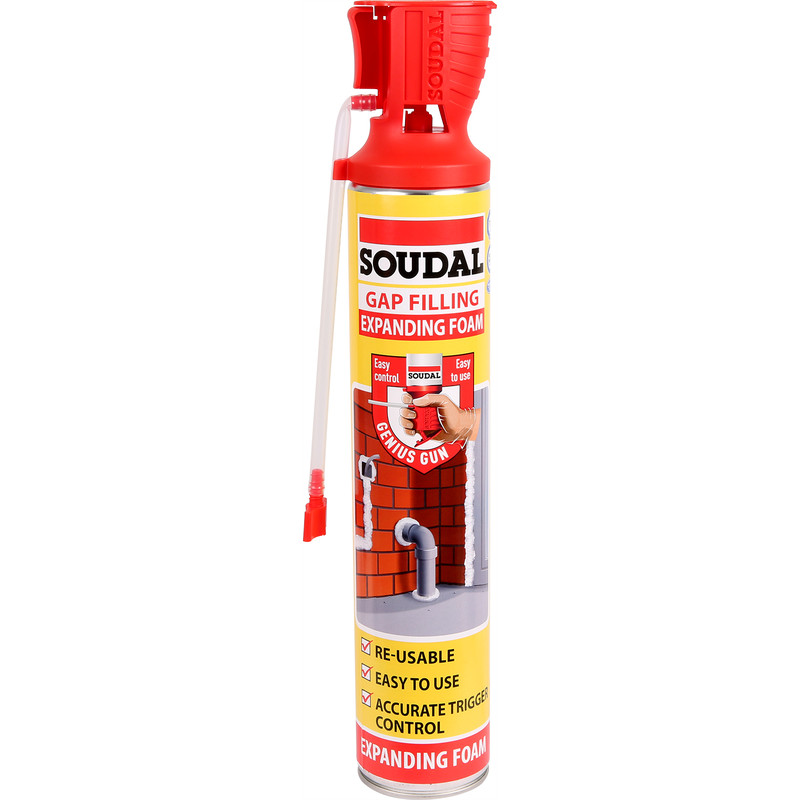
Gun gap foam is designed for use with an applicator gun. This allows for better control, accuracy, and less waste. It’s ideal for professional use and precise tasks like sealing around windows, doors, and tight gaps.
Foams are also classified by their fire resistance. B£ foam is highly flammable and best suited for non-critical, low-risk areas. B2 foam is classed as having normal flammability and is more appropriate for general use where no specific fire resistance may not be required.
Beyond general-purpose products, some foams are specially formulated for certain tasks. Window and door foams are low-expansion to prevent warping. Roof and insulation foams provide high thermal resistance and coverage for large areas. Pipe and plumbing foams are often water-resistant and expand slowly to avoid damaging pipework.
Tools You'll Need
Step 1: Prepare the Surface
Prior to using the expanding foam, it’s important to ensure that the gap to be filled (and the surrounding area) is clean and free from any kind of obstructions. This ensures that the foam will expand and adhere properly once applied.
If you’re working outdoors, try and avoid using foam in very hot or cold weather. Doing so, could prevent the foam from sticking properly and could impact how it dries and its durability once cured.
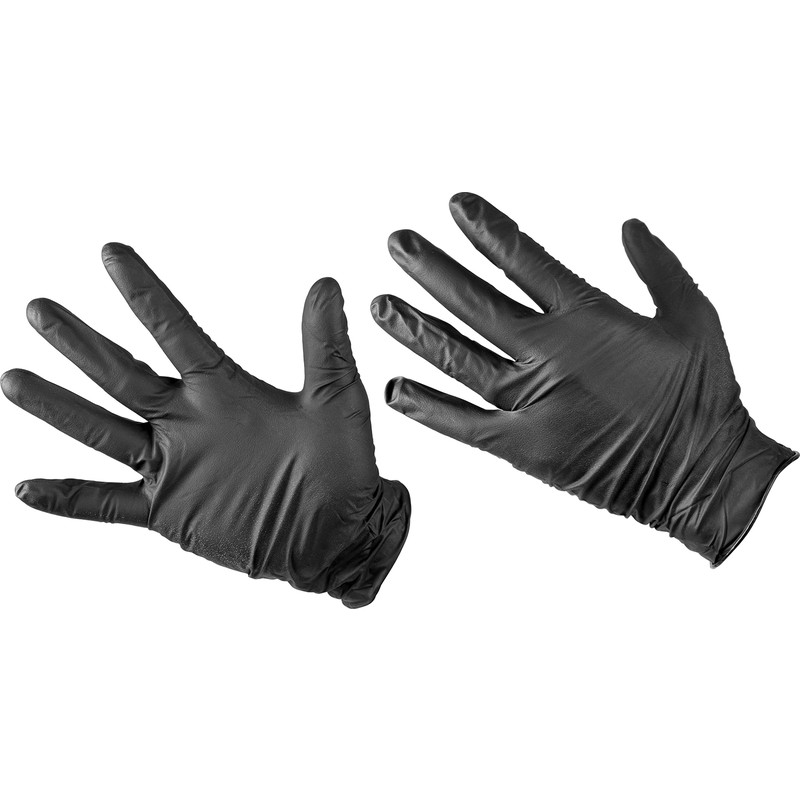
Step 2: Put on your Disposable Gloves
Expanding foam is a very strong adhesive and wearing gloves prevents any from sticking to your skin, which can be tricky to remove. As most types often contain chemicals, gloves are also a great way of protecting your skin from potentially harmful substances.
Step 3: Remove the Cap and Fit the Applicator Nozzle
As brands can differ, be sure to read the instructions provided - these are usually on the back of the can. Take care when removing the cap and keep it positioned away from your face. Next up, secure the applicator nozzle to the top without using excessive force.
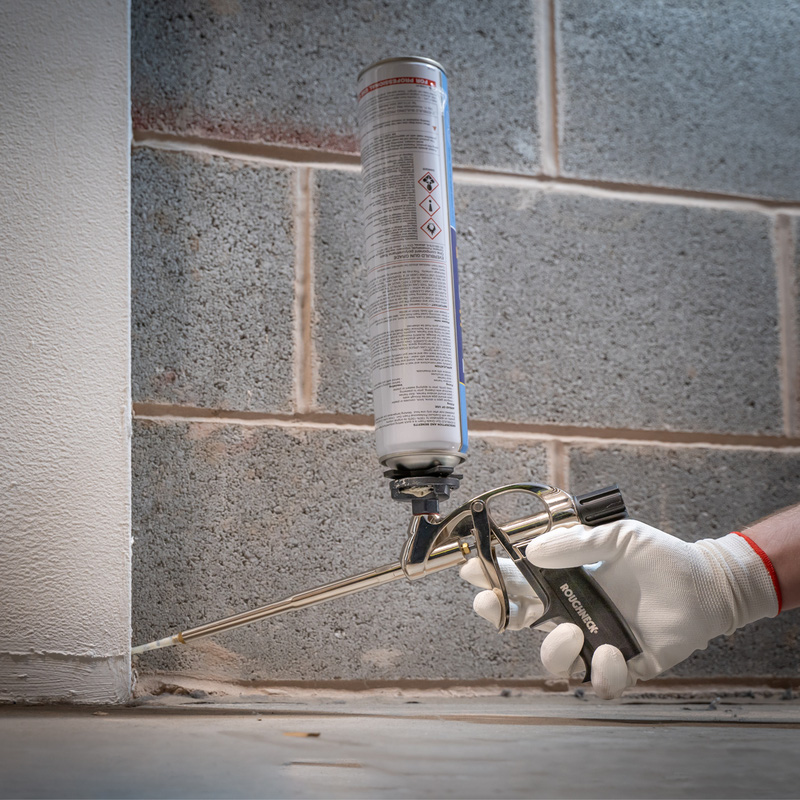
In the event you’re using a foam that requires an applicator, load the canister into the foam gun. Once fitted, the can should be upside down.
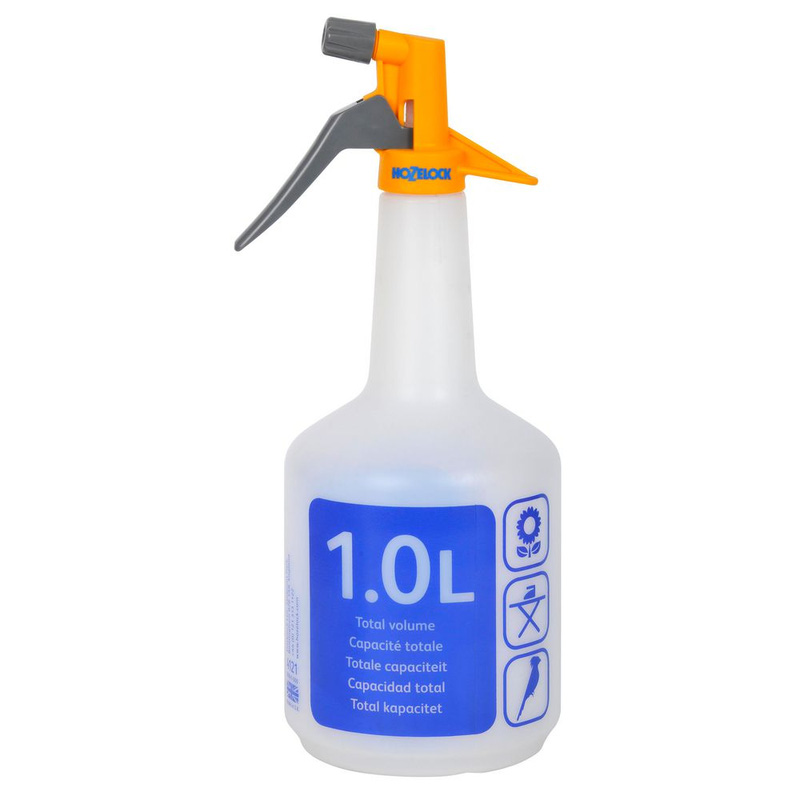
Step 4: Dampen the Area to be Filled
Take your spray bottle and apply a fine mist of water to the area that you plan on filling. Expanding foam typically requires water to improve its adhesion and curing process. Water also allows the foam to expand properly, filling larger gaps.
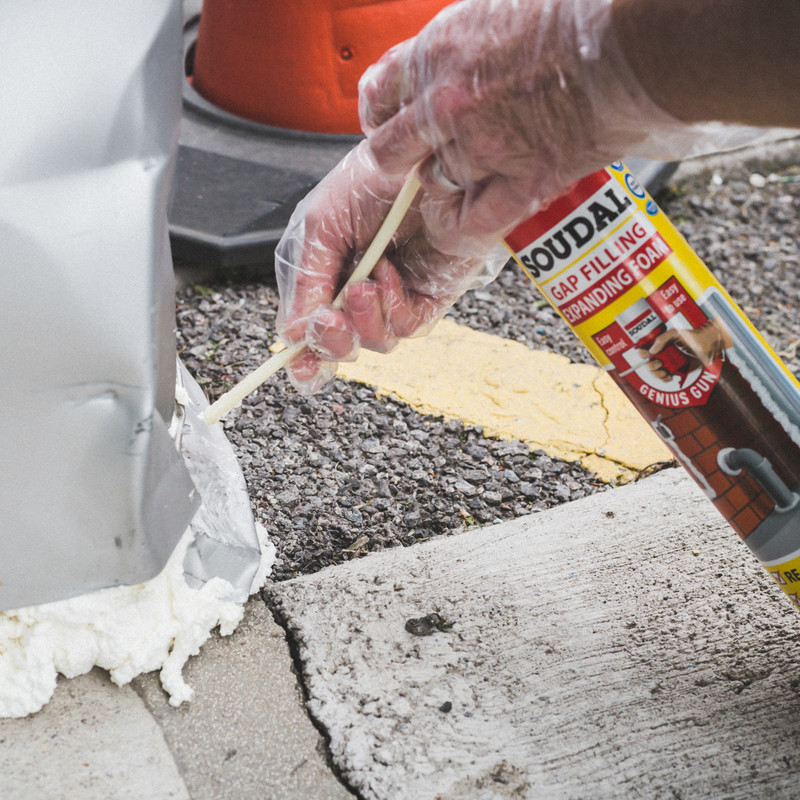
Step 5: Apply the Expanding Foam
Give the can a good shake before applying, this helps to combine the mixture properly allowing for a consistent and uniform finish. If you’re using foam with an applicator, the can will already be upside down - this is the optimum position for applying expanding foam. However, if not, simply turn the can upside down and hold it in this position. Carefully press on the applicator nozzle to dispense the product into the void to be filled. Make sure you start at the deepest point of the cavity so that it’s completely filled.
Work upwards and don’t release too much product as this could result in overfilling. Every now and then, stop applying foam and give the can another shake. If you need to apply lots of foam, spray a little water over each layer before continuing with the application.
Step 6: Remove Excess Foam
It usually takes a few minutes for the foam to have reached its full expansion and to be tack-free. Beyond this it can take a few hours for it to fully cure. That said, you can often cut away excess foam after around 30 mins or so - although check the instructions to be sure.
To remove the dried foam you can use a saw, which is ideal for larger pieces of foam, or an oscillating multi tool if you need a bit more precision. If you’re cutting around things like pipework, take extra care not to damage the pipes.
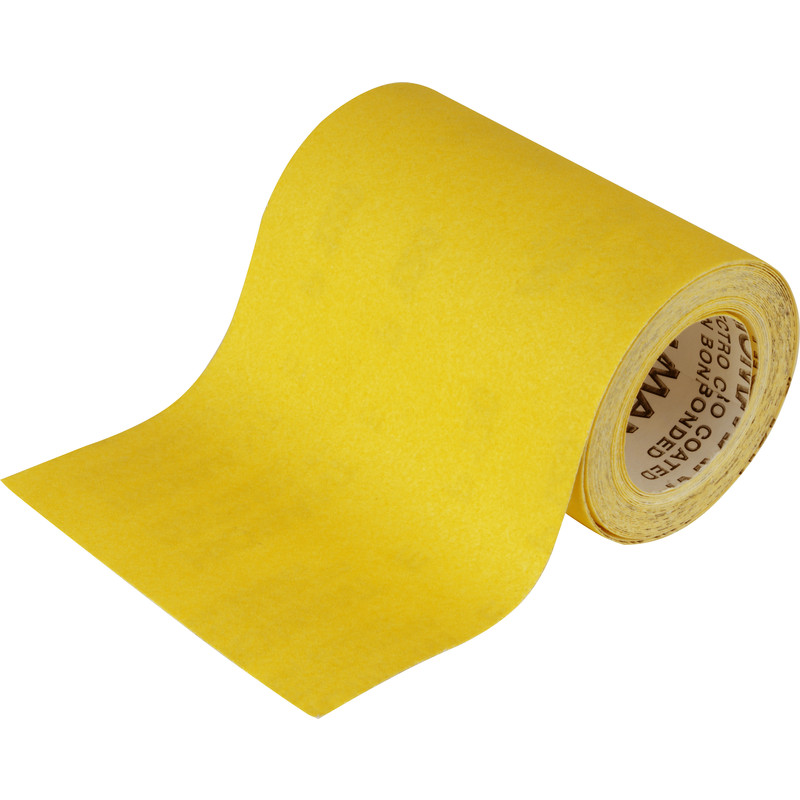
Finally, use some sandpaper to buff away the remaining foam residue, leaving you with a smooth finish. From here, you can paint to blend in with the surroundings.