- Help & Advice
- How To Guides
- How To Install Nest Thermostat E
How To Install A Nest Thermostat E
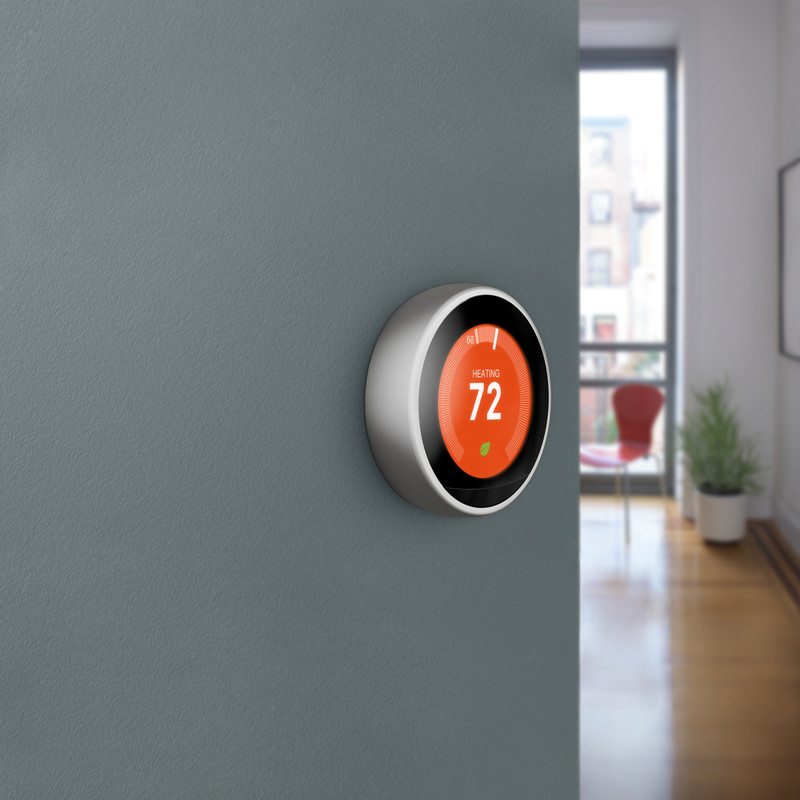
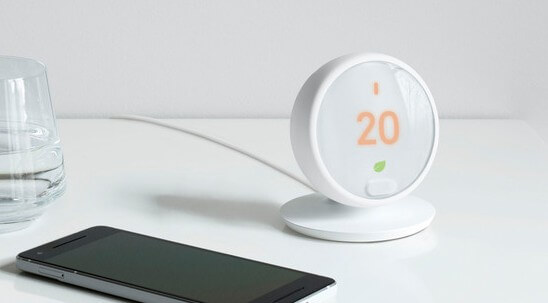
Installing a Nest Thermostat E is an easy and effective way of managing the temperature of your home more efficiently. One of the great things about this type of thermostat is that it can be positioned anywhere around your home. But if you’d rather keep it out of reach of children, it might be a good idea to mount it on the wall. In this guide we’ll take you through all the steps on how to install your Nest thermostat ensuring a quick and smooth setup.
Please be aware, that while the installation process is designed to be straightforward, it does require some basic electrical wiring. If you're not confident in your ability to safely work with electrical components or wiring, it’s strongly recommended to hire a professional. Proceed with installation only if you feel comfortable and experienced with electrical work.
Once fitted, using your Nest thermostat is straightforward and intuitive, so you can easily adjust the temperature and comfort of your home to suit your needs.
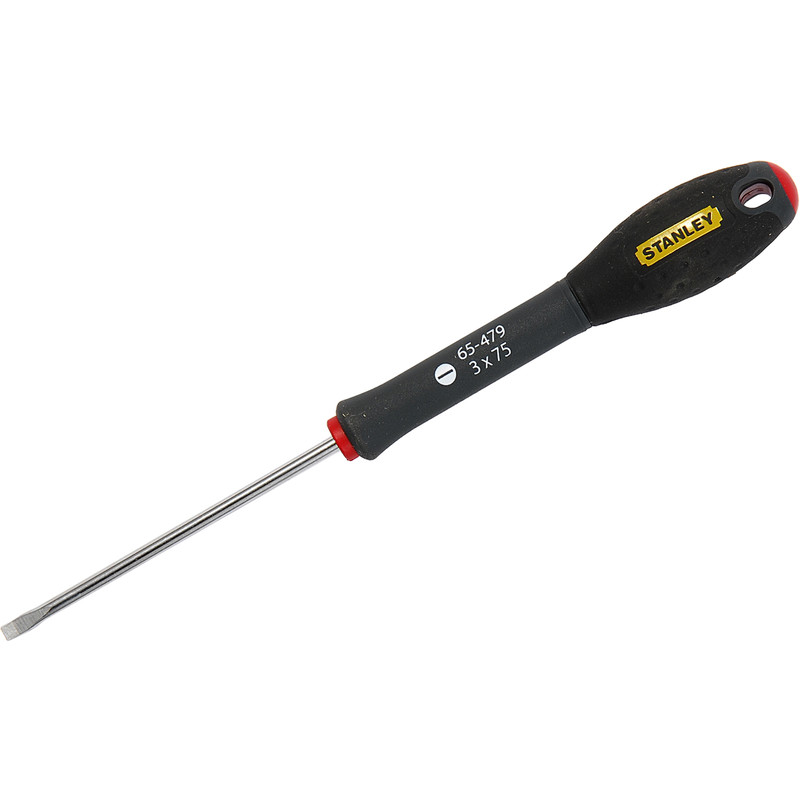
Essential Tools & Equipment
Step 1: Turn off the Power
Before installing your new Nest thermostat, it’s important to switch off the power supply to your heating. This keeps you safe, and prevents accidents and electrical hazards.
Step 2: Remove the Cover of your Old Thermostat
Next, head on over to the thermostat you’re going to be replacing and remove the cover. While models differ, most allow you to easily pop off the cover or remove using a screwdriver.
Step 3: Check the Compatibility of the Thermostat
Now that you’ve removed the cover, it’s a good idea to double check that it’s compatible with your power supply. There are a couple of easy ways of doing this:
-
Take a look at the exposed wires. If your current thermostat is wired in with stranded wires - made up of several thin wires which are twisted together - then the Nest thermostat isn’t compatible.
-
If your current thermostat is labeled as having either 110V, 120V or 240v of power output then, as with the stranded wires, the Nest thermostat won’t be suitable as you have a high voltage system.
Step 4: Take a Snapshot of the Wires
Before moving on to the next step, take a quick photo of the wiring which you’ll use as a point of reference when installing the Nest thermostat. Make sure you can easily read the terminal labels.
Step 5: Remove Jumper Wires
Jumper wires are short lengths of electrical wire that connect to two different points. If you have any connected on the base plate, you can remove these as the Nest thermostat doesn’t require them.
Step 6: Remove the Old Thermostat
Disconnect the wires from your old thermostat and remove the base plate by unscrewing it from the wall. Take care and make sure the exposed wires coming from the wall don’t slip back through.
Step 7: Fill any Holes in the Wall
Once you’ve removed the old base plate you may be left with holes from the screws, now’s a great time to fill these holes and apply a fresh coat of paint.
Alternatively, you can hide the holes by covering them with the trim plate, which was included with your Nest thermostat.
Step 8: Attach the Nest Base Plate
Take the Nest base plate and hold it up against the wall, use the inbuilt level to ensure it’s straight and even. Use a pencil to mark where the screws will go.
Next, using the screws provided in the Nest kit, secure the Nest base plate to the wall where your old thermostat was mounted. Be sure to pull the wires from the wall through the centre hole of the base plate and don’t tighten the screws too tightly as this could damage the sensors within the base.
Step 9: Connect up the Wires
Match the wires from your heating system to the corresponding terminals on the Nest Thermostat E base plate. Refer to the photo you took earlier for the correct connections. Next, gently press down the connector button and insert the corresponding wire, making sure it’s pushed all the way in.
Once you’ve inserted all the wires, check to make sure that the connector buttons stay down then push the wires towards the wall so they remain flush - this will ensure the cover can be fitted with ease.
Step 10: Mount the Display Cover
Once all the wires are securely connected, attach the display cover onto the base plate ensuring the Nest logo is at the bottom. It should click into place.
Step 11: Turn the Power Back On
Now that you’ve successfully installed your Nest thermostat, you’re ready to turn the power back on and move onto setup.