- Help & Advice
- How To Guides
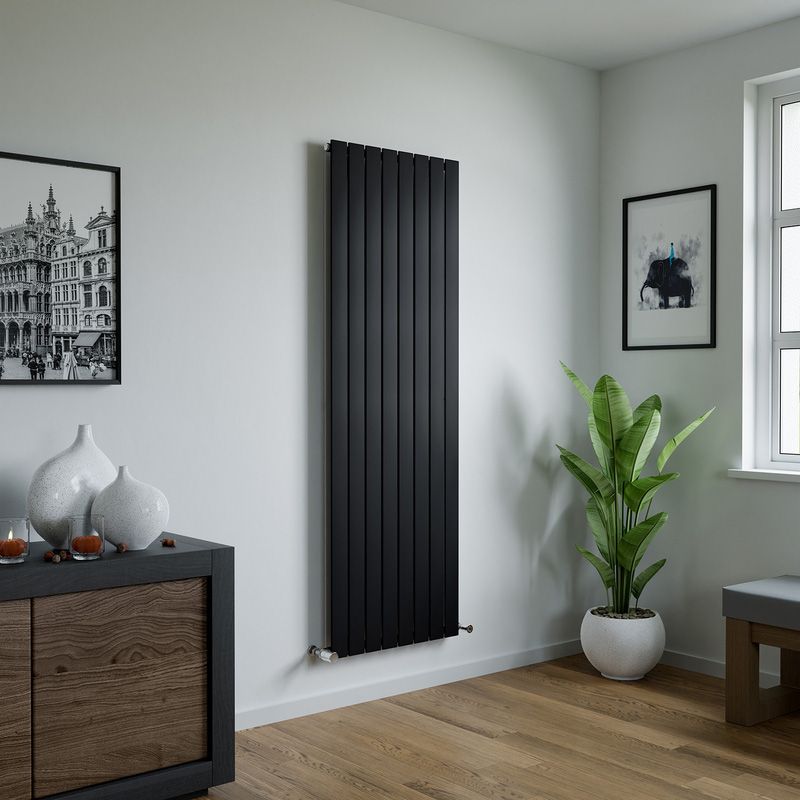
- How to Flush a Central Heating System

How to Flush a Central Heating System
Flushing your central heating system can help to shift the build-up of sludge (iron oxide), rust and debris that collects over time throughout the radiators and pipework in your home. If this is left unchecked, it may cause inefficiencies where you’ll notice cold spots on individual radiators and, consequently, unreliable heating. As part of routine heating maintenance, flushing the whole system clears away built-up debris and helps keep your radiators and pipework in good working order.
Before you get started, it’s worth noting the differences between flushing a radiator compared to the entire heating system. Flushing a radiator involves isolating and removing a single radiator so that it can be rinsed through with clean water to remove localised sludge build-up. This tends to be sufficient when you’re looking to restore heat output to one specific radiator.
However, flushing the entire system is a process that’s a little more involved and tends to be carried out every 5 years or so. It requires circulating clean water, and sometimes a central heating cleaner, throughout all the radiators and pipework as a whole. This ensures that blockages, rust residue and sludge are cleared not just from individual radiators, but also from the connecting pipework and key components like the pump and heat exchanger.
Given that it’s a task that requires a good understanding of DIY and your central heating system, consider whether it’s something you can do, or if it’s a job worth outsourcing to the professionals.
When Should a Central Heating System Be Flushed
There’s no right or wrong answer here; it largely depends on whether your heating isn’t performing as it should (rooms not warming up properly), strange noises coming from your boiler which may signal sediment buildup in the heat exchanger, or noticeable cold spots on your radiators.
Keep in mind that these signs don’t always indicate a requirement for central heating flushing and could point to something else. For example, cold spots on a radiator are commonly noticed when air is trapped. In which case, bleeding the radiator would likely fix the problem.
If you’re unsure, it’s always a good idea to seek advice from a qualified heating specialist before you decide upon the best course of action. Also, if your boiler is under warranty, check the manufacturer’s terms before carrying out any DIY work, as improper maintenance could invalidate your warranty.
Tools You'll Need for the Job

Step 1: Add the Chemical Cleaner
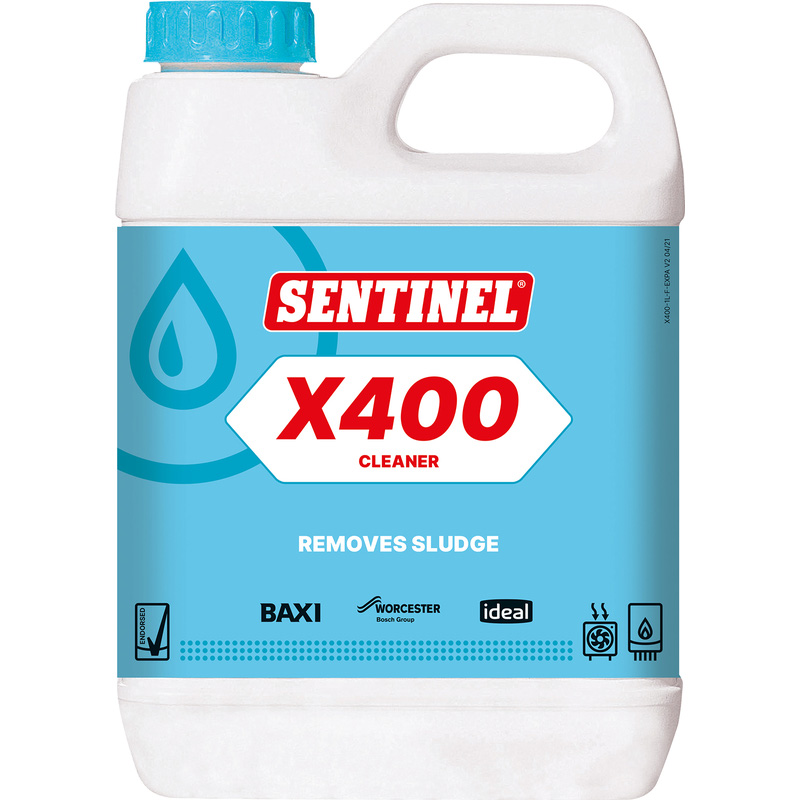
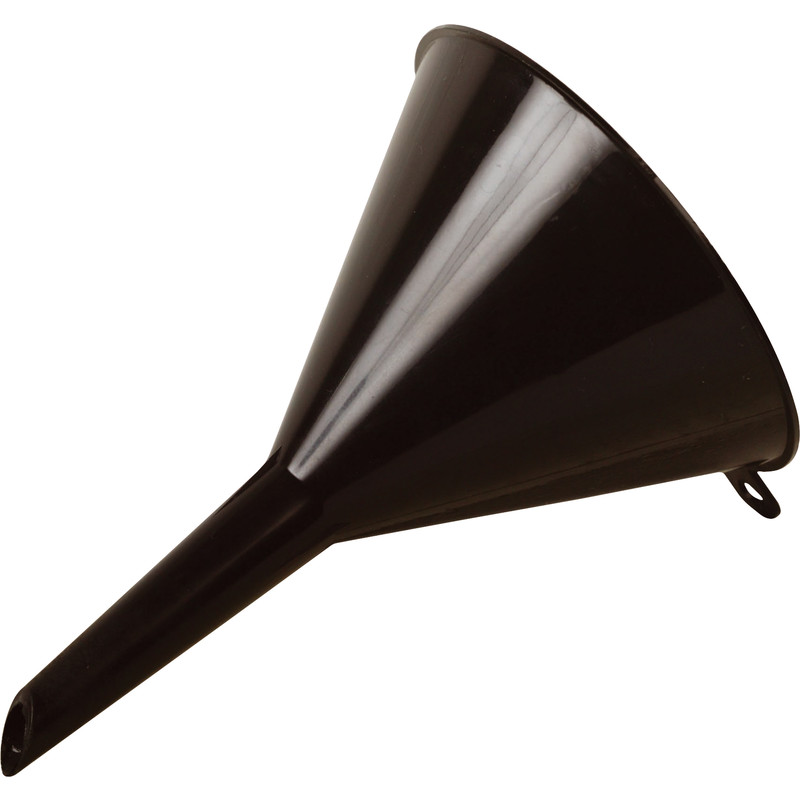
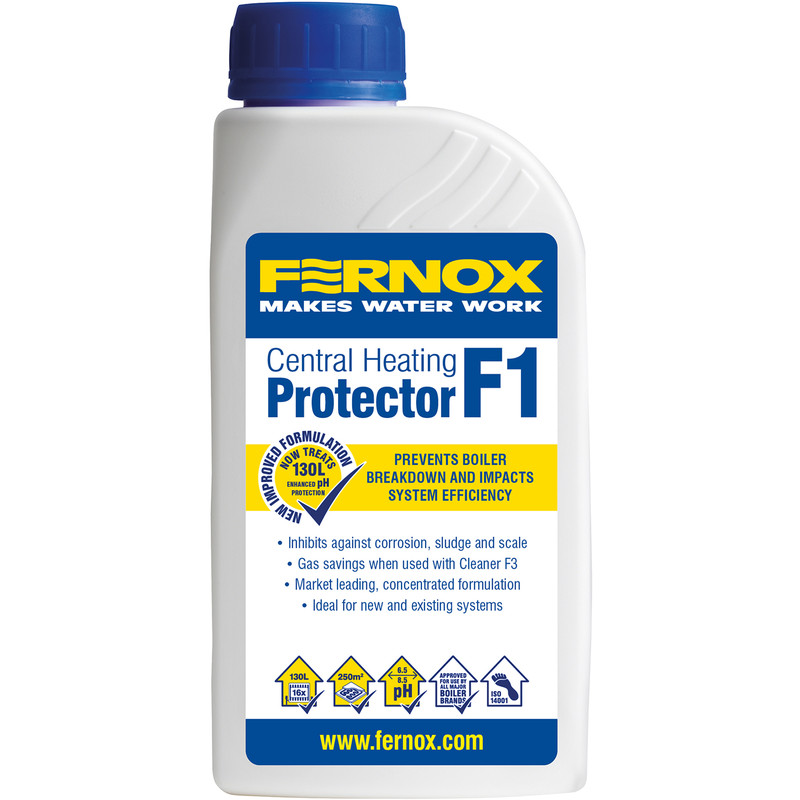
Before you drain anything, you need to loosen up the sludge sitting in the radiators so start off by adding the chemical cleaner. If you have an open vented system (a small tank in your loft), pour the cleaner directly into the small expansion tank. If you have a sealed system (a combi boiler), you’ll need to isolate the valve of an upstairs radiator and pour the cleaner directly into the bleed valve using a funnel.
Once you’ve done that, reopen the valves. In either case, you may need to drain a little water off the tank or radiator to allow room for the chemical cleaner.
Step 2: Turn on the Heating
With the cleaner added, you now need to turn on the central heating so that it can circulate, make sure that all radiator valves are fully open. You’ll need to give it at least a couple of hours for the cleaner to get around the whole heating system.
Some cleaners will work best if they’re left for a few days so it’s worth checking the manufacturer’s guidelines to find out.
Step 3: Turn off the Boiler
Once you’ve allowed sufficient time for the cleaner to work its magic, you can now start the process of flushing. Begin by turning off your boiler, switching off the power and the gas/oil.
Give it some time to cool down completely, around an hour should do it. This is important as you should never flush a system while the boiler is running or hot!
Step 4: Drain the System
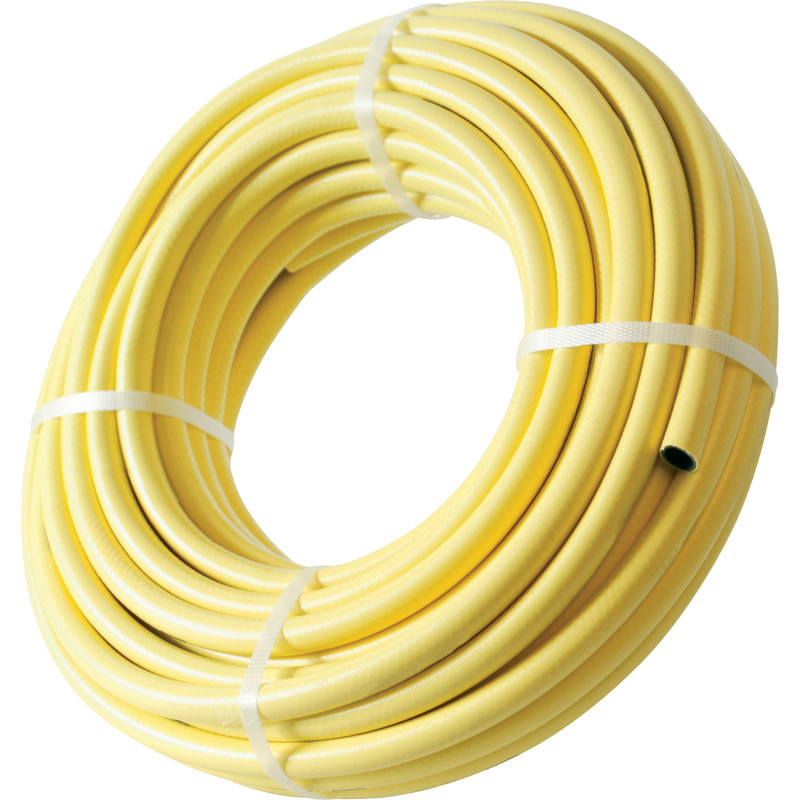
Start by locating the drain-off valve, this is usually located at the lowest point of your heating system, often at the bottom corner of a downstairs radiator. Next, secure the hose pipe to the drain valve, it should be easy to push directly over it. To prevent the hose from becoming disconnected during the flushing process it’s useful to secure it in place with a jubilee hose clip.
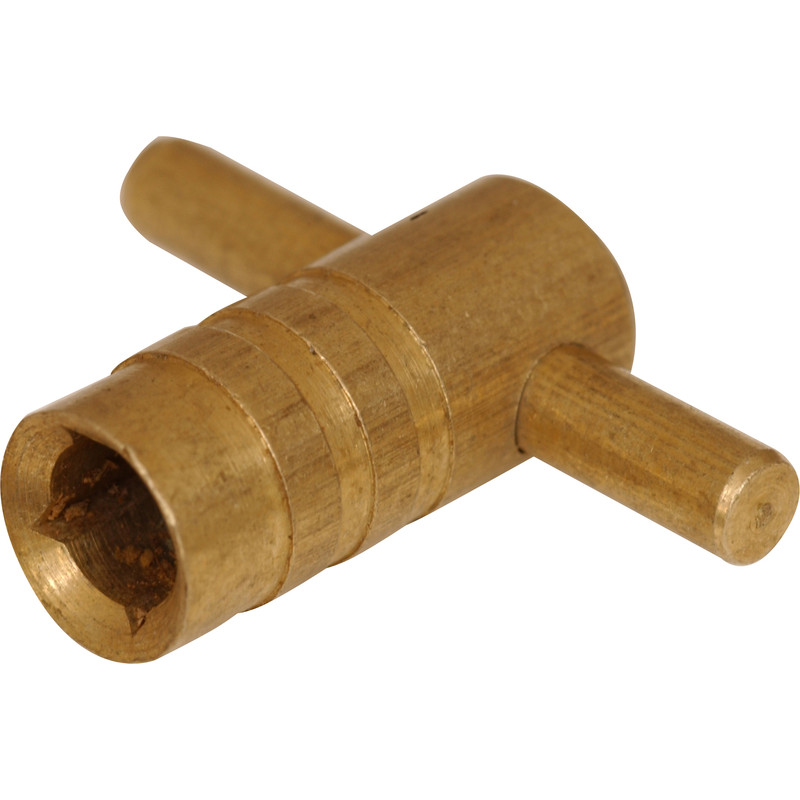
Now you need to open the radiator valve, do this using a radiator key or adjustable spanner. Then go to the upstairs radiators and open the bleed valves, this helps to break the vacuum and allows the water to flow out of the hose.
Step 5: Drain and Refill
Once the system has fully drained and the water runs clear, turn off the drain valve and disconnect the hose. Then tighten the drain-off valve.
With the system successfully flushed, you’ll now need to add the inhibitor the same way that you added the cleaner and then turn the water supply back on - don’t skip this step as the inhibitor will prevent the sludge from coming back.
Step 6: Bleed the Radiators
You’ll now need to take some time to bleed every radiator, starting at the bottom floor and working your way up. It’s important to remove all of the air so that the heating works properly once it’s back up and running.
As you bleed the radiators, the pressure in your combi boiler (if you have one) will drop, so you’ll need to keep an eye on it as you’ll probably need to top it up a few times to ensure it stays within the normal range, usually between 1.0 and 1.5 bar. Once water starts coming out of the opened valve, this signals that any air has been removed so tighten up the bleed valve and move on to the next radiator.
Step 7: Turn the Power Back on
Finally, switch your boiler and pump back and go around every radiator checking the valves for any water leaks. Sometimes, older valves can cause a tiny drip, in which case tighten them up a little using your wrench.
After around half an hour or so, check that each radiator has warmed up - they should be hot from top to bottom.
Tips for a Smooth Job
Expelling the Sludge
The water coming out of the hose will probably be jet black, this is the iron oxide. Because this wastewater contains this plus the chemical cleaner you’ll want to ensure it’s being drained straight into a foul water drain such as a sink or toilet. Don’t drain it into external drains or directly onto your lawn as it’s harmful to the environment.
Don’t Skip the Inhibitor
If you skip the inhibitor, the fresh water will very likely react with the metal in your radiators and this can start to create new sludge within a matter of weeks, undoing all of your hard work in flushing the system. Adding the inhibitor creates a protective film on the inside of radiators preventing any nasty sediment from forming in the first place.
For Stubborn Radiators
If you notice that one radiator still has cold spots at the bottom, despite flushing, this could be because of stubborn sludge sticking to the inside. In which case, remove the radiator from the wall, take it outside and flush with the hose giving it a gentle tap as you do so. Make sure you capture the wastewater into a bucket so you can dispose of it correctly.