- Help & Advice
- How To Guides
- How to Fit Wall Plugs
How to Fit Wall Plugs: Secure Your Fixtures
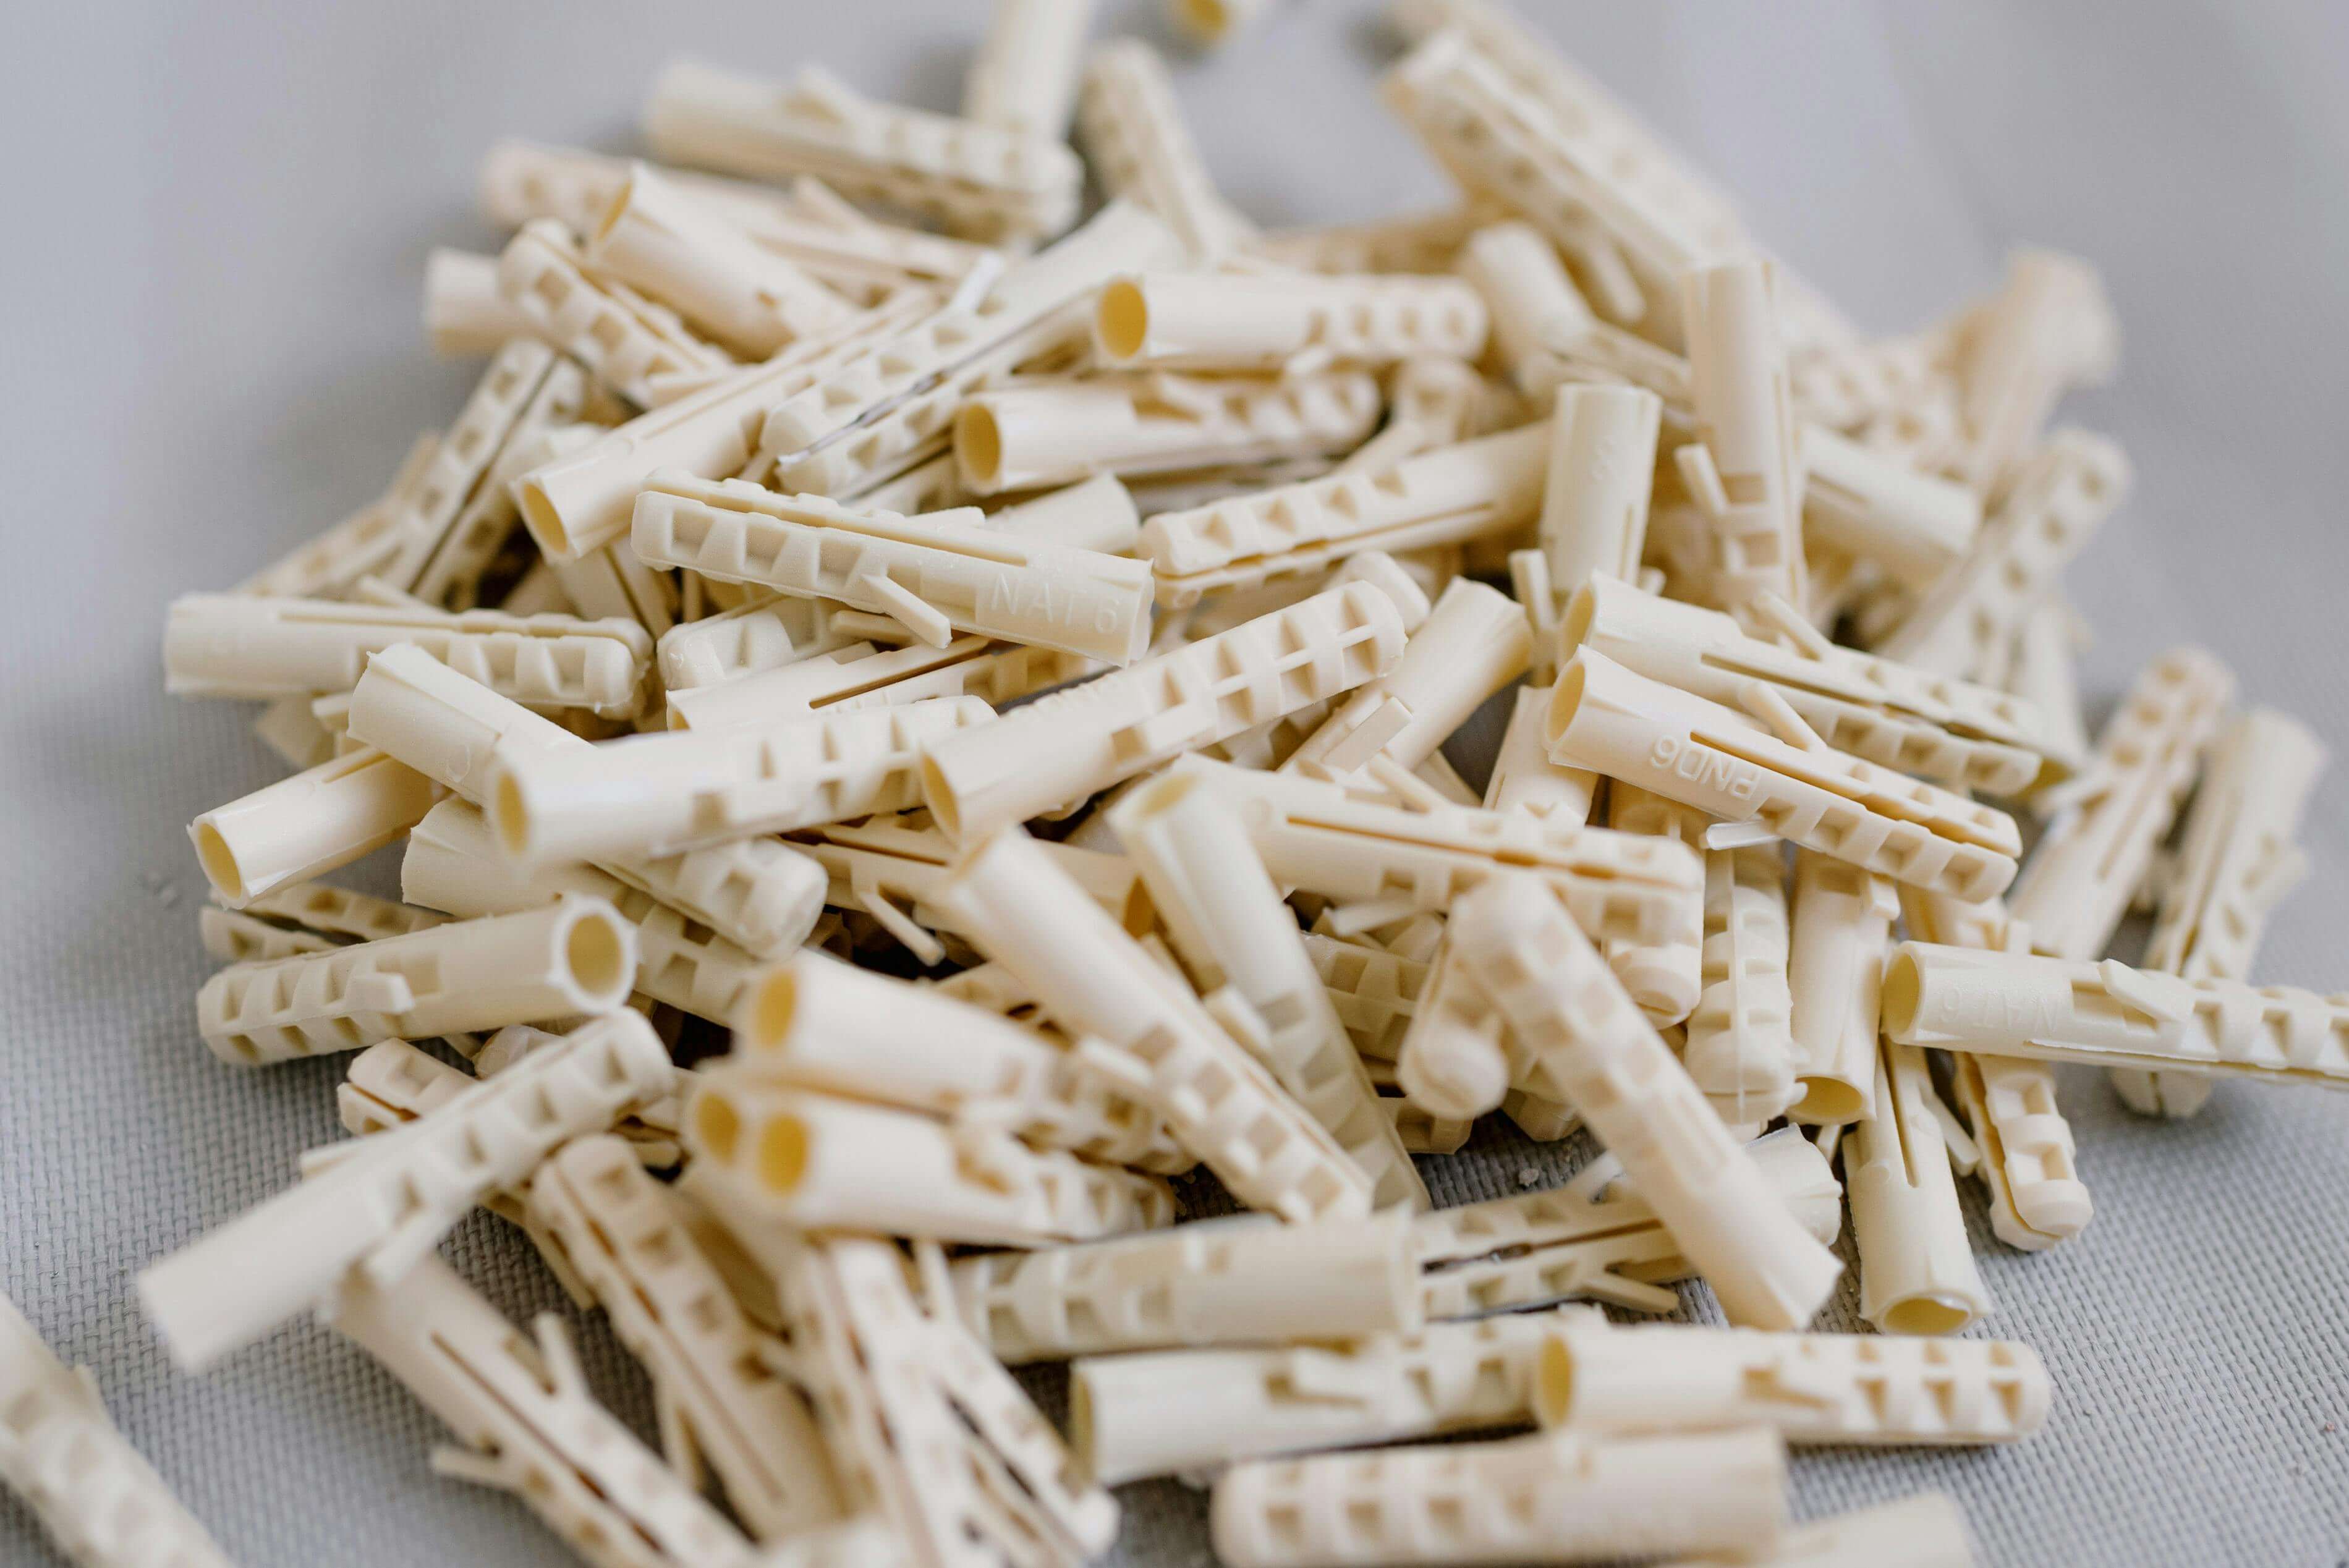
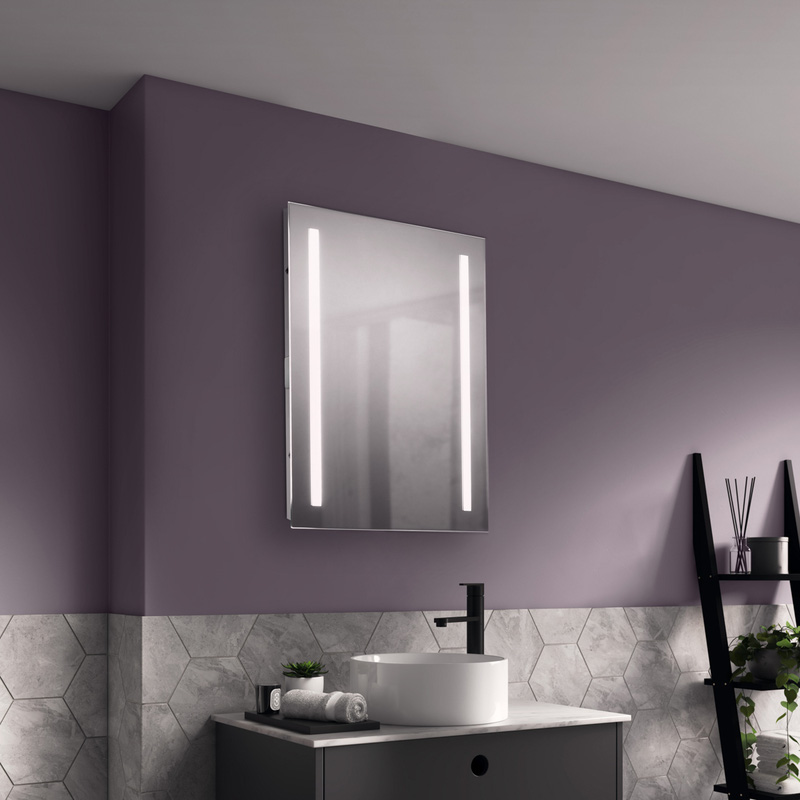
Whether you're hanging a mirror, shelves, or a TV on the wall, a strong and stable anchor is vital to prevent any mishaps. This is where wall plugs come in; they are small plastic or metal inserts placed into pre-drilled holes to securely hold screws.
They're typically used on walls that are too soft or brittle to provide a secure hold for wall fixtures. In this guide, we'll provide step-by-step instructions on how to fit wall plugs properly, ensuring a safe and stable installation for your shelves, brackets, and other fittings.
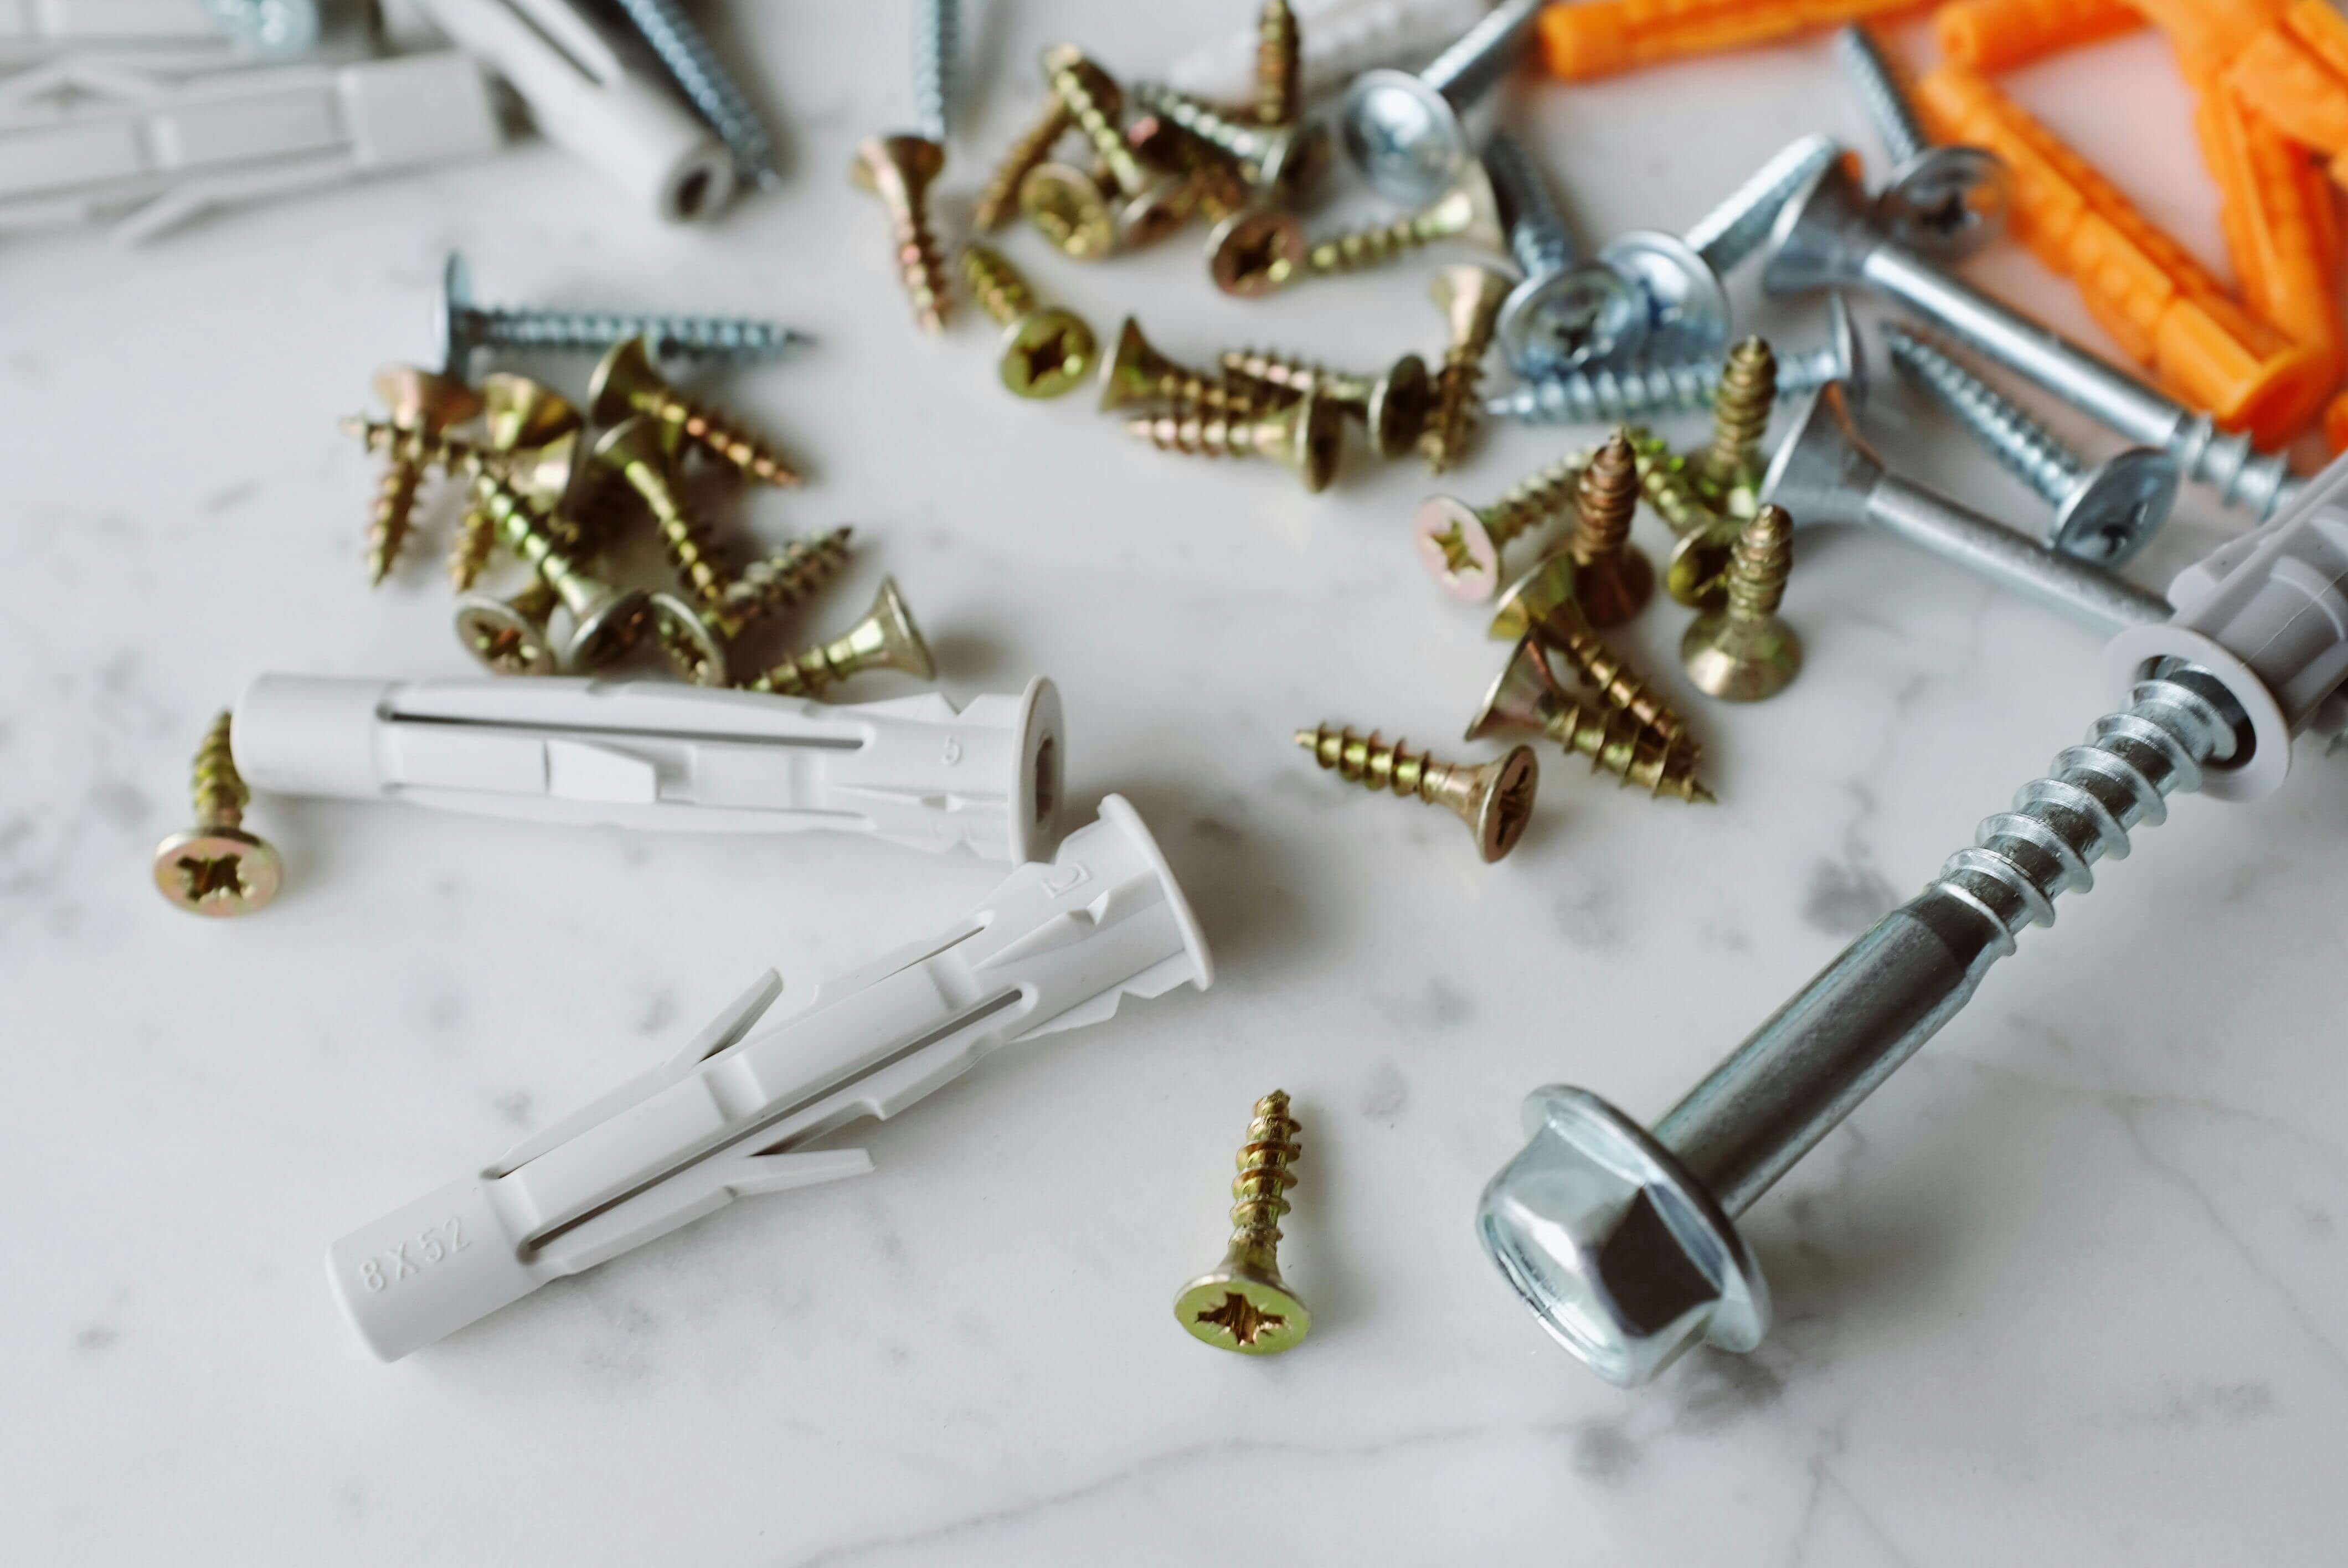
Tools You'll Need


Things to Consider
Wall Material
Before you begin fitting a wall plug, it's important to identify the type of wall you're working with. Different materials require different fixing methods, and using the wrong type of wall plug can lead to a poor grip, damage, or even accidents if the fixture falls.
Common UK wall types include solid walls (such as brick, blockwork, or stone), hollow walls (like plasterboard or dry-lined walls), and occasionally stud walls. Solid walls typically provide a more secure hold for heavier items, while plasterboard may require specialist fixings, such as plasterboard plugs, to spread the load effectively. Take time to inspect your wall, and if you're unsure, drill a small test hole to check the material behind the surface.

Load Weight
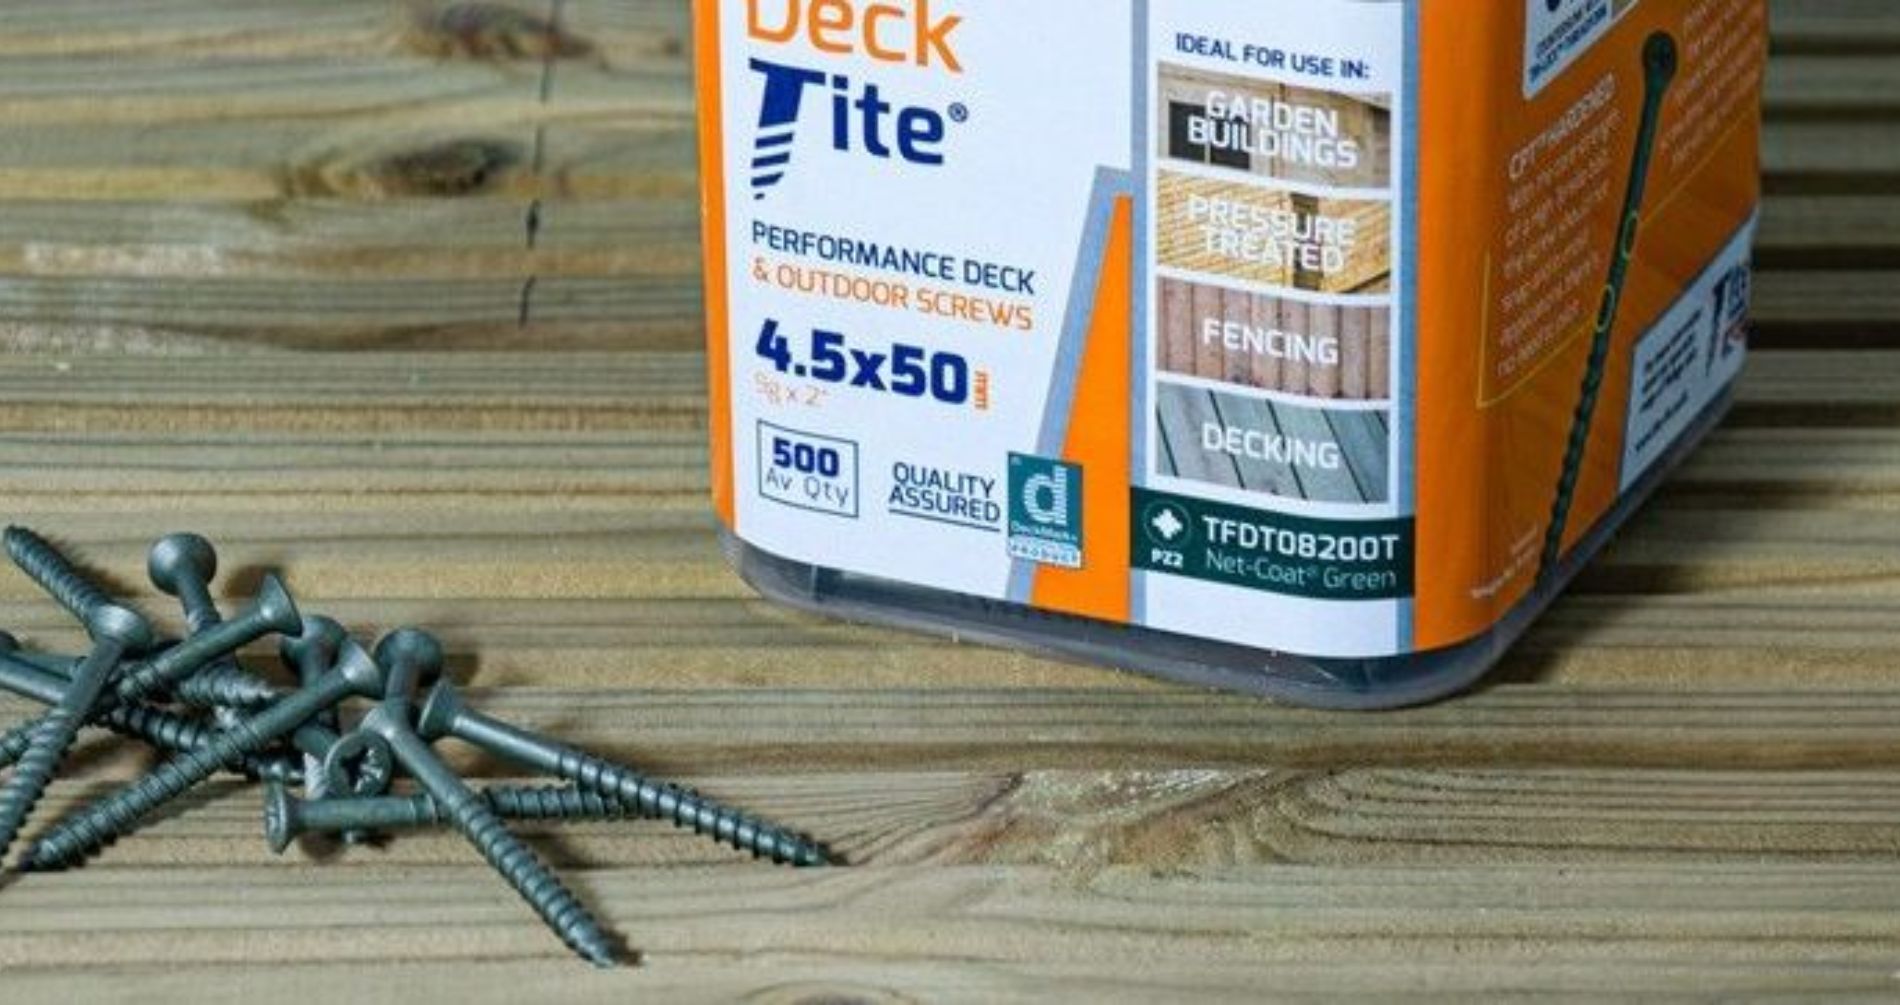
The weight of the object you're hanging is just as important as the wall material. Wall plugs are designed to handle a range of loads ranging from light shelves and picture frames to heavy mirrors, TVs, or kitchen cabinets.
As a rule of thumb, plastic wall plugs are suitable for lighter loads, but heavier items will often require reinforced plugs or even specialist fixings like metal anchors or frame fixings. Always check the packaging or manufacturer's guidance for load capacity and, if in doubt, it's best to be cautious by choosing a stronger fixing than you think you need. Don't forget to factor in any additional strain, for example, if the object will be pulled on, leaned against, or subject to vibration.
Wall Plug Size
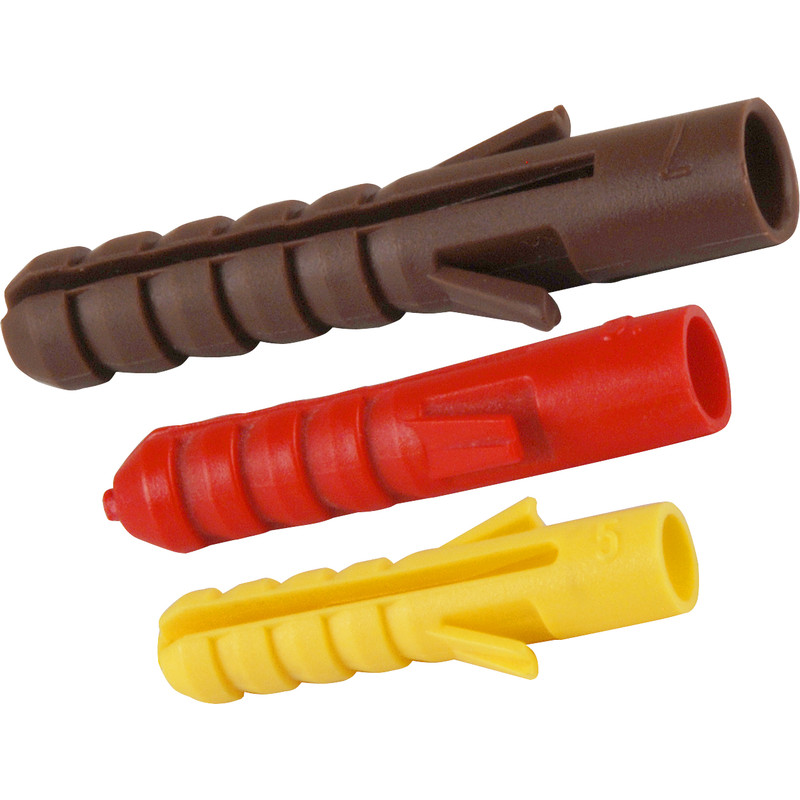
Wall plugs are colour-coded to help you match them to the correct drill bit size and screw gauge. Choosing the right size ensures the plug fits snugly in the drilled hole, providing a secure grip when the screw is inserted. If it's too loose, the fixing may spin or pull out; if it's too tight, the plug may not grip properly.
Here’s a general guide to standard UK wall plug sizes. Keep in mind, that there are sometimes variations depending on the manufacturer:
-
Yellow wall plugs – Use with a 5mm drill bit, suitable for light-duty fixings in solid walls.
-
Red wall plugs – Use with a 6mm drill bit, one of the most common sizes for medium-weight fixtures.
-
Brown wall plugs – Use with a 7mm drill bit, ideal for heavier items like curtain poles or wall-mounted shelves.
-
Blue wall plugs – Use with an 8-10mm drill bit, designed for heavy-duty applications such as securing large brackets or frames.
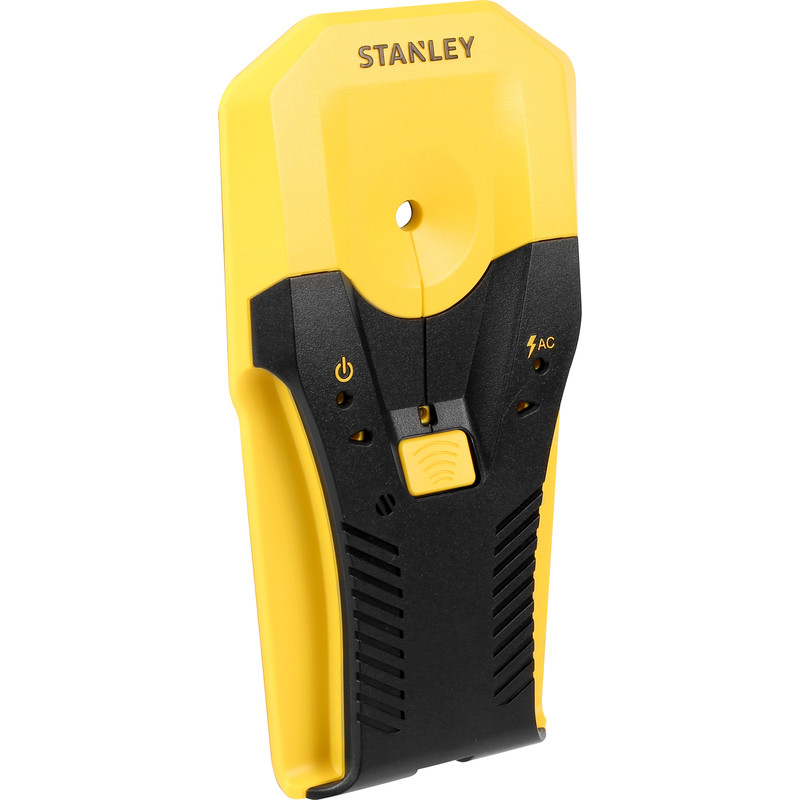
Step 1: Check for Pipes & Wires
The first thing to do is check the wall for any wires and pipes to ensure you don’t accidentally drill through them. This is easily done with a detector (sometimes called a stud finder), a handy little device that can detect the presence of water and gas pipes, electrical wires, and anything else that could be hidden behind the wall. In the event you locate a wall stud (part of the timber frame uprights that support the wall), you can screw straight into this without having to worry about fitting a wall plug.
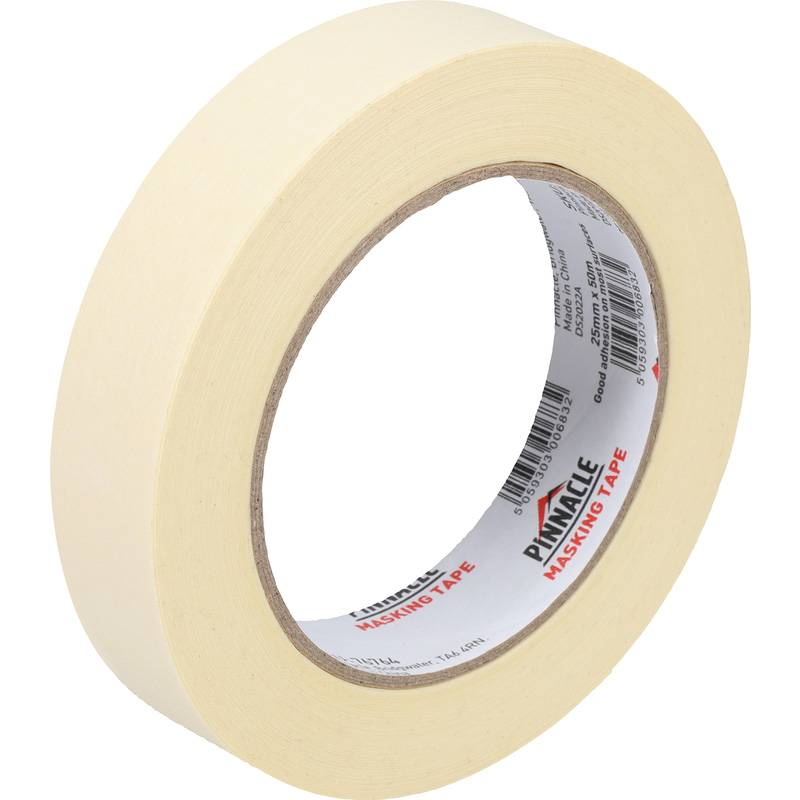
Step 2: Wrap Tape Around the Drill Bit
Take some masking tape and wrap it around the drill bit, the tape should be around midway down, and the exposed end of the drill bit should be the same length as the wall plug. This makes it much easier to drill a hole that is the same length as the plug.
Step 3: Drill a Pilot Hole
If you're a dab hand with your drill, you can move straight on to Step 4. However, if you don't have a lot of experience, drilling a pilot hole using a thinner drill bit can be much easier, giving you a straighter hole ready for the larger drill bit while keeping mess to a minimum.
Step 4: Drill the Main Hole
With the pilot hole drilled, swap out the drill bits for a larger one. Then drill into the smaller hole. There are different types of drills, but if your drill has a hammer action, use this when drilling into harder materials. Keep drilling until you reach the full depth required.
Step 5: Insert the Wall Plug
Take your wall plug and carefully push it into the hole in the wall. You may need to apply a little pressure, but it should go in fairly easily by hand. If you need to, use a hammer and gently tap it in until the plug is flush with the wall.
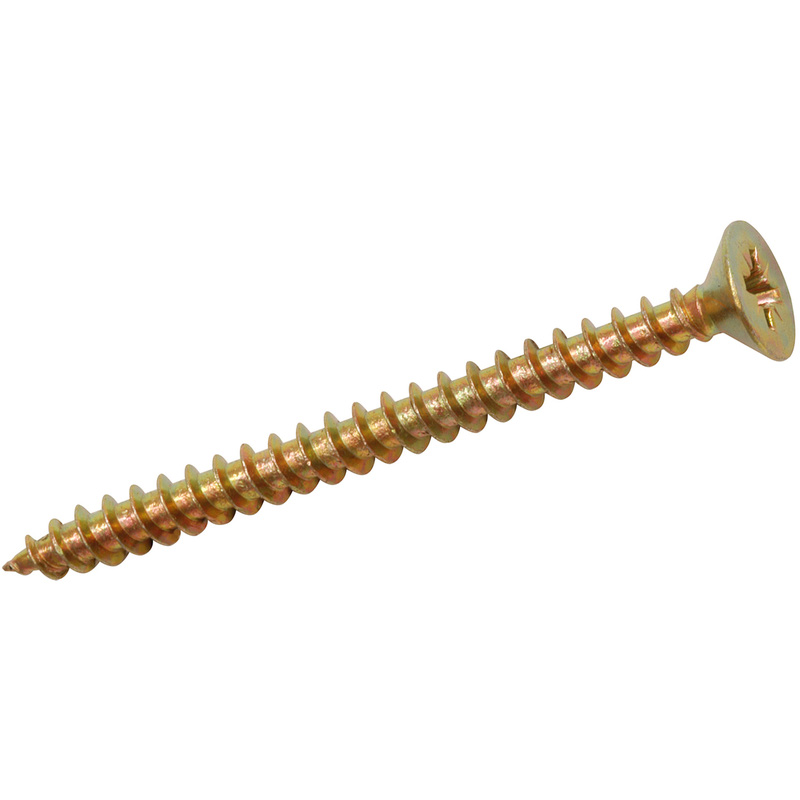
Step 6: Place Screw into the Wall Plug
Screw the screw into the wall by hand, then tighten it with a Phillips screwdriver. You can use your combi drill for this if you prefer, but you risk driving the screw in too far. If you're hanging something like a picture frame or mirror, remember not to screw it all the way in.
On the other hand, if you're fitting something like a wall light, you'll want to place the screw into the hole of the baseplate before attaching it to the wall.