- Help & Advice
- How To Guides
- How to Fit a Loft Ladder
How to Fit a Loft Ladder
It’s always handy to have a loft for additional storage space in the home. But without easy access, making full use of that space can be a challenge. Fitting a loft ladder is a practical and cost-effective way to make your loft space more usable and safe.
Whether you're storing camping gear, luggage, or just trying to make better use of your home's square footage, installing a loft ladder is a manageable DIY project for most homeowners. In this guide, we’ll take you through the steps on how to fit a loft ladder, from choosing the right type of ladder to fitting it securely and safely.
What Type of Loft Ladder Should You Choose?
If you’ve yet to purchase a loft ladder, you’ll need to decide on the best one to suit your needs. Let’s take a look at the different styles to choose from. Keep in mind you’ll need the right size so be sure to measure your loft hatch to ensure that whichever loft ladder you choose, it will fit.
Folding / Sliding Loft Ladders
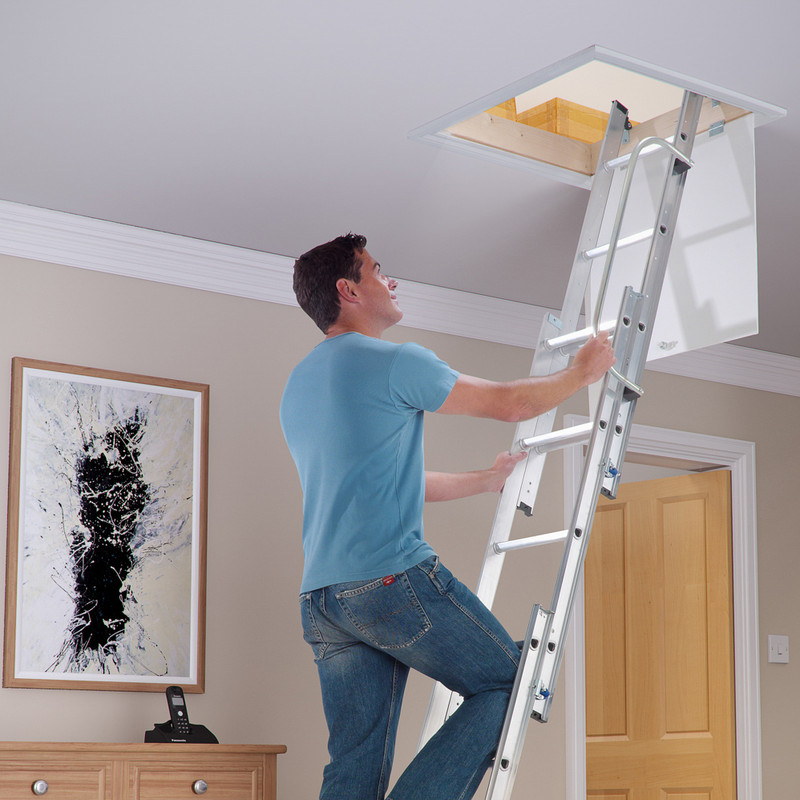
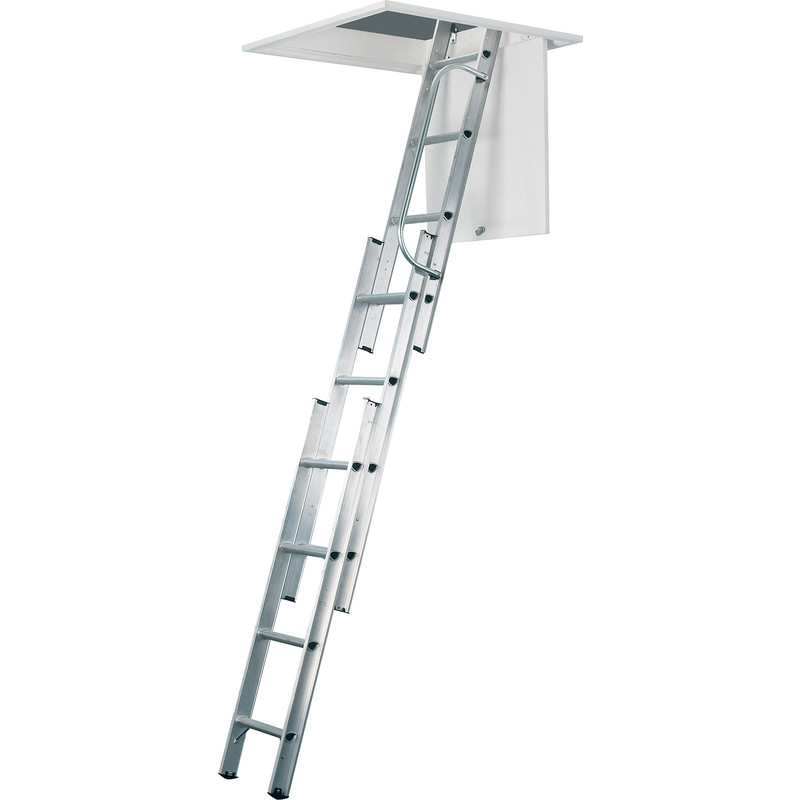
A folding (or sliding) loft ladder is one of the more popular choices for homes thanks to their ease of use and straightforward installation. They typically come in two or four sections that fold or slide down from the loft hatch, making them compact when not in use. You can get them in either wood or metal, giving you a choice in terms of style and durability. Some models even include a handrail for added support and safety. Keep in mind that you’ll need enough clearance in the loft to store the ladder when it’s folded, so it may not be suitable for loft spaces for very low headroom.
Telescopic Loft Ladders
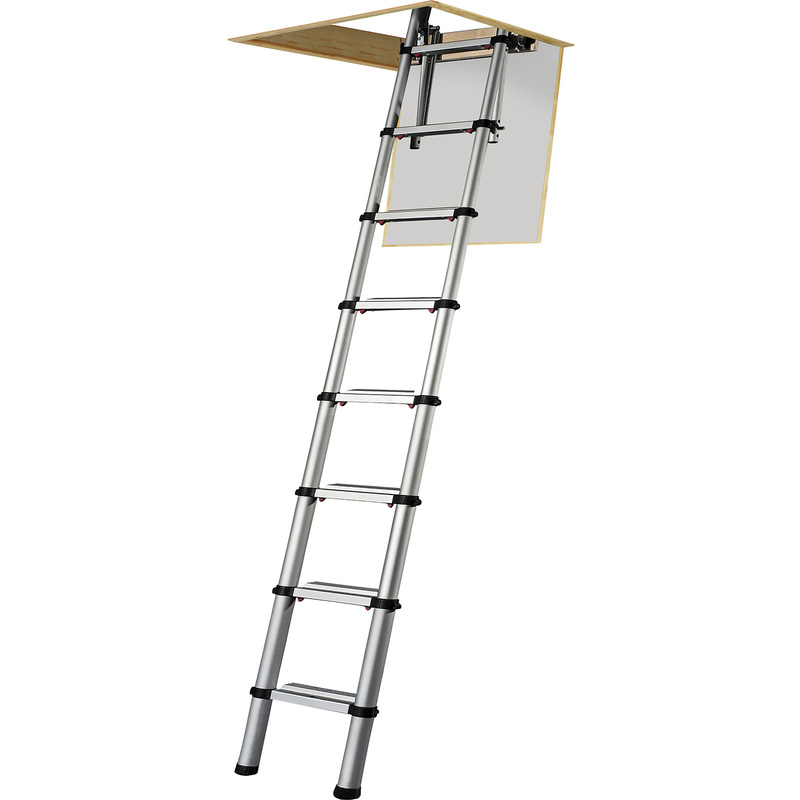
Telescopic ladders are ideal for tight spaces or lofts with minimal access. They extend and retract in overlapping sections, making them extremely compact and easy to store. Their sleek, modern design suits smaller loft hatches with limited floor space below. A big plus is that they require little clearance in the loft or room below. On the downside, telescopic ladders can feel less sturdy underfoot and often carry a higher price tag compared to folding loft ladders. Models with an automatic locking system are usually more stable.
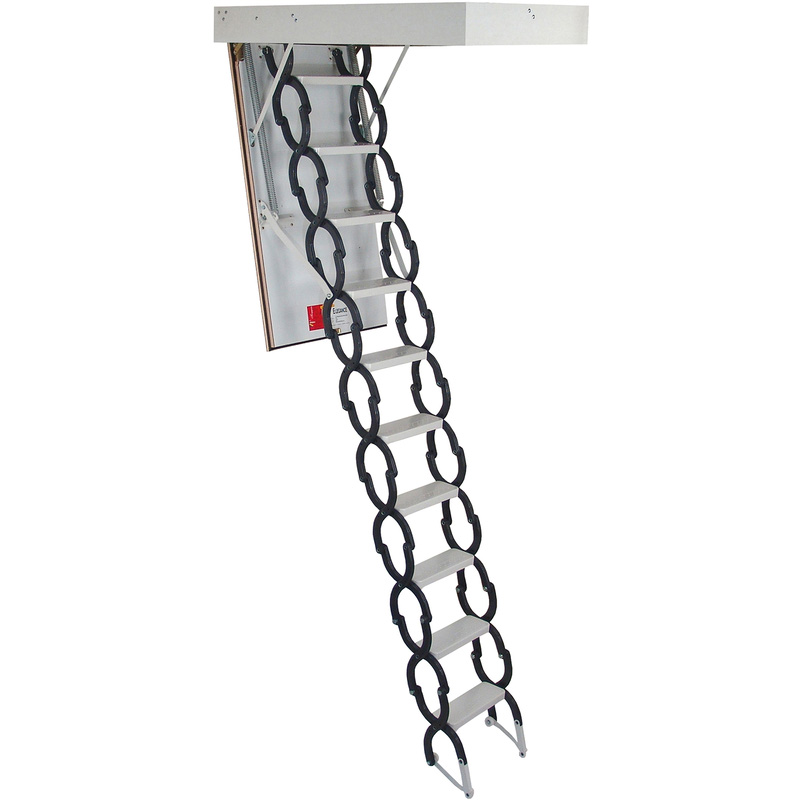
Concertina Loft Ladders
Concertina ladders collapse in a zig-zag, scissor-like fashion, making them a great choice for lofts with very limited storage space above the hatch. Their fully collapsible design means they can often fit entirely within the loft opening, without requiring additional headroom. Typically made of metal, they’re strong and compact and perfect for occasional use. However, concertina ladders can be heavier to operate, and some users find them a bit clunky to use.
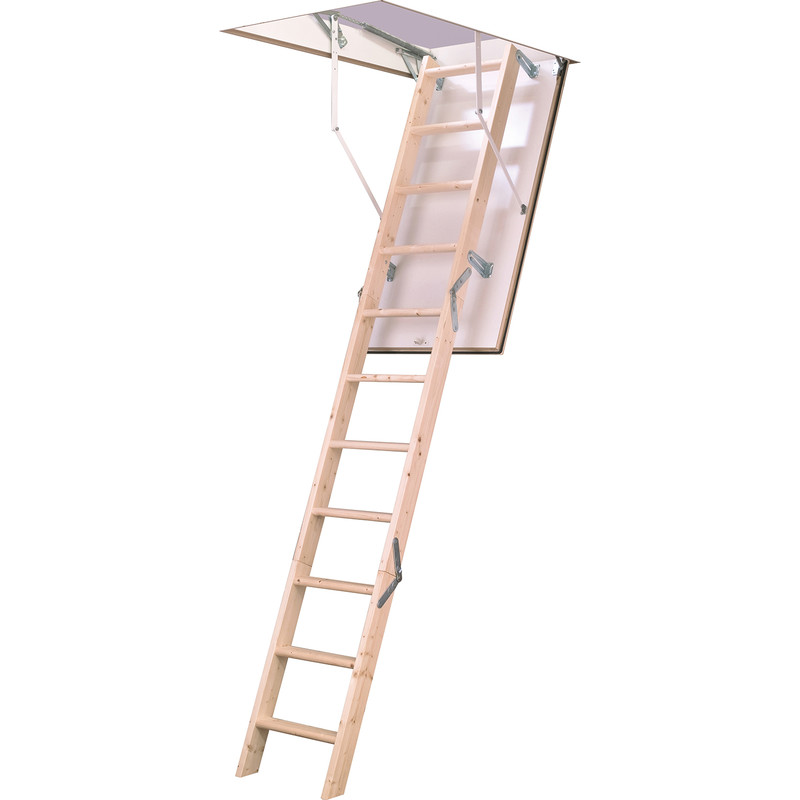
Wooden Loft Ladders
Wooden loft ladders have a more natural appearance making them ideal if you prioritise aesthetics. They tend to feel solid and sturdy underfoot, offering a comfortable and stable climb into your loft, a good choice if you access your loft on a regular basis. They also provide better thermal insulation compared to metal, which could help to reduce heat loss through the loft hatch. However, they are usually bulkier and heavier, which can make them more difficult to manoeuvre. They may also require more clearance in the loft for folding storage.

Metal Loft Ladders
Metal loft ladders, often made from aluminium or steel, are lightweight, durable, and generally lower maintenance compared to wooden alternatives. Aluminium loft ladders are particularly easy to lift and operate, making them ideal for quick access. Metal ladders are also moisture-resistant, so they’re a great option in environments where condensation might be a concern. However, they can be quite noisy during use and may feel colder or less comfortable to climb without padded or wide treads.
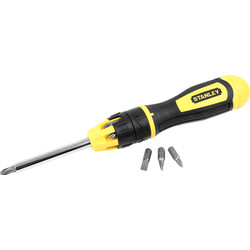
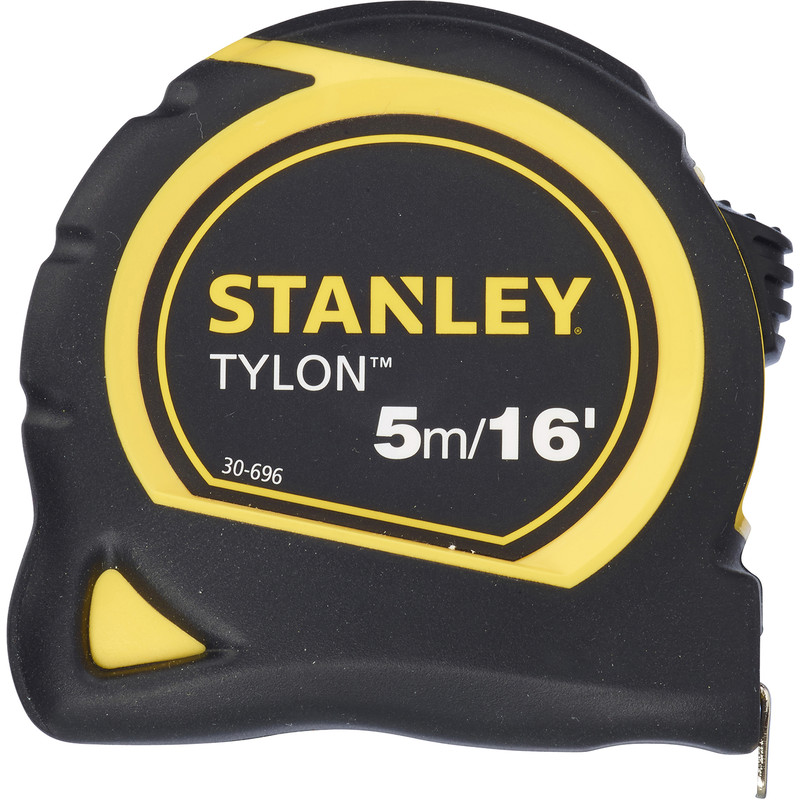
Essential Tools & Equipment

Step 1: Assemble the Loft Ladder
No matter what type of loft ladder you have, there’s likely to be a bit of assembly required before you can fit it. So, remove all the packaging and follow the manufacturer’s instructions to put it together. It’s a good idea to assemble it near to the loft hatch so you don’t have to carry it too far before fitting it.
Step 2: Prepare the Loft Hatch
Before you can install your ladder, you’ll need to ensure the loft hatch is ready to accommodate it. If your current hatch opens upwards or is too small for the ladder you’ve chosen, you may need to enlarge the opening or convert the hatch so it opens downwards.
Check that the loft opening is square and level. If necessary, trim or reinforce the edges of the hatch so it can support the weight of the ladder and its frame. Be sure to check there’s no pipework, wiring or any other obstructions above the hatch that could get in the way of the ladder when it's folded.
Step 3: Position the Ladder Frame
Most loft ladders come with their own frames, especially in the case of folding and wooden ladders. You’ll need to fit this securely into the loft opening. To do this, lift the ladder frame into the hatch opening, you may need to ask for some help with this step.
If you need to, use wedges or temporary supports to hold the frame level and flush with the ceiling. Make sure to check that the hatch door swings freely and clears the ladder mechanism when closed.
Step 4: Secure the Ladder
With the frame in place, use the supplied screws or bolts to fix the frame securely into the hatch opening. Drive the fixings through the pre-drilled holes in the side of the frame into the surrounding joists or timber supports. Before tightening up the fixing, double check that everything is level and square. Use a spirit level to double-check the alignment. An uneven frame can cause the ladder to bind or not sit flush when closed.
Step 5: Extend and Adjust the Ladder
Once the frame is fixed in place, carefully unfold or extend the ladder down to the floor. Many loft ladders come with adjustable feet or sliding sections to accommodate different ceiling heights - follow the manufacturers guidelines to set these correctly. Never cut or modify any structural part of a metal or telescopic ladder unless the instructions explicitly allow for it.
Step 6: Check the Ladder Works Properly
Now that the ladder is fitted, open and close it a few times to ensure that it operates smoothly. Make sure that each section locks securely in place and feels stable underfoot. If the ladder has a handrail or spring mechanism, check that these are properly installed and functioning as they should.
To finish off, you could use architrave around the hatch frame to tidy up the ceiling edges. You could also insulate around the hatch to minimise heat loss.