- Help & Advice
- How To Guides
- How To Draught Proof Your Home
How To Draught Proof Your Home
Draught proofing your home is a great way to prevent warm air from escaping and conserve energy. In this article, we’ll suggest some effective methods to stop draughts from seeping through those small, often unnoticed gaps around windows, doors, floorboards, and other fixtures – the nooks and crannies that allow cold air in and warm air out.
Draught proofing is a relatively low-cost and simple DIY job that can make a significant difference to your home’s warmth and efficiency. Whether you live in a modern flat or an older property, taking the time to identify and seal those problem areas can save energy and improve the comfort of your home.
Essential Tools & Equipment
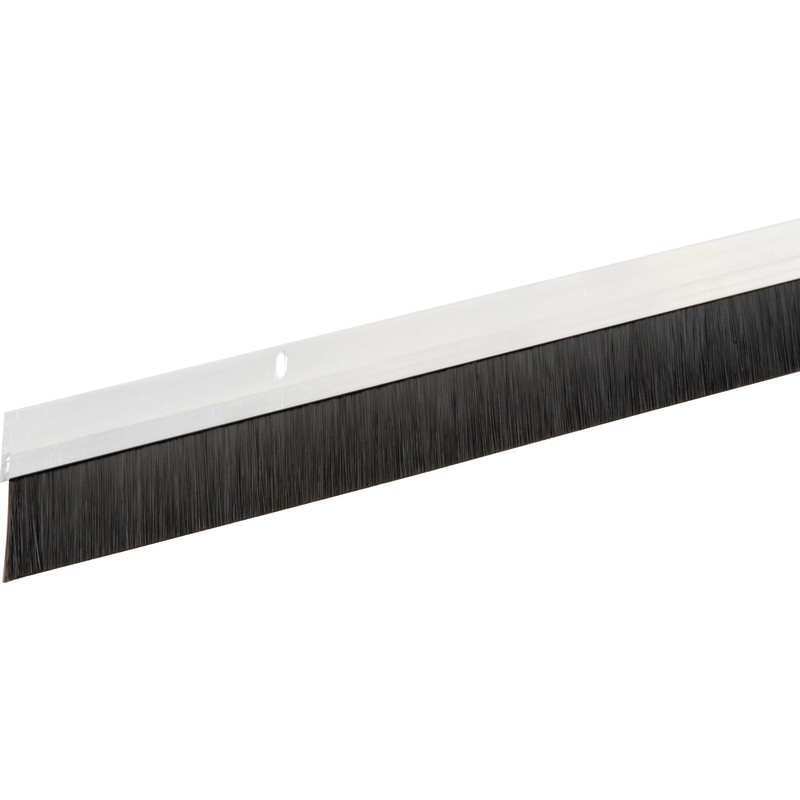
How To Draught Proof External Doors
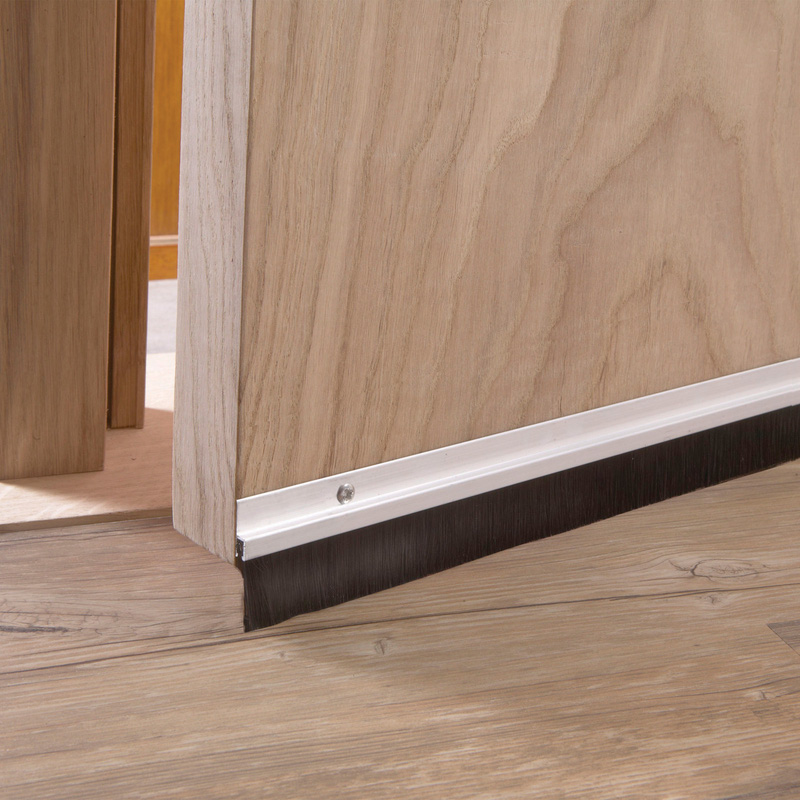
External doors can be one of the biggest culprits when it comes to allowing cold air to enter your home. A quick fix to draughtproof these doors is to fit a brush strip. These are readily available in a variety of different lengths so try and get one that fits as close as possible to the length of your door. You’ll also notice that the bristles on each strip are different lengths so take measurements of the gap between the bottom of the door and the floor, along with the length of the door itself.
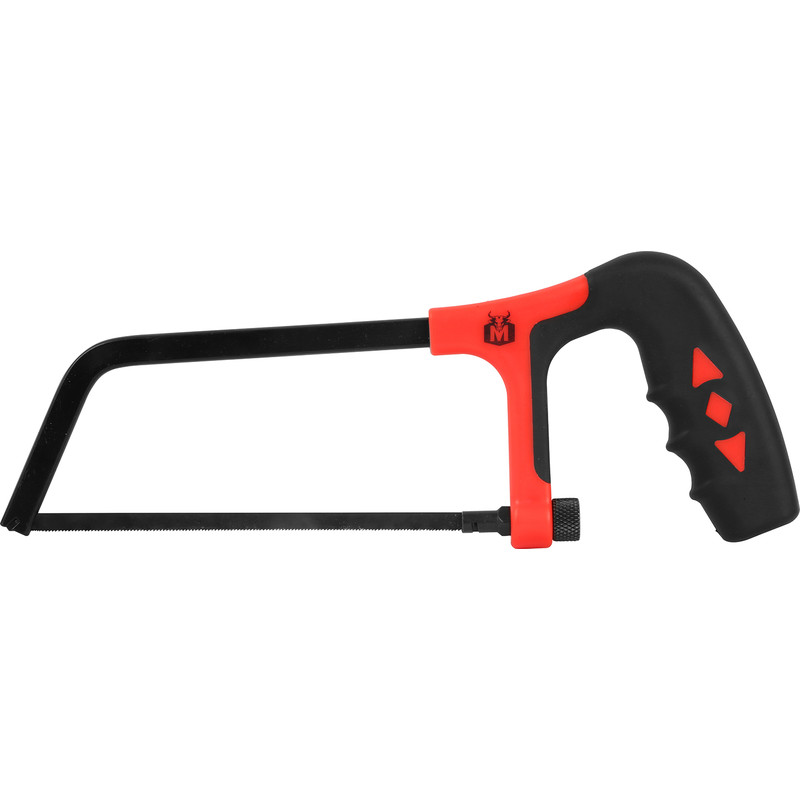
If you can get the perfect length then great. If not, you’ll need to cut it down to size before fitting it to the door. To do this, slide the brush from the main housing. Use a junior hacksaw to cut the housing to the correct length. Next, take a pair of pliers and use these to cut the brush to the same width as the housing. Slide the brush back into the housing - now it’s ready for fitting.
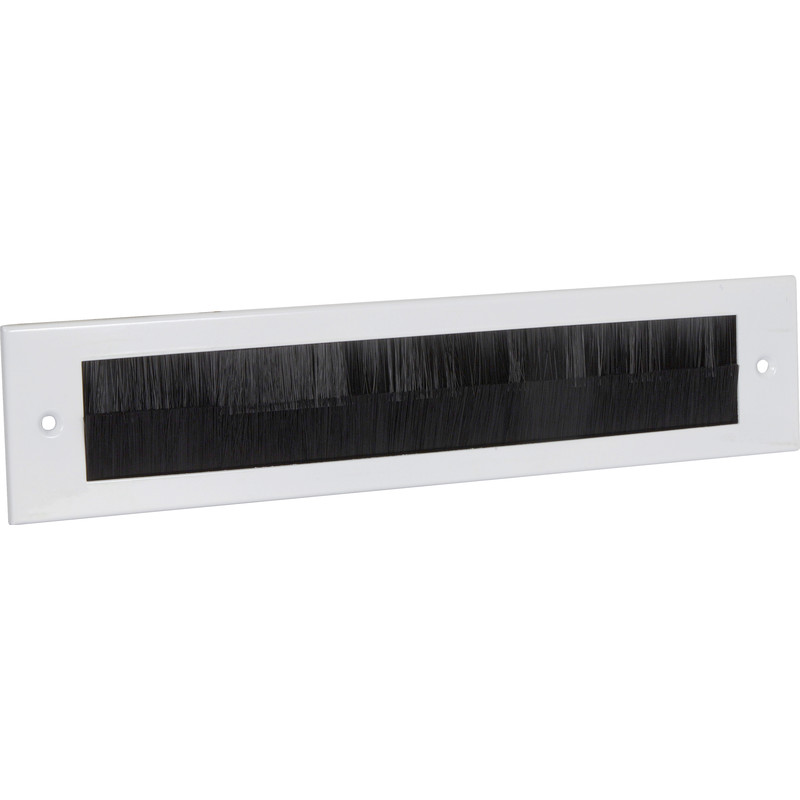
Most brush strips are fitted by adhesive strip or screwing into the door. Once fitted, double check you can easily open and close the door, but also that the gap is well covered in order to create a tight seal preventing unwanted draughts from seeping in. If you’re draught-proofing a front door with a letterbox, you could consider installing a brush letter plate to further reduce draughts.
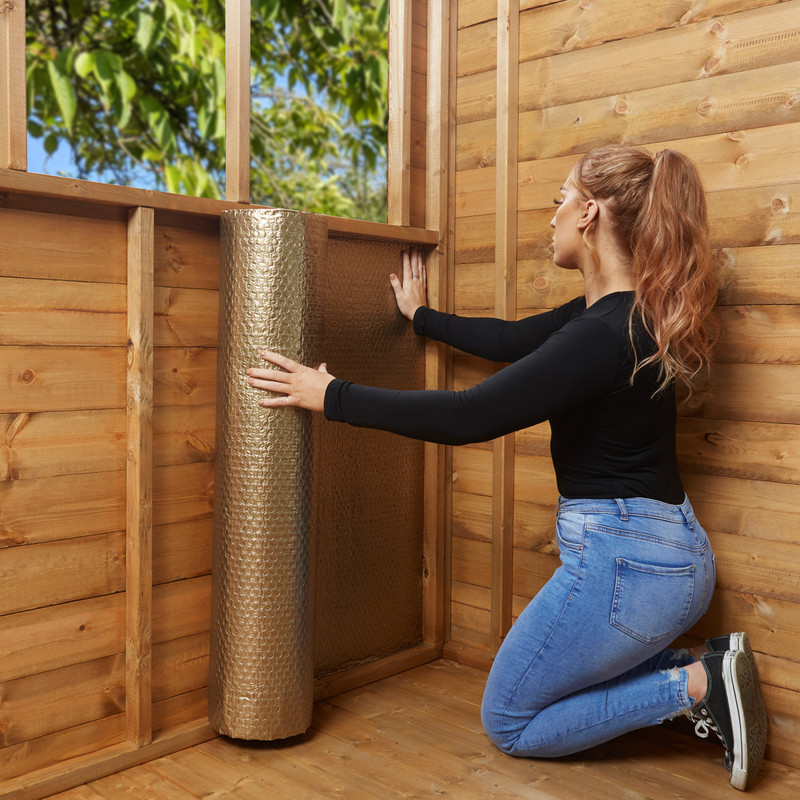
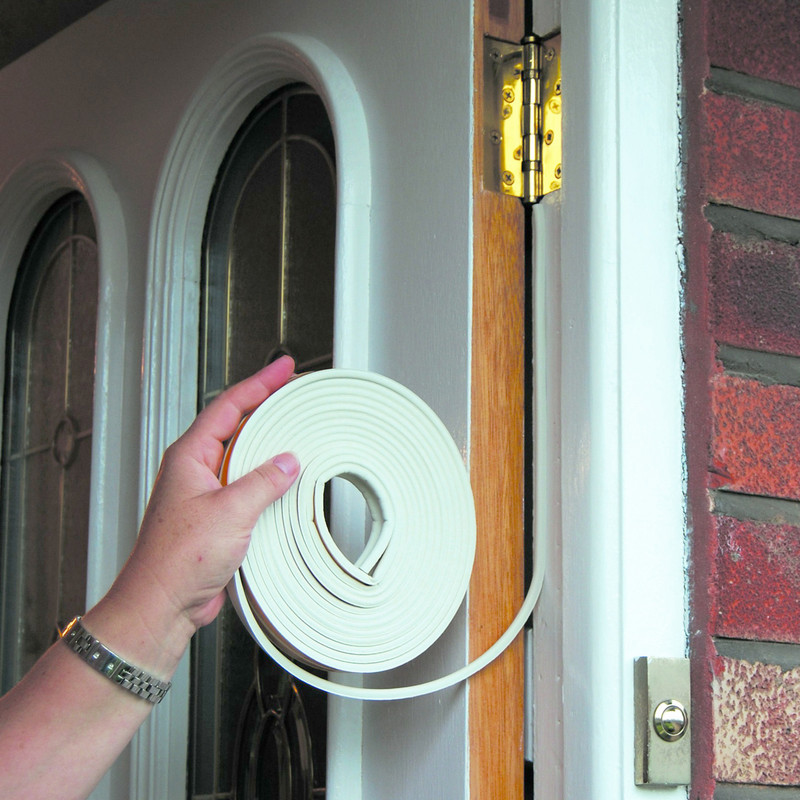
How To Draught Proof Windows
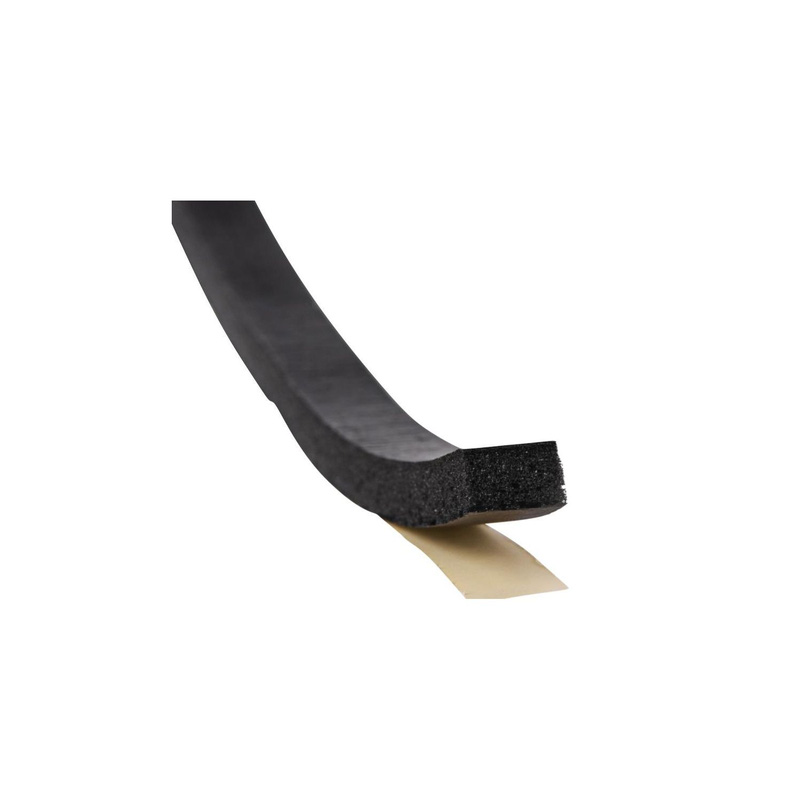
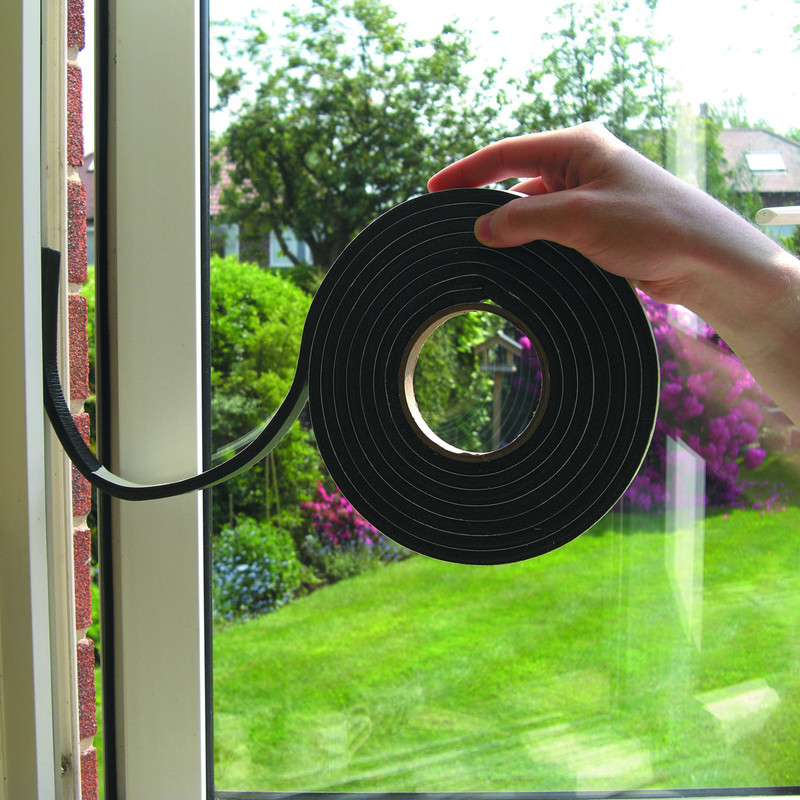
Windows, especially older or single-glazed ones, are another common source of draughts. One of the easiest and most effective ways to draught proof windows is by using self-adhesive foam strips, known as weatherstrips. They’re available in a range of thicknesses, so it’s important to choose one that suits the size of the gap between your window frame and the sash or casement.
To ensure proper adhesion, the first thing to do is to clean the surface where you’ll be applying the strip. Use a damp cloth to wipe down the window frame and allow it to dry fully. Then, measure each section of the window where a gap exists and cut the foam strip to the correct lengths. Peel off the backing and press the strip firmly into place, making sure it sits flush along the frame to create an effective seal.
Alternatively, for a temporary fix in the winter months, you could use secondary glazing film. This is a plastic sheeting applied with double-sided tape – it helps to reduce heat loss and draughts without having to undertake any major alterations.
How To Draught Proof Floorboards and Skirting Boards
Even small gaps between skirting boards or floorboards can allow cold air to seep into your home, especially in older properties with suspended timber floors. Over time, these boards can shrink and shift slightly, creating tiny spaces that may let draughts in. The good news is that sealing them is relatively simple.
For narrow gaps, decorator’s caulk is ideal. It’s flexible, easy to apply with a caulking gun, and can be painted over once dry to match the surrounding areas. Run a steady bead along the gap and use a damp finger or a finishing tool to smooth it out. If you’re working with larger gaps, try using an expanding foam filler instead. Take care though as it expands quickly, so apply in short bursts and trim the excess once it’s hardened.
If you want to keep floorboards exposed for aesthetic purposes, you might want to use a specialist product like wood filler. They tend to come in different colours so you can choose one that suits your particular wood finish . This can be an effective, non-permanent solution that also allows the wood to expand and contract with the seasons.