- Help & Advice
- How To Guides
- How To Panel A Wall
How To Panel A Wall
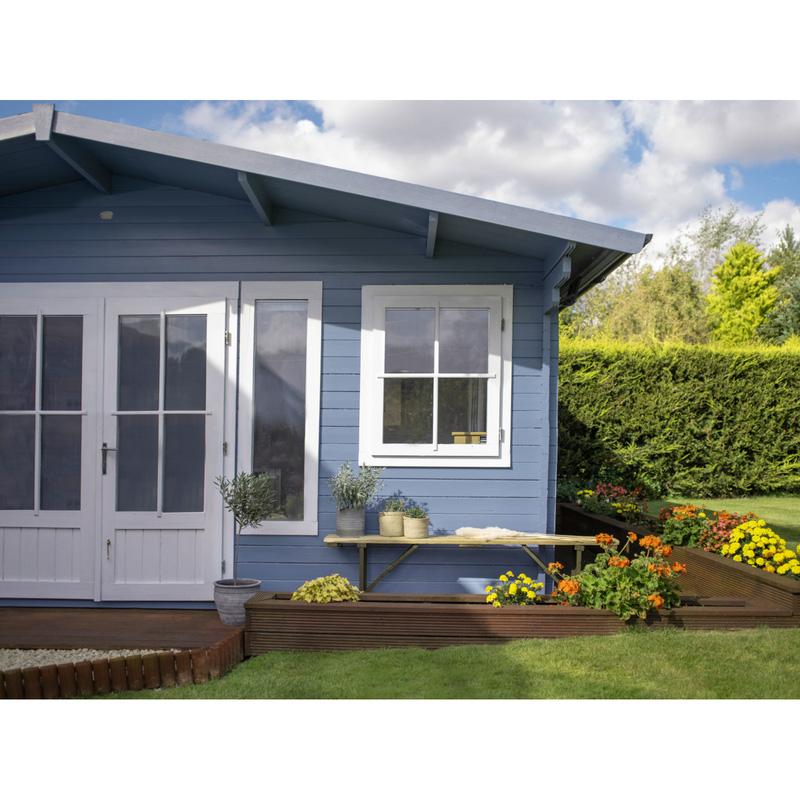
There are many ways to spruce up a room, from a fresh coat of paint to more creative methods like painting bold stripes on a wall. But if you're looking for something a little more unique, wall panelling is a standout option.
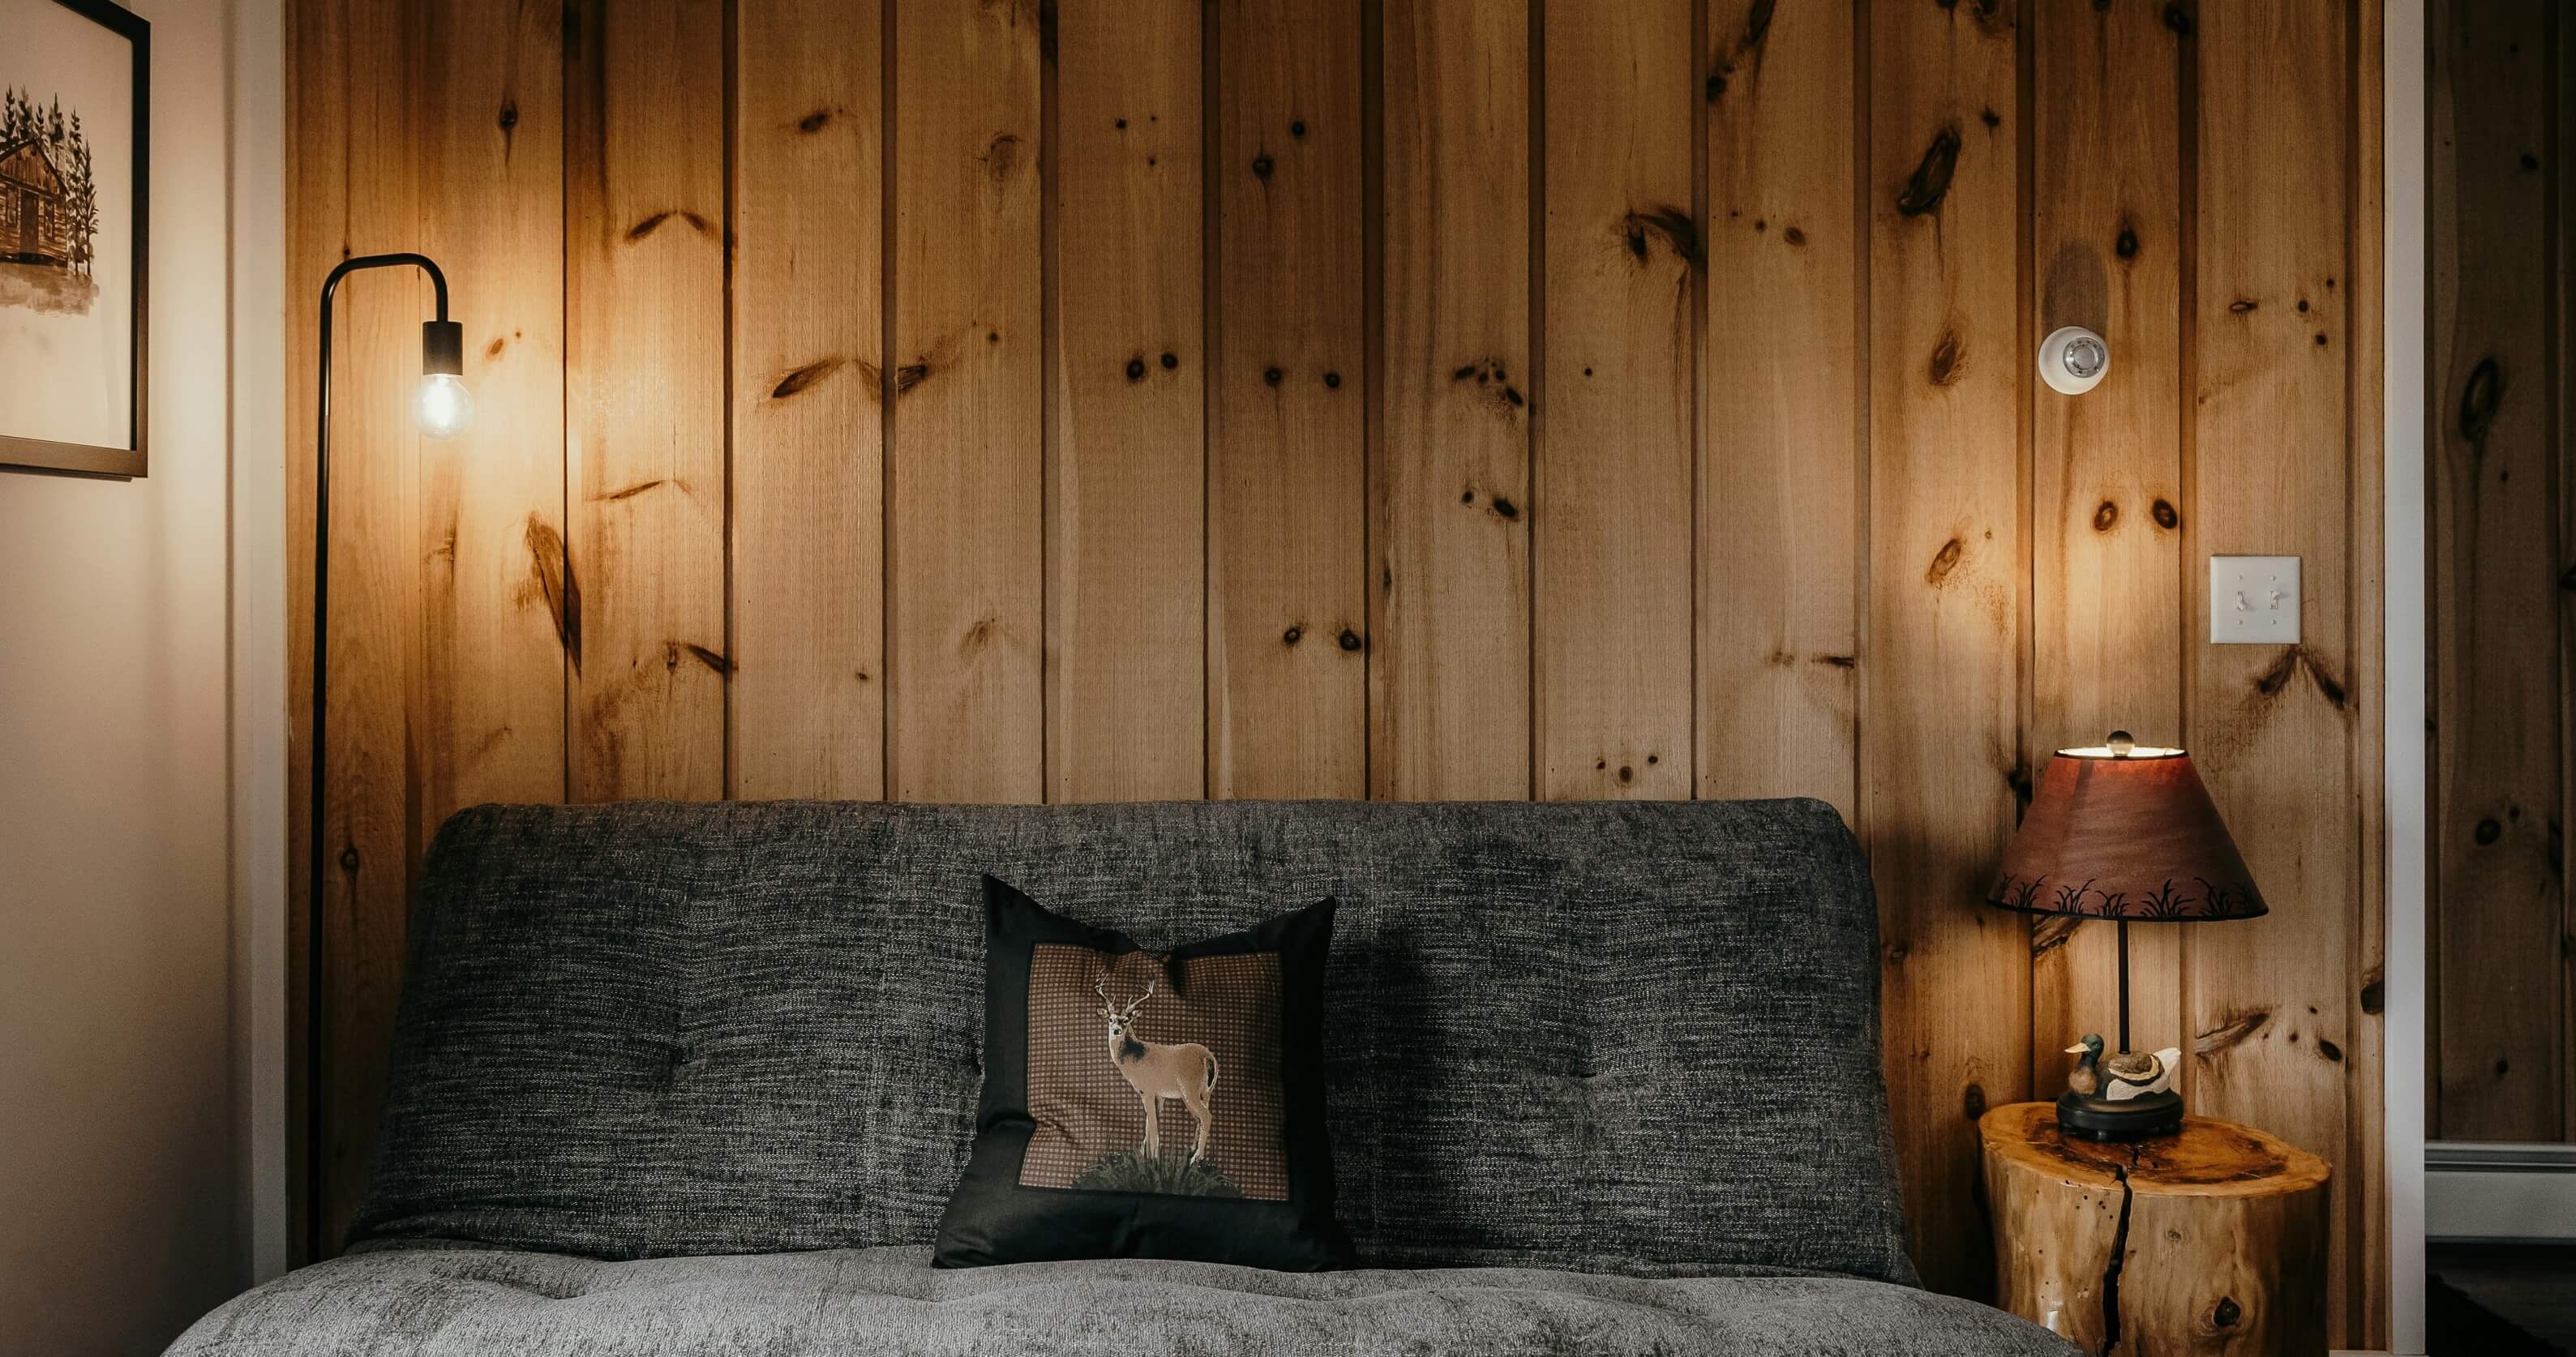
Panelling a wall is one of the most effective ways of improving the overall appearance of a room, and the great news is, it’s much easier to do than you might think. With just a few tools and our simple steps, in no time at all you can completely transform a room adding character and sophistication. Whether you'd prefer a more traditional look with wood panels, or something more modern and minimal, this how-to guide can help you add a stylish twist with minimal effort.
Essential Tools & Equipment
Gather up the below tools ready for your DIY panelling project, and don't forget your wood panels. If you plan on giving them a splash of colour, this is easily done with either wood stain or paint.

Step 1: Measure the Wall
Before you start putting up any panels, the first thing you’ll need to do is measure the wall. This helps you figure out how many panels you’ll need and what size they should be. To get the total wall area, just multiply the height by the width. Then do the same for a single panel, and divide the wall area by the panel size to work out how many panels you’ll need to cover it all.
Don’t forget to factor in things like light switches, plug sockets, or any other fixtures as you’ll need to panel around those. It’s a good idea to add about 10% extra to your measurements, just in case you make a mistake or need a bit more material than expected. Taking the time to measure properly now will save you a lot of hassle later!
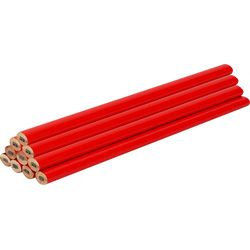
Step 2: Cut the Panels
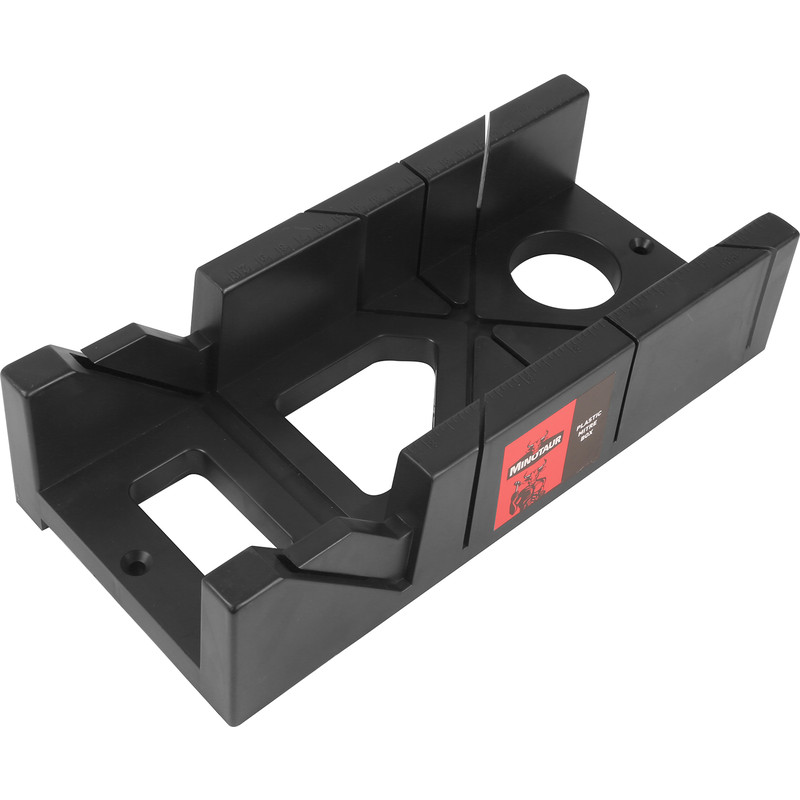
Once you’ve measured everything up, it’s time to cut your panels to size. Start by marking exactly where each panel needs to be trimmed. When you’re ready to cut, use a hand saw or, to save time, a mitre saw. Be sure to make clean, straight cuts. A mitre box can really help here, as it guides the saw and keeps your lines nice and straight.
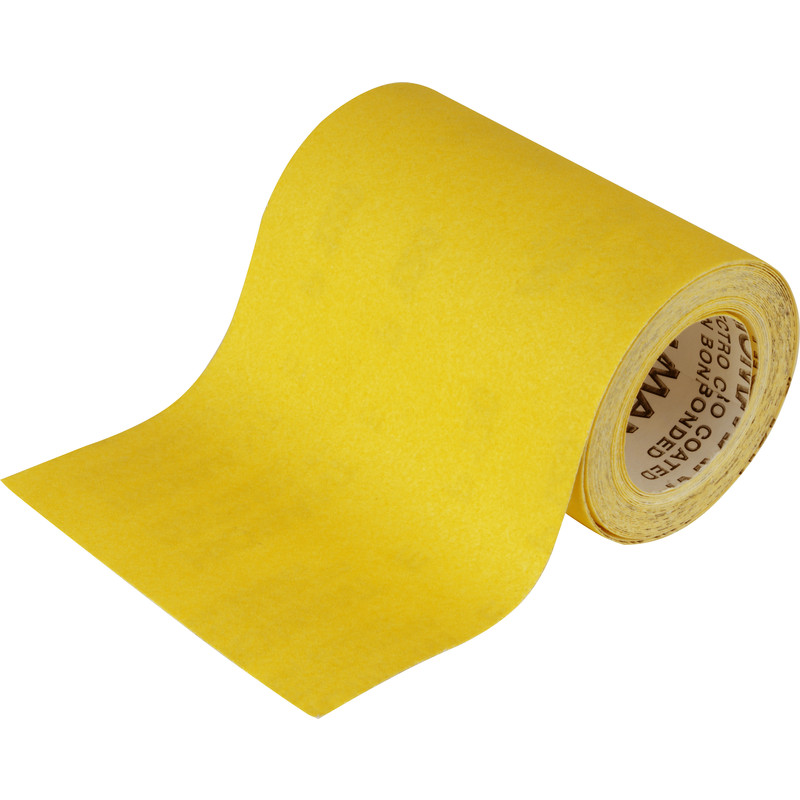
After cutting, give the edges a quick sand to smooth them out. This helps the panels fit together more neatly on the wall and gives the whole thing a polished, professional finish.
Step 3: Prepare the Wall
Before you start sticking anything to the wall, it’s important to get the surface ready. Give the wall a good wipe down with some warm, soapy water to remove any dust, dirt, or grease. A clean surface helps the panels stick better and last longer.
If there are any bumps or blemishes on the wall, give them a light sand to smooth things out. For uneven walls, grab a spirit level as it’ll help you figure out where the panels might need to be trimmed to fit properly. If you’re planning to paint the wall behind the panelling (for example, to match gaps or add depth), now’s the perfect time to do it before the panels go up.
Step 4: Apply Panels to the Wall
Now it’s time to attach your panels to the wall. You can use adhesive, nails, or both for extra hold.
If you're using glue, apply it in a zigzag pattern on the back of each panel to help it grip better. If you’re using nails, drill a small pilot hole first, this helps prevent the wood from splitting when you hammer them in.
Before fixing anything in place, it's a good idea to use a pipe detector to check for any hidden wires or water pipes behind the wall. After all, it's better to be safe than sorry!
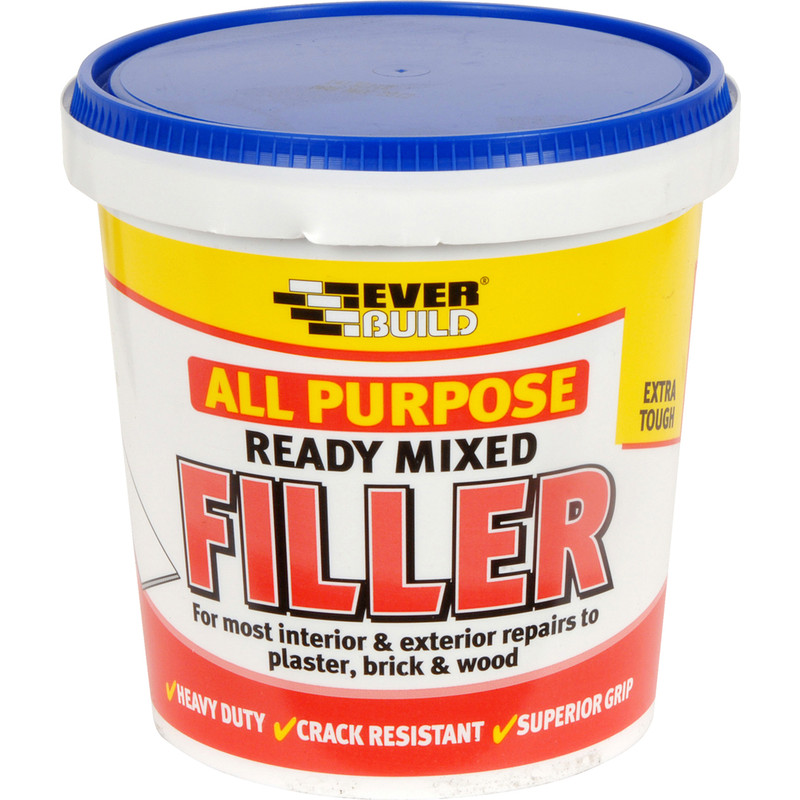
Step 5: Fill in Gaps
Once your panels are up, fill in any gaps between them with interior filler to create a smooth, seamless finish. After the filler has dried, lightly sand it down using fine sandpaper.
You can also run a line of decorator’s caulk around the edges and along the panel joins for a clean, professional look. Once everything is dry and smooth, your panels are ready for painting.
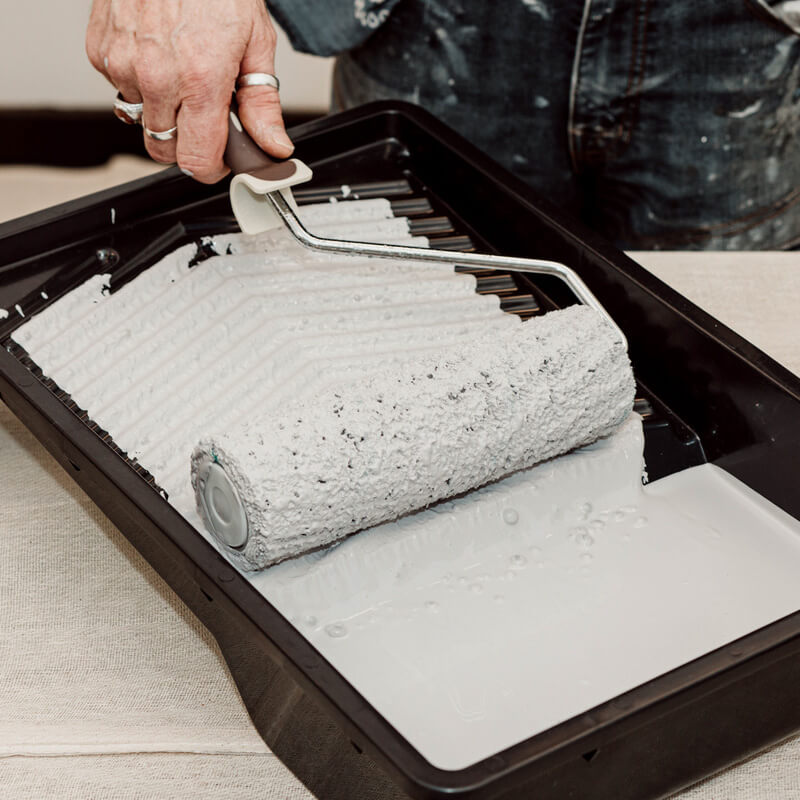
Step 6: Paint and Treat
Before you start painting, apply an undercoat as this will help the paint go on evenly and last longer. Add a couple of coats and be sure to let it dry fully before you move on to painting.
As with the undercoat, apply two coats of your chosen paint colour. Your newly panelled wall is now complete and ready to show off!