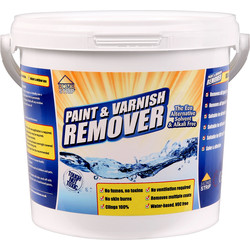
How To Remove Paint & Varnish From Wood
Essential Tools & Equipment


Step 1: Prepare Your Workspace
-
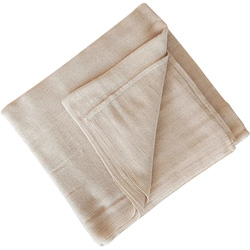
Before you begin, ensure you've covered the floor and any nearby furniture with dust sheets.
-
Open all doors and windows to ensure proper ventilation throughout the process.
-
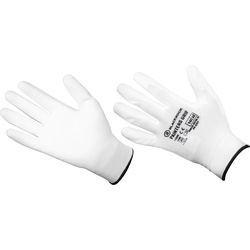
Put on safety glasses and gloves to protect yourself.
Step 2: Sand the Area
-
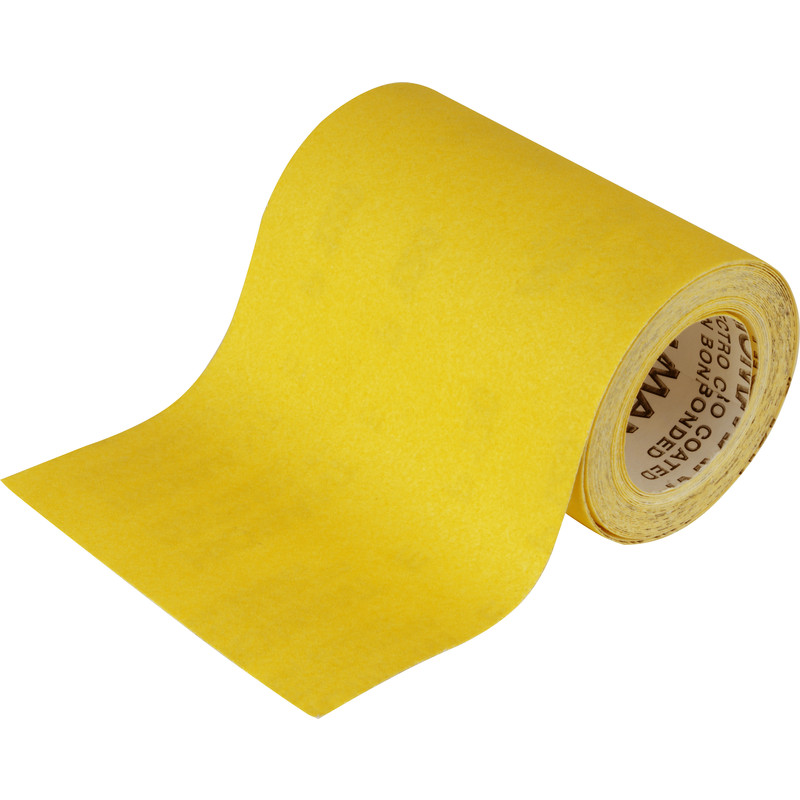
Lightly sand the area you intend to work on.
-
This step ensures the stripper is absorbed more effectively into the paint or varnish.
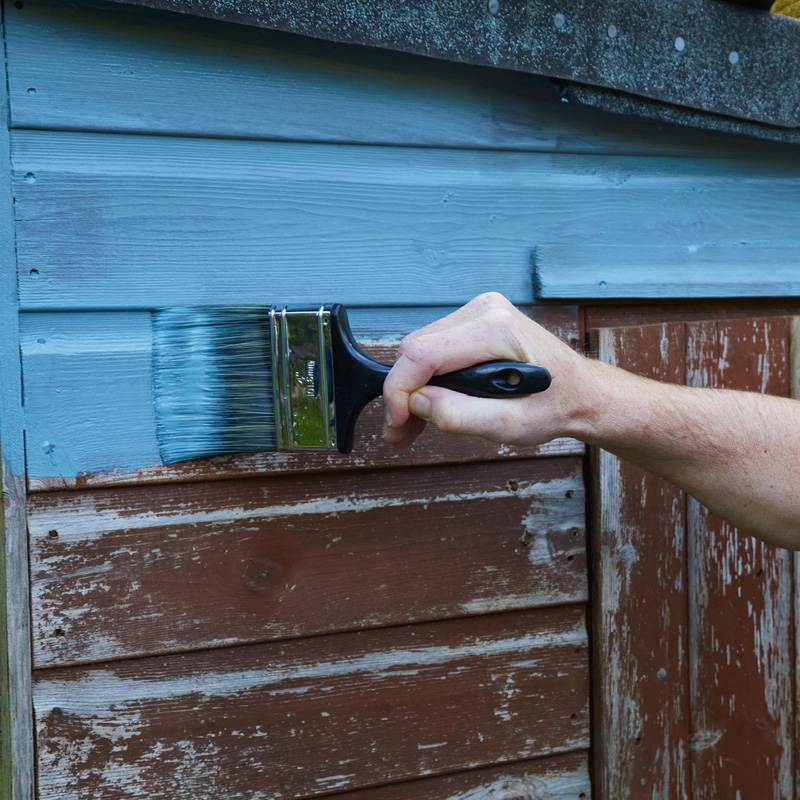
Step 3: Apply the Paint Stripper
-
Stir your maximum strength paint stripper well.
-
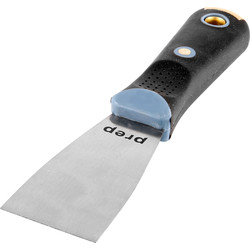
Using a brush or a flat-bladed tool, generously apply the stripper to the designated area.
-
Using a paint stripper with a gel consistency allows for a thick application without the worry of drips.
Step 4: Wait and Observe
-
Allow the stripper to sit until you notice the paint or varnish starting to blister or flake.
-
This could take up to four hours.
-
For water-based paints, expect the coat to soften rather than blister.
Step 5: Test and Strip
-
Before you proceed to strip the entire surface, test a small patch to ensure the stripper has penetrated all paint layers.
-
Once confirmed, use your stripping knife to gently scrape off the layers of paint or varnish.
Step 6: Clean and Dry
-
After stripping, there might be residues left.
-
Clean these with white spirit and a damp cloth.
-
Allow the wood to dry thoroughly.
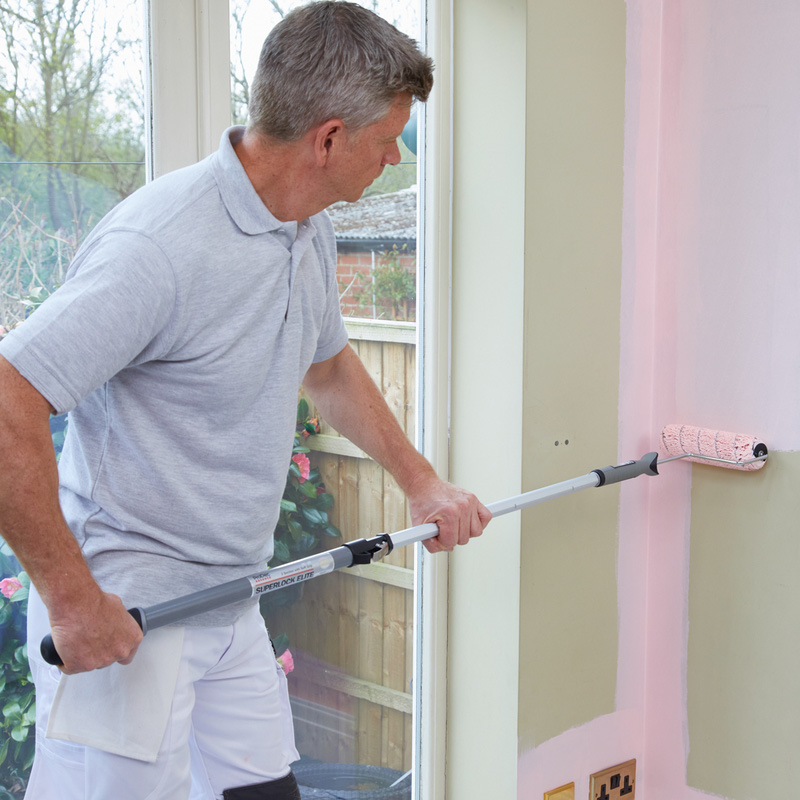
Step 7: Ready to Decorate
-
With the old paint or varnish removed, your wood is now ready for a fresh coat of paint, varnish, or any other decoration of your choice.