How To Paint A Wall
Painting a wall can transform a room, but achieving a professional finish requires the right tools and techniques. In this guide, we'll walk you through the process of painting a wall quickly and efficiently to achieve a perfect, professional result.
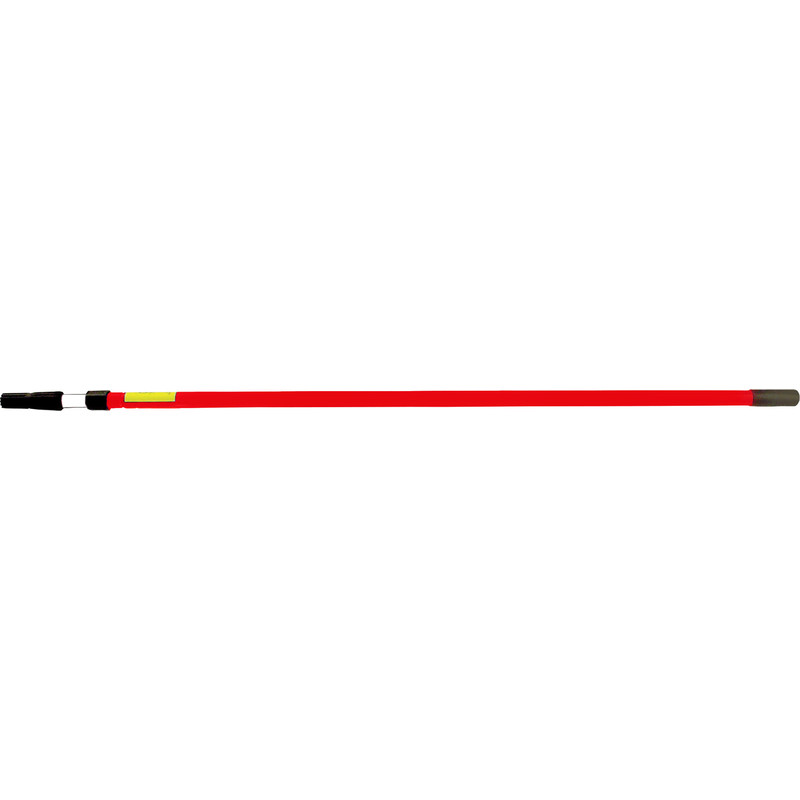
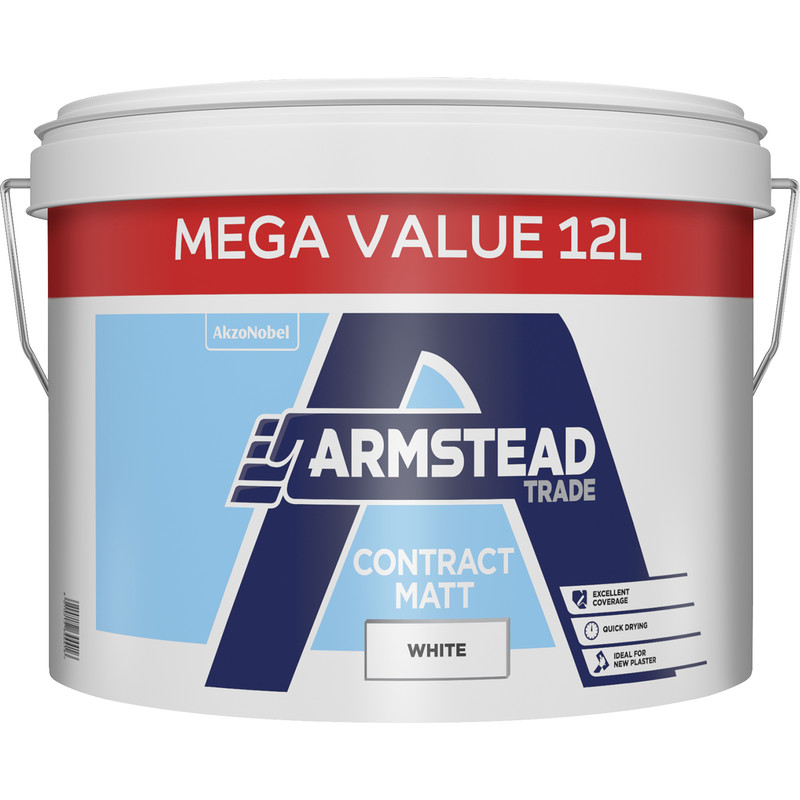
Essential Tools & Equipment
Step 1: Protect Your Eyes and Surroundings
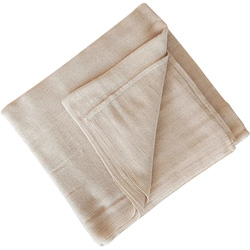
-
Lay a dust sheet on the floor and any furniture to protect from paint splatters.
-
Put on safety goggles to protect your eyes.
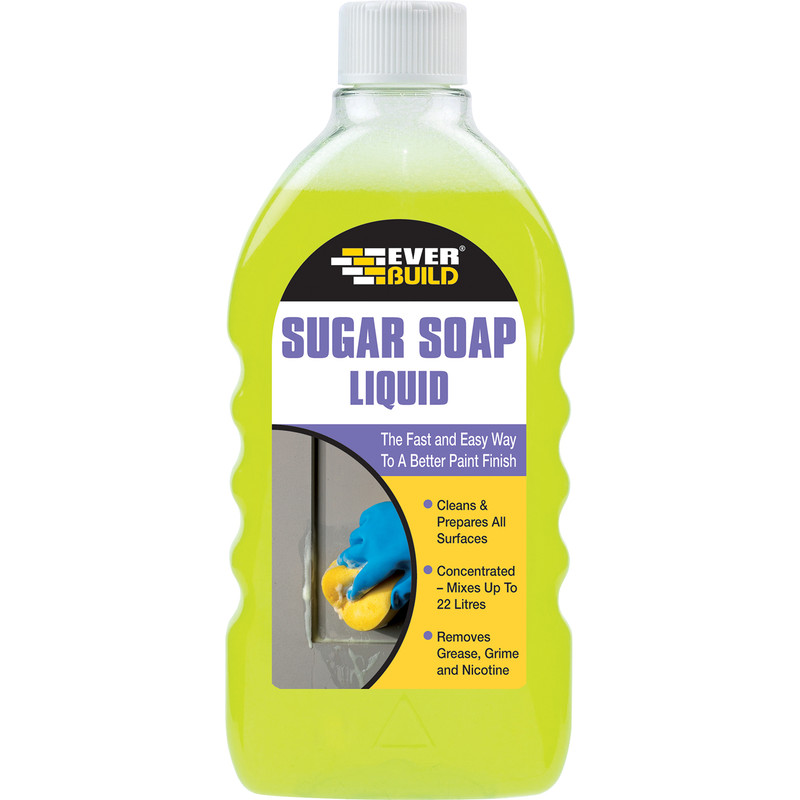
Step 2: Prepare The Wall
-
Wash the wall with sugar soap to remove any grease or grime – then follow up with some warm water to remove any traces of soap.
-
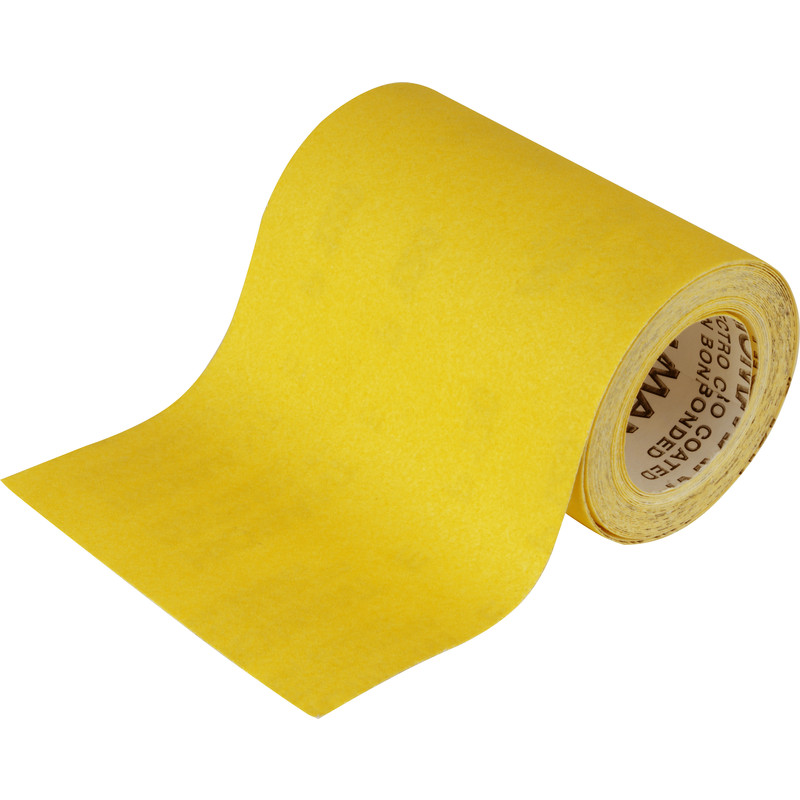
Use a piece of fine sandpaper to lightly sand the wall and give it texture for the fresh paint to adhere to.
-
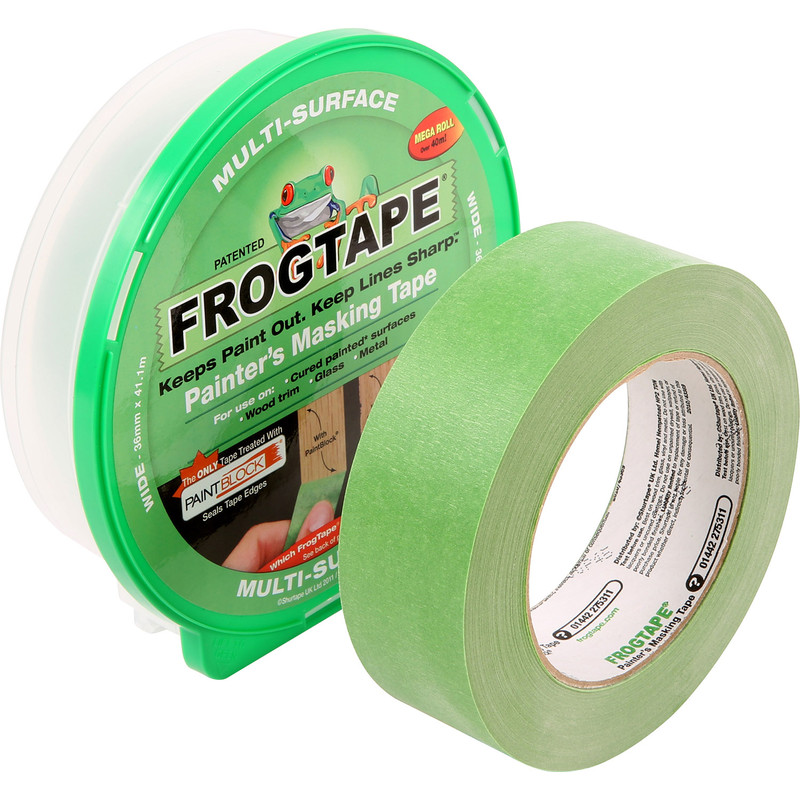
Apply painters tape or masking tape to the edges of the wall that you want to avoid getting paint on, including around door frames and light switches.
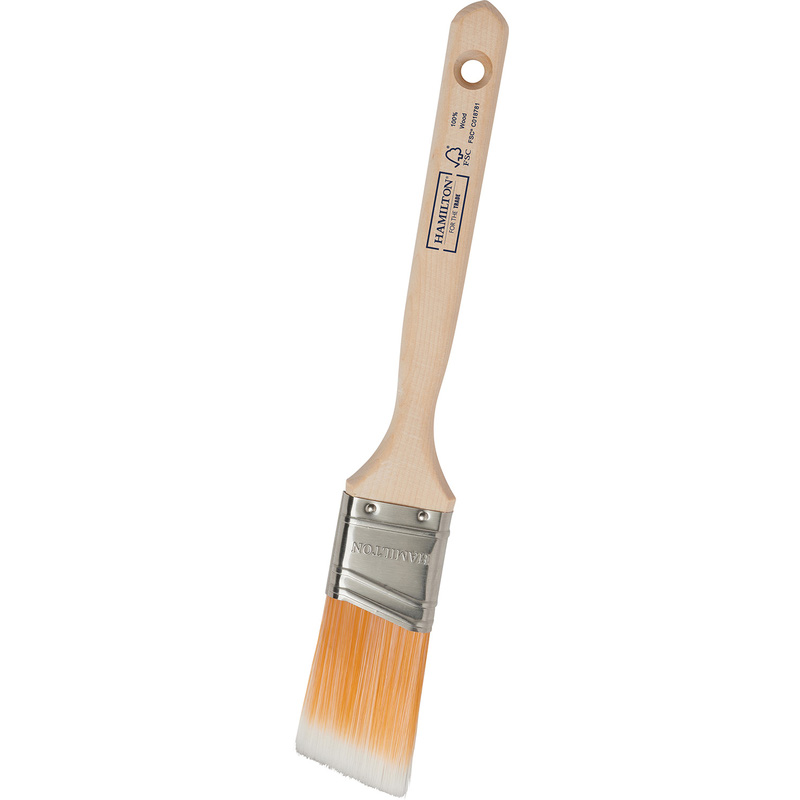
Step 3: Paint The Edges Of The Wall
-
Apply some paint to a cutting brush and paint around the edges of the wall.
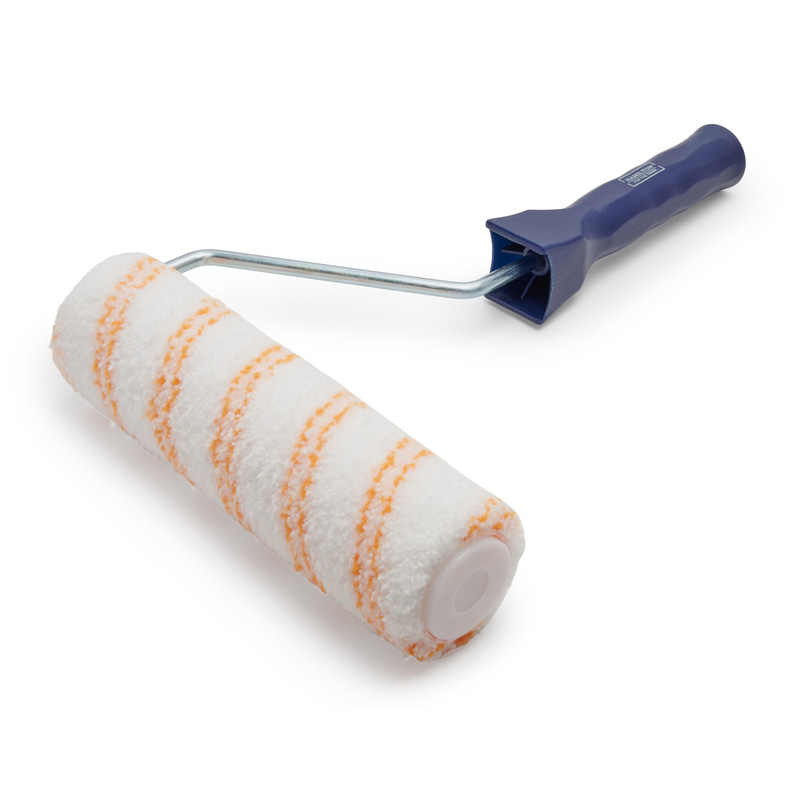
-
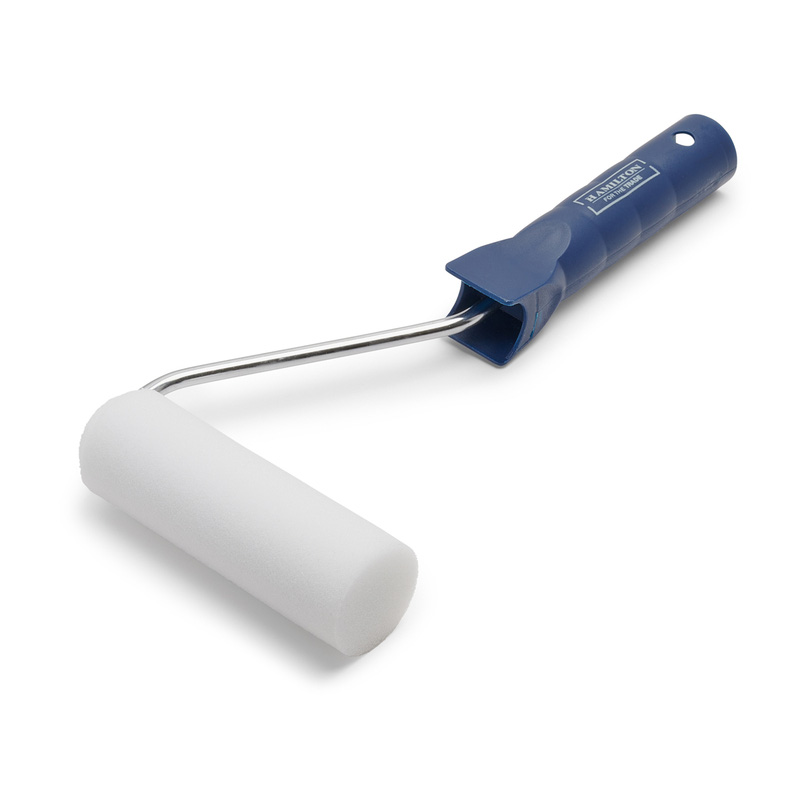
Carefully use a mini roller (ideally made of the same material as your primary roller) over the wet painted edges to avoid a framing effect and achieve a professional finish.
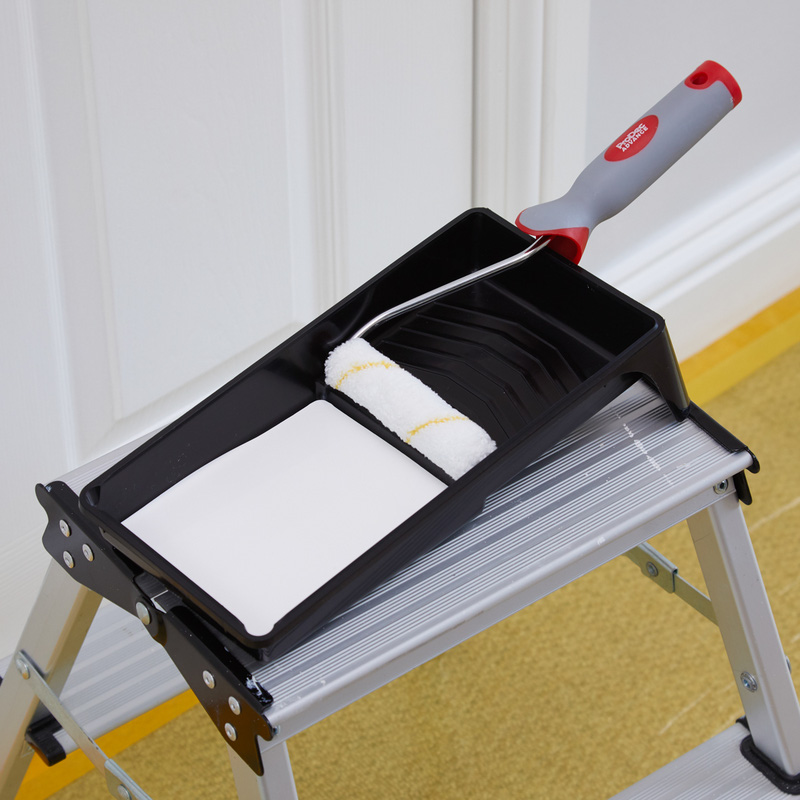
Step 4: Load The Roller With Paint
-
Once your edges are neat, load your larger paint roller.
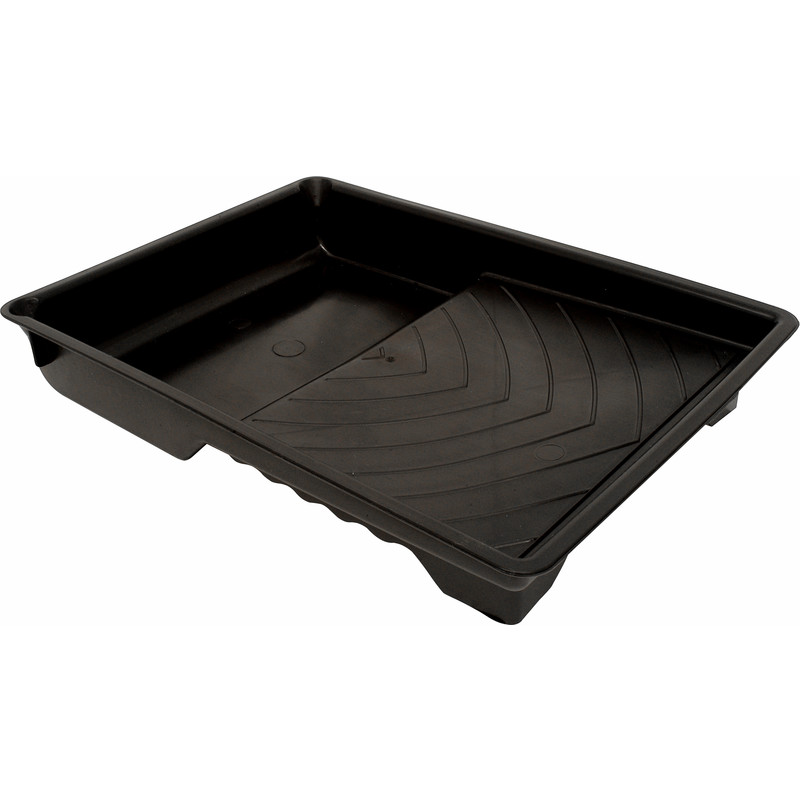
- To load your paint roller, roll it through the paint and only move it forwards on the tray to prevent paint building up at the back of the tray and spilling over the sides.
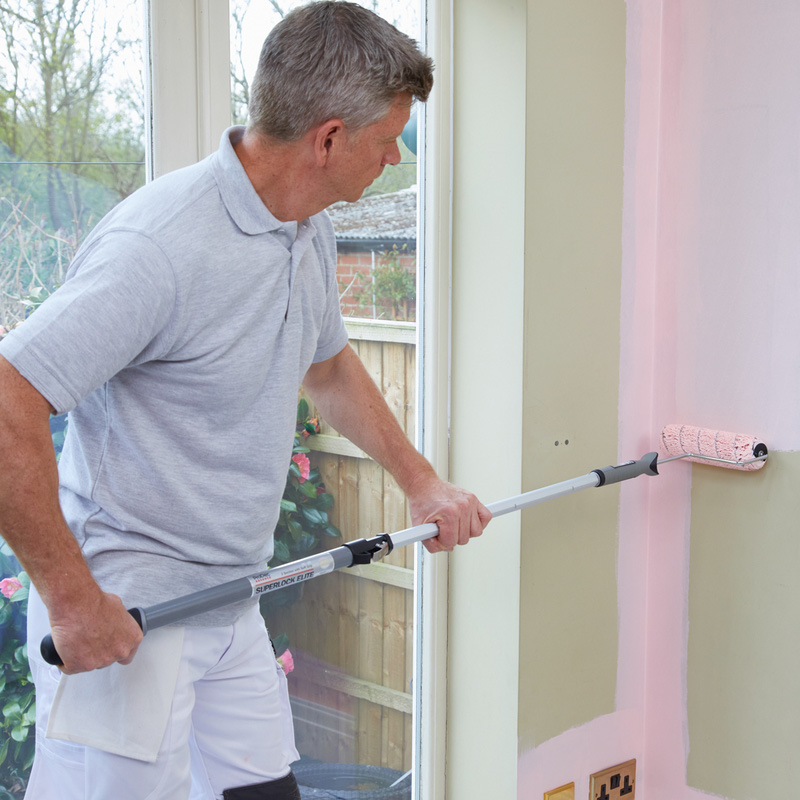
Step 5: Start Painting The Wall
-
Instead of starting at the top, begin painting from the middle of the wall.
-
Work the paint up and down in a rhythmic motion for a fast and even coverage.
-
You may need multiple coats of paint - simply repeat the process until you have the result you’re after.