How To Paint A Garden Shed
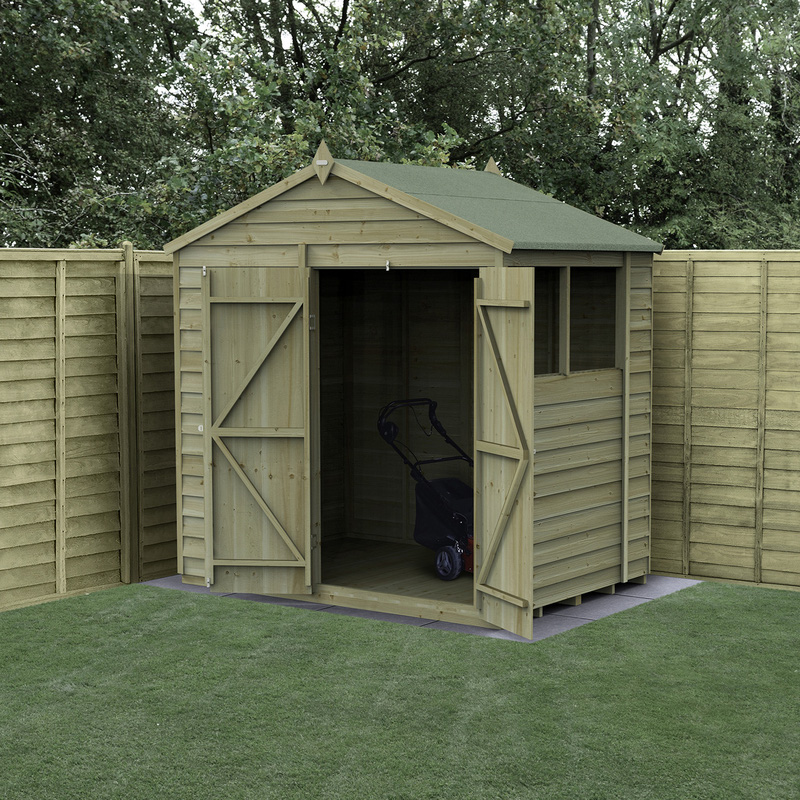
A garden shed is not just a storage space but can be a stand out feature in your garden. Painting your shed not only elevates its look, but can even protect it from the elements and make it last for years to come. In this guide, we’ll walk you through a step-by-step process to paint your garden shed.
Essential Tools & Equipment


Step 1: Preparing The Shed
- If the surface of the wood is particularly rough, sand it down using a 120-grit sandpaper.
- After sanding, remove the dust with a cloth.
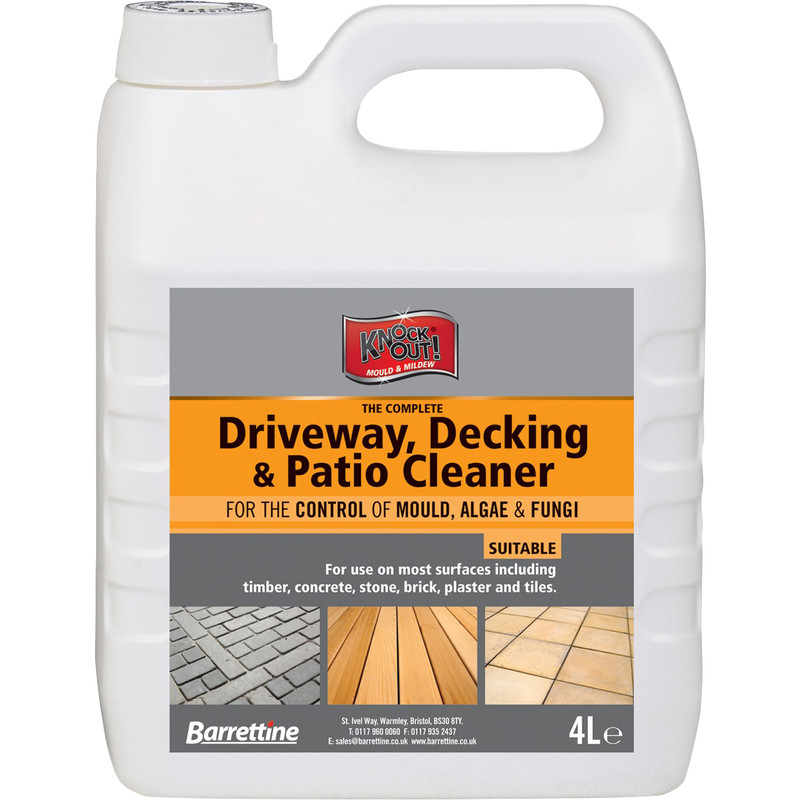
- Use a wood cleaner and stiff brush to clean the surface and leave you with a nicer finish once painted.
Step 2: Filling Holes
-
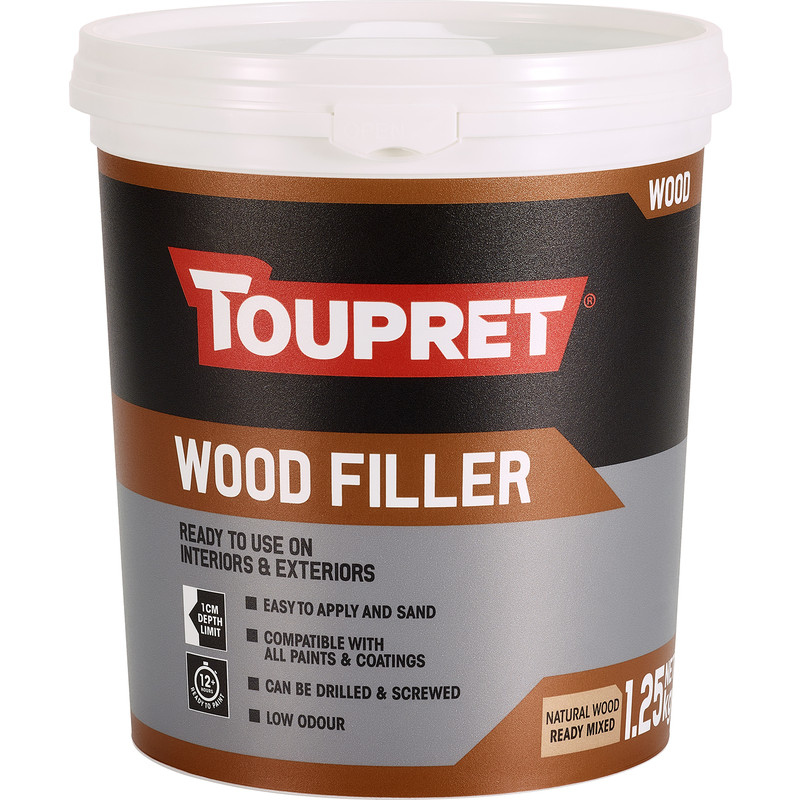
Fill any minor holes and imperfections with a wood filler that matches the colour of the timber as closely as possible.
-
If you're using a translucent finish, avoid filling large areas as they may be visible through the coating.
Step 3: Applying The Paint
-
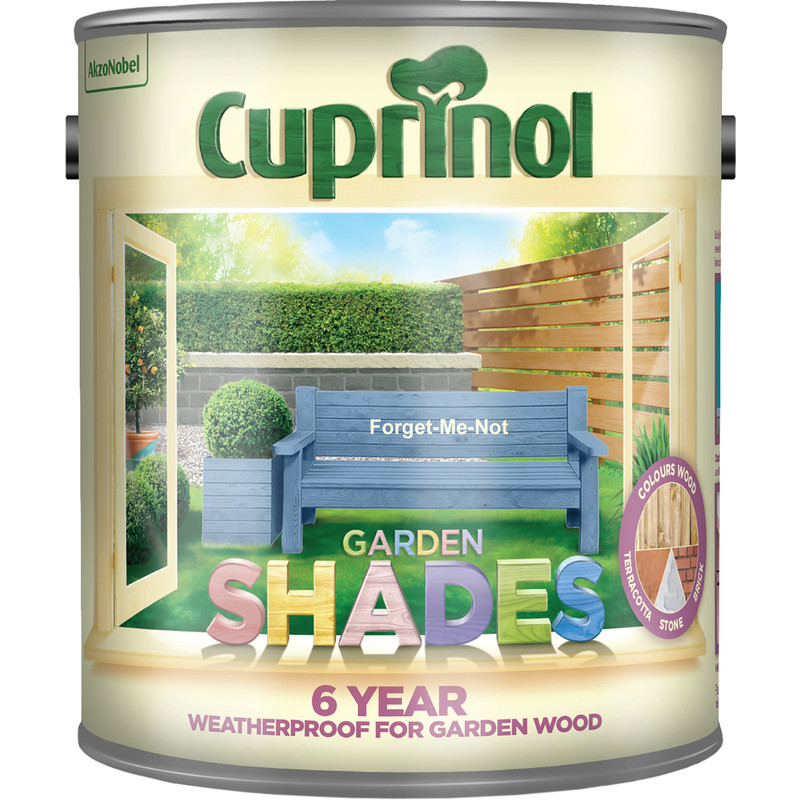
Choose a paint that complements your garden furniture, fences, and style.
-
Stir the paint well before and during the process to ensure a consistent sheen and colour.
-
Apply the paint attentively and in the direction of the grain.
-
Don’t forget the end of the timber panels, the bottom of the shed door, and the undersides of sills.
Step 4: Allow To Dry
-
Allow to dry according to the manufacturer's guidance on the back of the paint tub.
-
If needed, apply a final coat of paint to get a richer, more opaque finish.