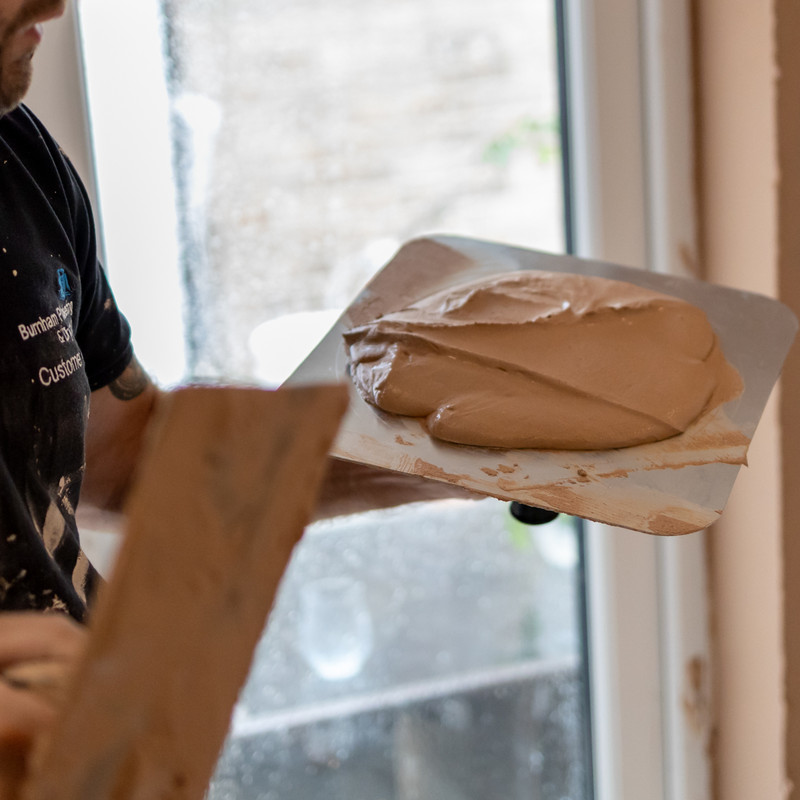
How To Paint MDF
MDF (Medium Density Fibreboard) is low-cost and versatile building material that is widely used in DIY and trade projects. However, it’s also very absorbent, meaning painting MDF can be difficult as it absorbs moisture easily. Preparation is key, and our step-by-step guide to painting MDF is here to help.
Essential Tools & Equipment

Step 1: Preparing The MDF
-
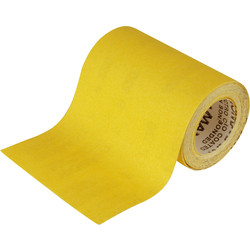
Sand the edges using a 120-grit sandpaper.
-
If the edges are going to be seen, use some wood filler on the edges and sand them down once it’s dry to make them totally smooth.
Step 2: Priming the MDF
-
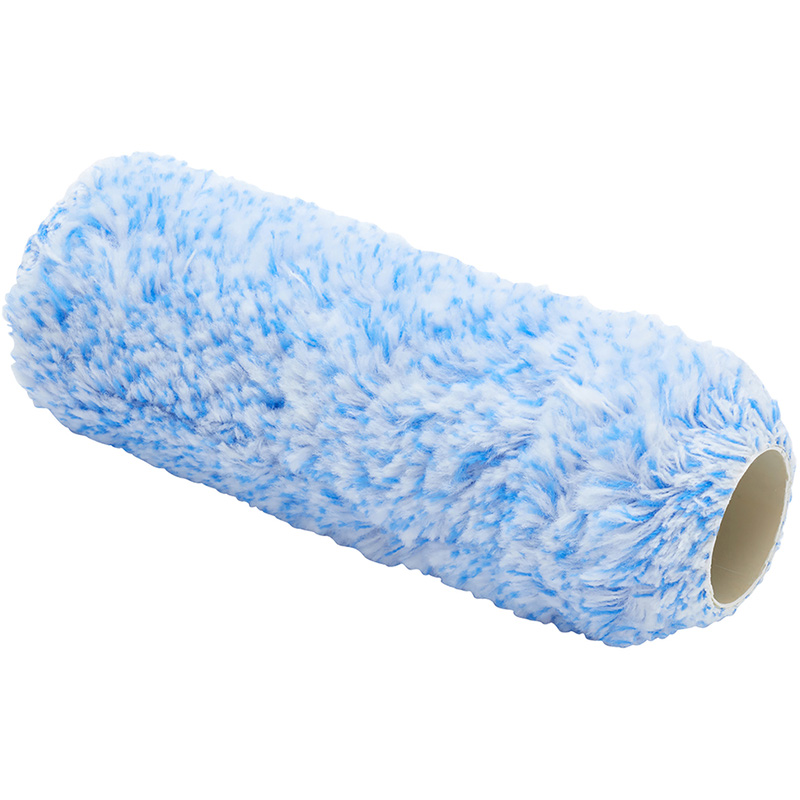
Load up a fluffy paint roller with a water-based primer and undercoat.
-
Make sure to coat both sides of the MDF in primer as this avoids the MDF bending because of moisture absorption.
Step 3: Sanding Between Coats
-
After the primer dries, lightly sand the surface with fine 180-grit sandpaper to remove any imperfections and prepare it for the top coat.
Step 4: Apply The Second Coat Of Primer
-
Once the primer is dry, apply another coat as MDF is highly absorbent and needs two or more coats to be fully prepared for painting.
-
Sand the surface once the second coat is dry with some fine grit sandpaper.
Step 5: Applying the Top Coat
-
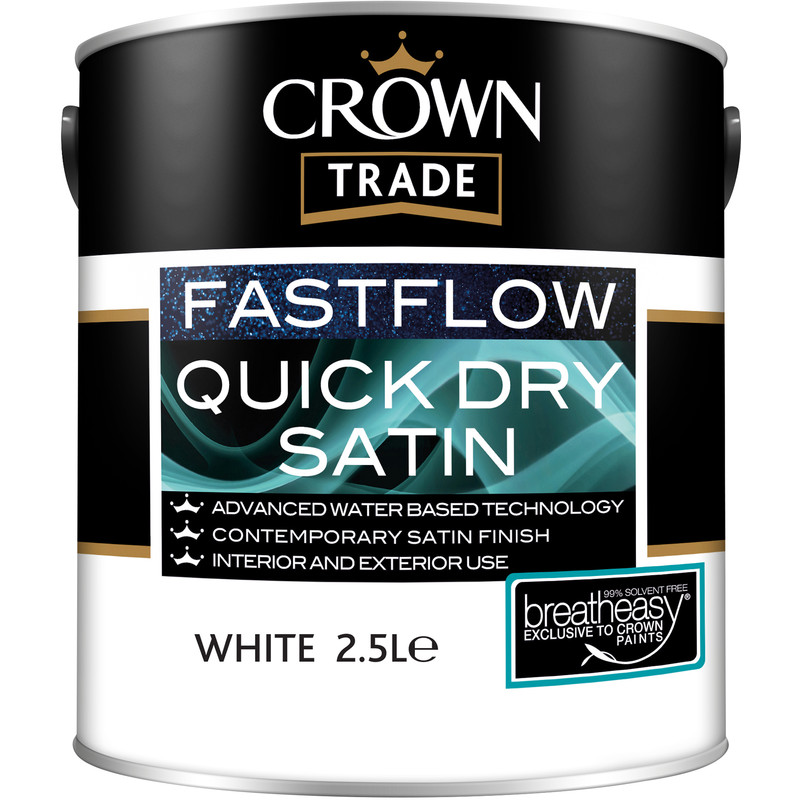
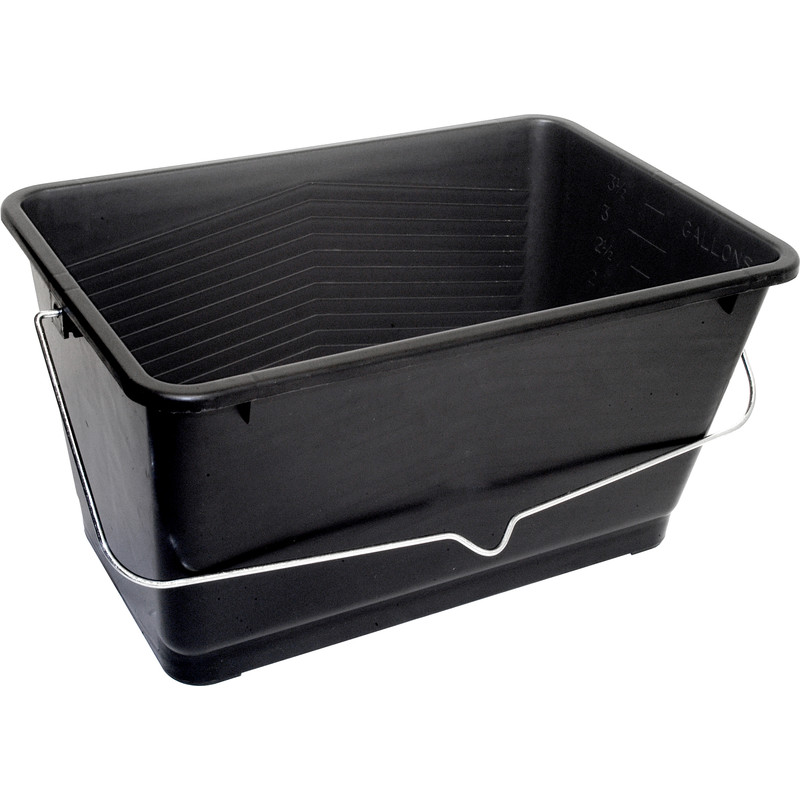
Pour some high quality paint into a paint tray or paint scuttle.
- Load up a fluffy, long pile roller with paint and roll it over the surface, making sure to fully cover both sides of the MDF and coating thoroughly to avoid streaks.
Step 6: Final Coating and Finishing
- After the first coat dries and is ready to be recoated according to the manufacturer's guidelines, lightly sand the surface again to remove any imperfections such as paint streaks.
- Use the paint roller to apply a second coat of paint, and wait for it to dry.
- Depending on the colour, you may need a third coat.