How To Change A Door Lock
Changing a door lock can be a relatively quick and easy DIY job. Whether you have a euro cylinder lock, a mortice lock or a nightlatch, our step-by-step guide is here to help. With just a few simple tools, your home or office will be secure in no time.
For more information, check out our Door Lock Buying Guide.
How To Change A Cylinder Lock
Cylinder locks are the easiest lock to change because you simply need to replace the locking mechanism. They're especially popular with landlords as they can be changed quickly inbetween tenants.
Essential Tools & Equipment
As well as the essential equipment listed below, you will also need the key for the original cylinder lock.
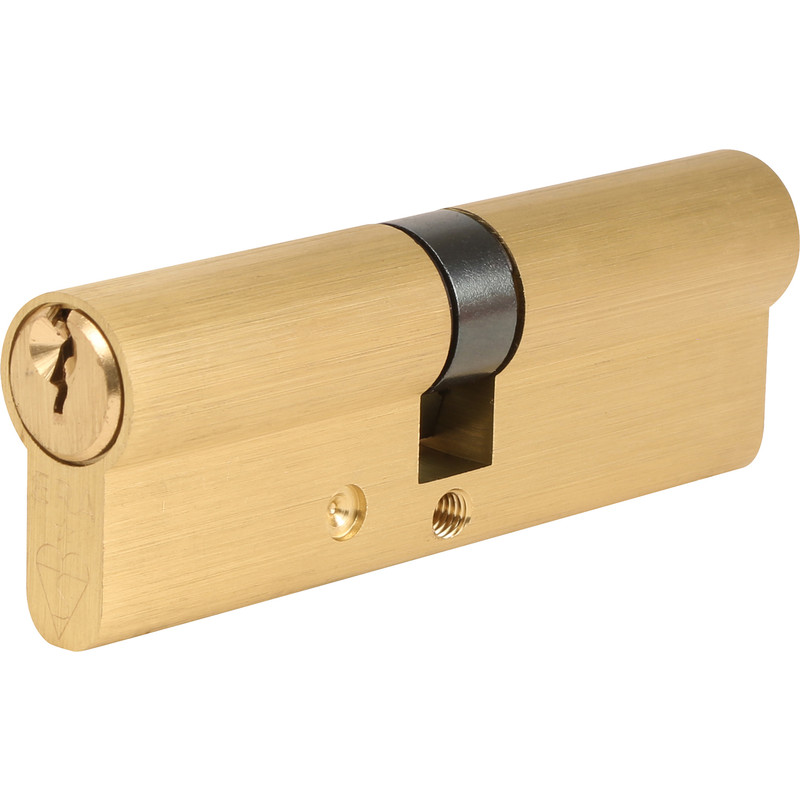
Step 1: Measure and Choose the Right Replacement Cylinder
- To select the correct replacement cylinder, you'll need to measure your existing one.
- Open the door and locate the center screw.
- Measure from the middle of the center screw hole to the face end of the lock on each side.
- Take note of both measurements in millimetres; for example, 60mm and 40mm, and identify which measurement corresponds to the external side and which one is for the internal side.
- When shopping for your replacement cylinder, the first number is the internal measurement and the second number is the external measurement.
- If you're replacing the cylinder for a front door, opt for a 3-star BSI kite mark cylinder for maximum security.
- Additionally, choose a finish that best suits your door, such as brass or chrome.
Step 2: Remove the Door Handle
-
Open the door and unscrew the fixing screws of the door handle.
- Gently pull each side of the handle away from the door and set it aside in a safe place.
Step 3: Remove the Existing Cylinder
- Locate the cylinder fixing screw, which is level with the bottom of your existing cylinder.
- Insert the key into the cylinder and turn it to remove the cylinder.
- If you encounter difficulty, try twisting the key slightly to ensure the cylinder slides out easily.
Step 4: Install the New Cylinder
- Insert the key into the new cylinder body and align the cam.
- Place the new cylinder into the lock and twist the key slightly to ensure it slots in properly.
- Replace the cylinder screw to secure the new kite mark cylinder in place.
Step 5: Reassemble and Check
- Put the external and internal handles back in place, ensuring everything fits correctly.
- Lift the handle and twist the key to verify the cylinder is working smoothly.
Step 1: Choose the Right Mortice Lock
-
Before you begin, understand the different sizes and security levels of mortice locks available. To find out more, check out our Door Lock Buying Guide.
- Choose one that suits your door and security preferences.
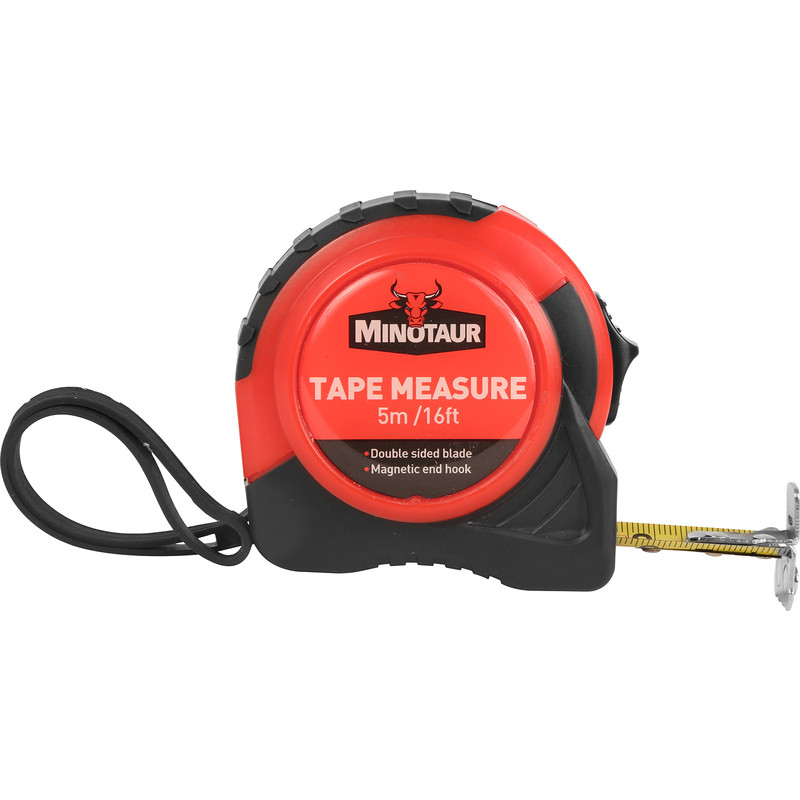
Step 2: Measure the Existing Lock
- Using a ruler, measure the distance from the centre of the keyhole to the edge of the door to determine the size of the mortice lock you will need.
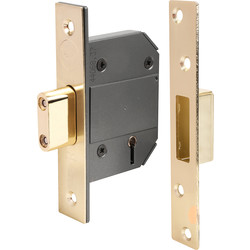
Step 3: Remove the Old Lock
- Remove the escutcheon and the screws in the lock box using a screwdriver.
- Then, take out the outer forend and the lock case from the door.
Step 4: Prepare the Door for the New Lock
- Depending on the replacement lock, you might need to chisel a rectangular hole to create more space for the new lock box or adjust the keyhole positions.
Step 5: Install the New Lock
- Insert the new lock box into the door, secure it with screws, and ensure the lock functions correctly by inserting the key and testing the mechanism.
Step 6: Install the New Strike
- Remove the old strike from the door frame and install the new one, securing it with screws.
- Test the lock with the key to ensure it functions correctly.
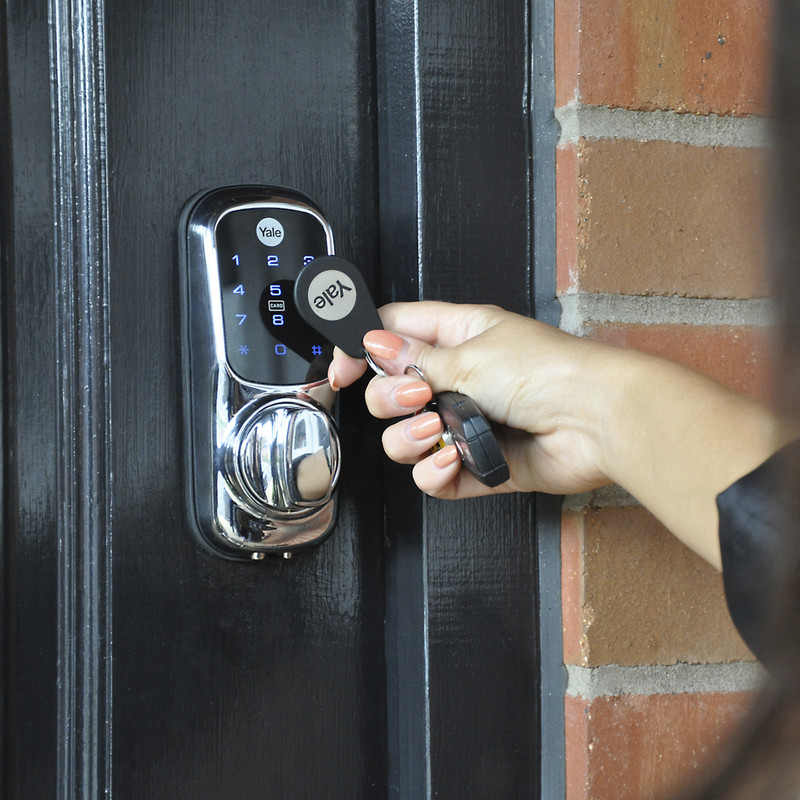
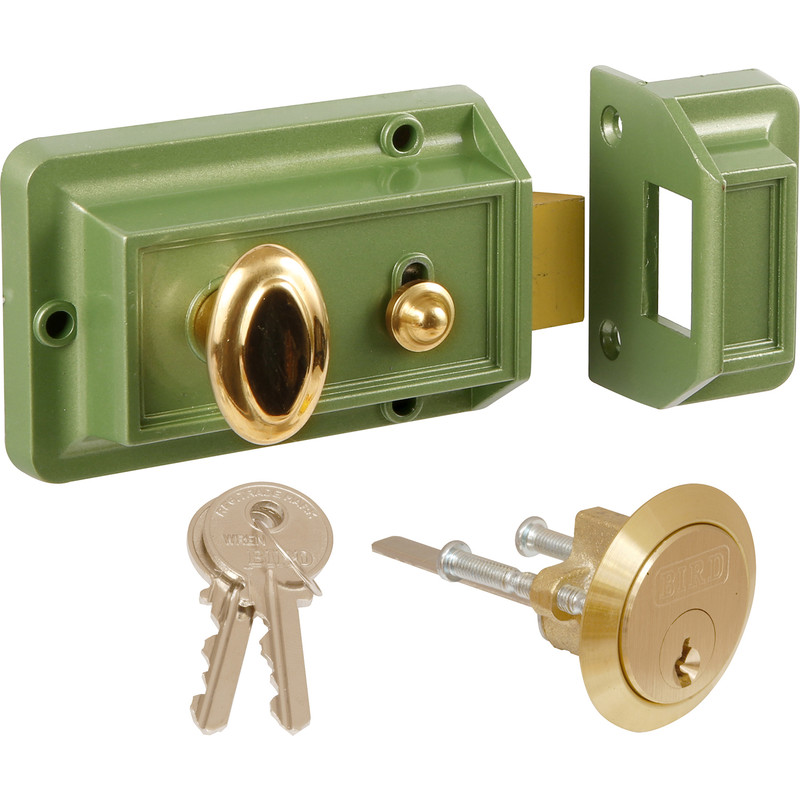
How To Change A Nightlatch
A nightlatch is usually used on a front door alongside a mortice lock. They feature a metal bolt which slides into a case - also known as the staple - in the door frame. Nightlatches are unlocked from the outside with a key and a thumbturn from the inside.
Step 1: Remove the Existing Nightlatch
- Start by removing your existing nightlatch.
- Unscrew the connecting screws and take off the lock case.
Step 2: Remove the Cylinder
- Remove the screws that are holding the nightlatch cylinder in position.
- If there are any more screws, remove them all to completely detach the lock from the door.
Step 3: Remove the Staple
- Next, take out the fixing screws and remove the staple from the door frame.
Step 4: Install the New Nightlatch
- Prepare your new nightlatch by retracting the latch using the handle, also known as a locking button.
- Then, remove the key and insert the cylinder through the chrome ring into the hole in the door.
Step 5: Adjust the Connecting Bar
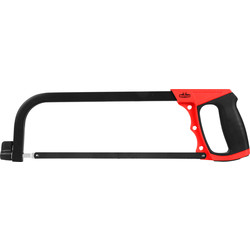
Measure and adjust the connecting bar using a fine-tooth hacksaw so that it projects 12mm beyond the surface of the mounting plate.
Step 6: Secure the Mounting Plate
- Secure the mounting plate to the door, ensuring a 1.5mm projection from the edge of the door.
- Align the arrows on the lock case and mounting plate, then fix the lock case to the mounting plate.
Step 7: Install the Staple
- Mark the position of the staple on the door frame using the lock case as a guide.
- Install the staple flush with the frame and secure it with screws.