- Help & Advice
- How To Guides
- How To Fill Hole In Wall
How To Fill A Hole In A Wall
Slide 1 of 1
Whether you're sprucing up a room or fixing up minor imperfections, the right wall filler can make all the difference.
In this guide, we'll walk you through the process of selecting and applying the perfect wall filler for your needs. Let's turn those DIY disasters into triumphs and ensure your walls are flawlessly prepared for decorating.
Essential Tools & Equipment
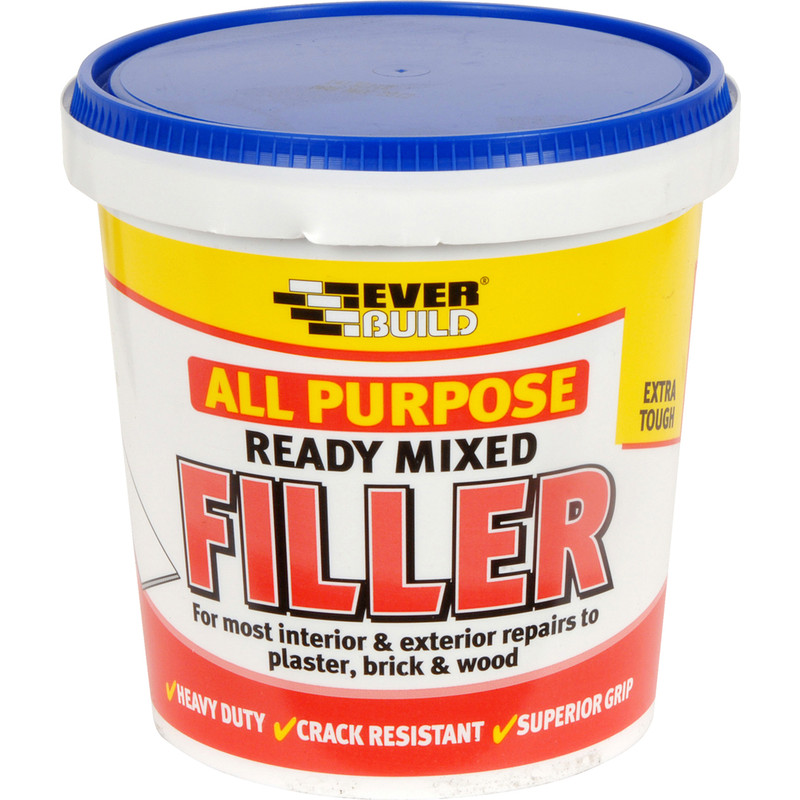
The type of wall filler you need will depend on the hole you're patching. Choose exterior wall filler for holes outside, expanding foam for holes around doors and windows, or big hole filler for larger imperfections.
Slide 1 of 1
Step 1: Assess the Damage
- Evaluate the size and location of the holes or cracks.
- Depending on the size and whether they're interior or exterior holes, you'll want to choose the right filler to make sure the fix lasts.
Step 2: Prepare the Surface
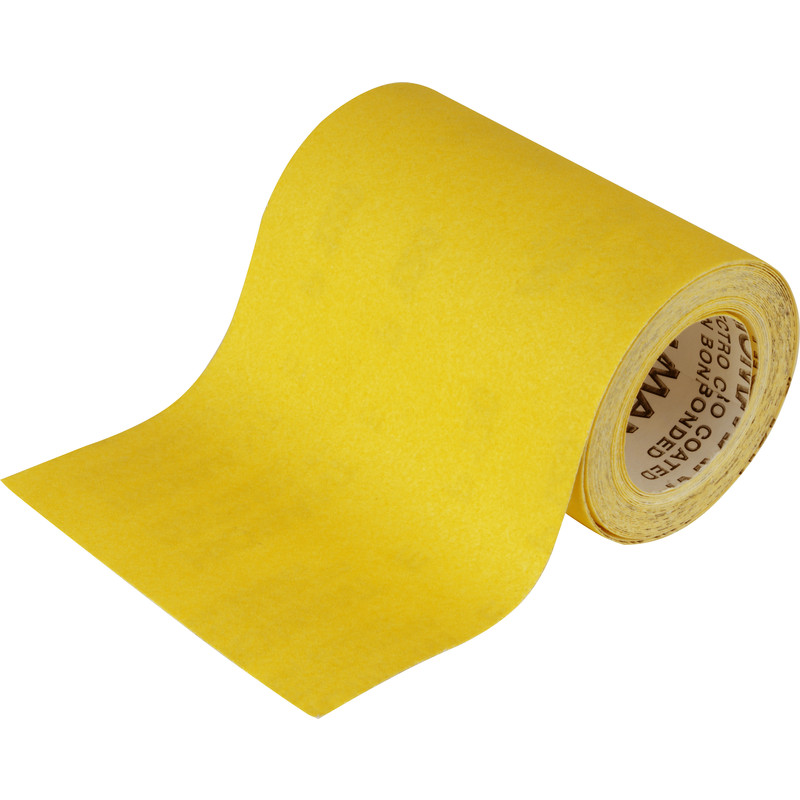
- If there are any bumps and imperfections around the hole, use sandpaper to get the area smooth.
- Ensure the area is dry and clean from dust.
- This step is crucial for the filler to adhere properly and provide a smooth finish.
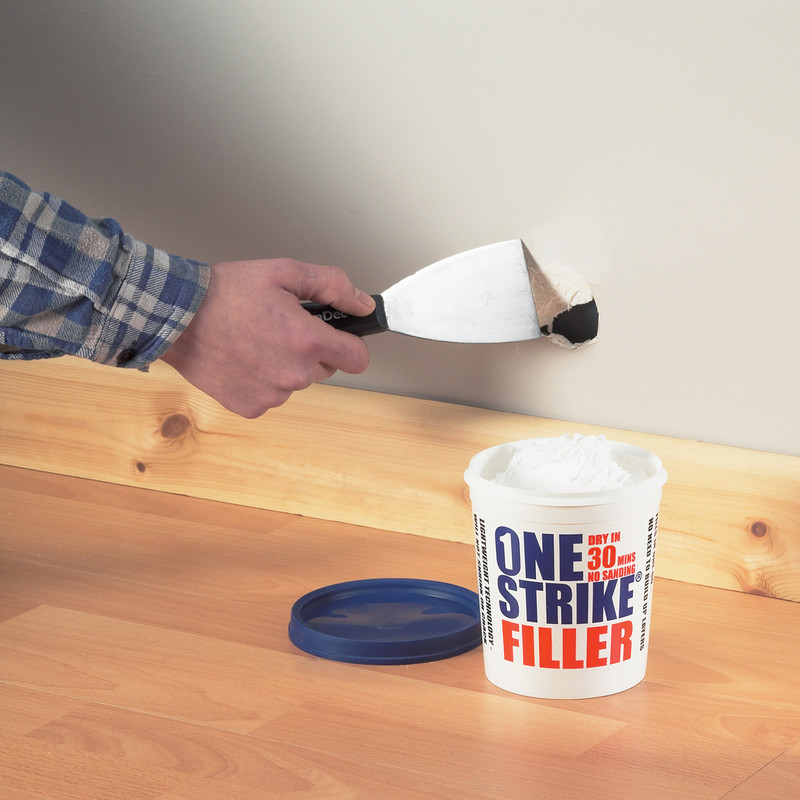
Step 4: Apply the Filler
- For holes deeper than 50mm, build up in layers, allowing each layer to dry.
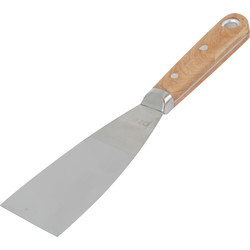
- Use a wet filler knife to smooth the filler immediately after application.
- If you are using expanding foam, shake the can for at least 30 seconds, attach the nozzle, and fill from the lowest point, filling only halfway as the foam will expand to fill the gap.